Why Should I Learn How to Sterilize Soil?
The primary goal of sterilizing soil is to minimize risks and eliminate unwanted fungi, viruses, diseases, weeds, and pests, thereby reducing unpredictability in the gardening season. While you may not need to sterilize your soil if it’s pest- or disease-free, reusing soil for container gardens or dealing with past issues might warrant consideration.
Sterilization effectively targets a range of organisms, including bacteria responsible for various diseases like Verticillium wilt, Fusarium wilt, damping off, root rot, and tomato canker, as well as nematodes, viruses, and weeds.
How to Sterilize Soil
When it comes to sterilizing soil, high temperatures are the primary method of choice. There are various ways to achieve these elevated temperatures, and the best approach often depends on the scope of the project. For small batches of dirt, microwaves or ovens can be employed, although this might not be feasible for large outdoor spaces. In such cases, solarization is a more practical solution.
Regardless of the technique used, it’s essential to remember that fertilizers should not be added to the soil prior to sterilization.
Solarization
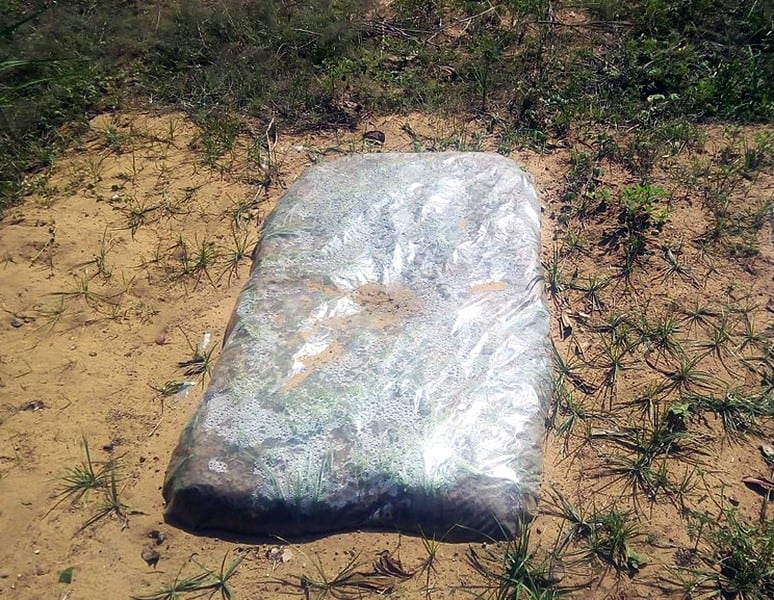
Solarization is an effective way to sterilize soil by harnessing the power of the sun. This process typically involves covering the soil with black or clear plastic sheeting. To prepare your soil for solarization, rake away any debris and dirt clods to ensure a smooth surface. Irrigate the soil well before covering it, as this will help prevent air pockets from forming between the plastic and the earth.
For optimal results, use a transparent or clear plastic sheet that allows sunlight to pass through and get trapped underneath. In cooler climates, black plastic may be a better option, as it retains heat better and discourages weed growth. To secure the plastic in place, anchor it tightly using rocks, anchors, or even digging a trench around the garden bed. Solarization requires an extended period of full sun exposure, typically around 4-6 weeks, to achieve its sterilizing effects.
The process raises soil temperatures, breaks down plant matter, and increases nutrient availability for your plants. While this method effectively kills weeds and suffocates pathogens in the earth, it may not eliminate all heat-tolerant diseases. Some aggressive perennial weeds may also be able to survive the prolonged exposure to hot temperatures.
Oven
Sterilizing small batches of soil in an oven is a viable option. To do this, place the soil in an oven-safe container and bake until it reaches an internal temperature of 180°F. Be cautious not to exceed this temperature, as higher heat can lead to the release of toxins into the air. Once the soil has cooled, it’s ready for use.
Microwave
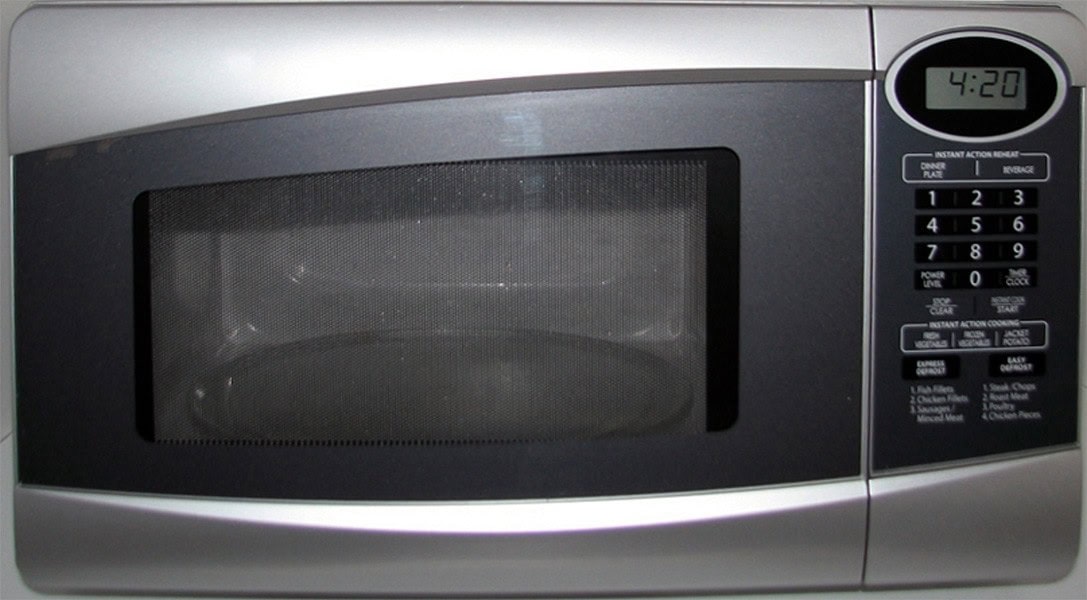
To initiate the process, choose a microwave-safe container and fill it with soil. Next, apply a layer of coverage, leaving a few small openings to ensure ventilation. Alternatively, you can simply leave the lid slightly ajar for optimal airflow. Once prepared, place the dish in the microwave and heat it on high for about 90 seconds or until the internal temperature reaches 180°F.
Steam
Sterilizing your soil through steam sterilization is an excellent method, offering versatility in terms of equipment used. You can employ a pressure cooker, oven, or stovetop to achieve this result. When using a pressure cooker, fill it with several cups of water and place a container filled with soil over it. Ensure the cooker’s lid is secure but leave the steam valve open for proper venting. Heat at 10 pounds of pressure for a duration of 15 minutes.
For oven-based sterilization, position your soil-filled container on a rack in the top third, cover it with foil, and place it near the top rack of the oven. Below this setup, create a water reservoir by placing a filled container on the bottom rack, covered but leaving a small opening for steam release. Heat until boiling occurs and maintain this temperature for 30 minutes.
Finally, you can opt for stovetop sterilization by filling a saucepan with about an inch of water, bringing it to a boil, and adding enough soil to leave roughly 1-2 inches at the rim. Simmer for 15 minutes.
Sterilization and Seed Starting
When buying a seed-starting mix, there’s no need to worry about sterilizing the soil itself as high-quality mixes arrive sterile. Instead, focus on sterilizing your equipment, accessories, and tools. This applies to potted indoor plants as well – potting mixes should be free from disease-causing pathogens. However, it’s possible to encounter a batch of contaminated soil mix, which I’ve experienced firsthand. The outcome? A loss of valuable seedlings.
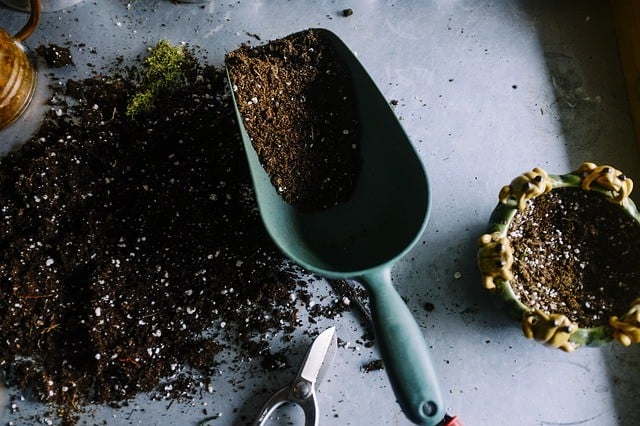
To avoid this, take a step back and assess your process before ruling out a supplier entirely. Consider the possibility that old, unsterilized equipment or tools may be the culprit – perhaps an unwashed garden spade used to transfer dirt from bags to flats or forgotten plastic markers that weren’t properly sanitized.
The Downside to Sterilization
While sterilization may seem like a foolproof method for minimizing pest and disease problems in your garden, there are some significant drawbacks to consider. For one, this approach can have unintended consequences such as harming beneficial microbes and insects that play a crucial role in maintaining soil health. Additionally, solarization requires the purchase of plastic sheets, which can be a costly investment.
Moreover, the process itself takes time – time that home gardeners may not have if they’re eager to get a head start on the growing season. In my experience, once the snow has melted and I’m able to access my beds, every day counts. The thought of covering my entire garden for 4-6 weeks is daunting. A more practical approach might be to focus on smaller sections or plan for a fall crop instead.
If you’re not inclined towards sterilization, consider building healthy soil through sustainable practices that prioritize soil health over time. With each passing season, the more you tamper with your earth, the less healthy it becomes. By adopting a long-term perspective and working with nature rather than against it, you can cultivate a thriving garden ecosystem.
How to Avoid the Need for Sterilization in the Garden
To maintain a thriving and resilient garden, it’s essential to adopt proper crop rotation practices. By cycling through different crops, you can prevent pest infestations and subsequent disease transmission to your plants. Additionally, prioritize healthy soil management by testing the soil before fertilizing, improving its consistency and nutrient content with added compost, and minimizing ground disruption.
A consistent weeding schedule is also crucial, as an alternative to sterilization, remove problem weeds by digging them out. Furthermore, ensure you’re not transferring pathogens by sterilizing your equipment at the end or start of each season. This includes soaking garden implements and tools in diluted bleach to prevent disease transmission.
When it the Right Time to Sterilize Soil?
For large-scale growers, soil sterilization offers a speedy and efficient solution for managing weeds, diseases, and pests. In contrast, home gardeners can benefit from solarization when dealing with recurring disease and pest issues. Once you’ve mastered soil sterilization and achieved a weed- and disease-free bed, focus on building soil health annually to avoid future sterilization needs.
When starting a new gardening space or using recycled earth in containers, soil sterilization provides a clean slate. With your soil now ready for planting, consider sharing your preferred method in the comments section below.
