When it comes to happy houseplants, most people assume they’re low-maintenance and don’t require any special skills. And while that’s true for the most part, there’s a crucial aspect of plant care that often gets overlooked: repotting. Underneath the soil line, the roots are actively growing and can become overcrowded if not addressed. This is especially important to consider every few years, as even thriving plants can benefit from a soil refresh.
The good news is that repotting is a straightforward process that can be completed quickly, allowing you to get back to enjoying your plants without any fuss.
Why You Need to Repot Your Houseplants
When it comes to nurturing houseplants, repotting is a crucial aspect that cannot be overlooked. The need to repot arises from various reasons, including the necessity of soil changes or when the plant has outgrown its container. Failing to address these issues can hinder the plant’s ability to thrive and reach its full potential.
Soil Loses Nutrients
As you continue to nourish your houseplants through watering, your potting medium inevitably releases its stored nutrients into the surrounding environment. This natural process is a crucial aspect of plant growth, but it also means that over time, the soil’s nutrient reservoir will gradually deplete. In fact, regular fertilization may not be enough to sustain optimal plant health once the soil’s inherent nutrients have been fully utilized.
Soil Becomes Hydrophobic
As time passes, the potting mix undergoes a natural transformation. The cumulative effects of watering, dust accumulation, and nutrient uptake by the plant gradually diminish its quality. The once-receptive soil becomes increasingly dry and resistant to water penetration or retention. This impairs the soil’s ability to hold onto moisture, leaving the plant vulnerable to dehydration and struggling to absorb essential nutrients.
In some cases, water may even collect on the surface of the growing medium, lingering for extended periods. If this occurs, it’s a telltale sign that the soil has become hydrophobic, rendering it ineffective. Ultimately, the only viable solution is to replace the aged potting mix.
Soil Disintegrates
The condition of the soil plays a crucial role in determining its ability to retain moisture. When soil becomes hydrophobic or dry and aged, its structure is compromised, making it unable to clump together effectively. A simple test to gauge the health of your potting mix is to squeeze a small amount that’s moist – if it holds its shape and remains cohesive, it’s likely in good condition.
On the other hand, old, dry soil will tend to crumble even after being moistened, leading to poor nutrient uptake by the plant and potential long-term damage.
The Plant is Rootbound
When plants are allowed to spread their roots freely, they often become root-bound in containers. This can lead to overcrowding, as the roots struggle to find space to grow. As a result, you may notice roots emerging from the drainage holes at the bottom of the container, or even pushing through cracks and breaks in plastic pots. In some cases, plants may even lift their roots up to the soil surface or escape through the top of the container.
This phenomenon is more common when plants are root-bound for an extended period with dry soil, highlighting the importance of proper potting and watering habits.
Salt and Minerals Appear on the Surface of the Soil
As water flows through the soil, any remaining salts and minerals that haven’t been absorbed by the plant accumulate on its surface. This buildup serves as a natural indicator that the plant has already extracted the essential nutrients it needs, and the excess is now surplus and unusable. To ensure optimal conditions for future growth, it’s crucial to remove this residual material.
The Plant Looks Scraggly or Unhealthy
When a plant appears scrawny and underperforming despite proper care, root bound might be the culprit. This phenomenon occurs when roots grow in circles around the inside of the pot, rather than extending outward through the drainage holes or sides of the container. In such cases, the roots tend to thicken significantly. If you notice circling roots or roots emerging from the drainage holes, it’s likely time to repot and provide your plant with a more spacious environment.
The Plant is Too Big
In many cases, plants that are prone to tipping over due to their robust growth can benefit greatly from being transplanted into a larger pot. This is particularly true for those with an abundance of foliage or blooms that put pressure on the stem and cause it to become unstable.
Equipment Needed to Repot Houseplants
When embarking on a project like repotting multiple houseplants, being thoroughly prepared is crucial for a smooth and efficient process. To ensure success, it’s essential to gather all necessary materials ahead of time and have them readily available. This approach not only streamlines the task but also helps minimize stress and potential mistakes.
A Planter or Container
Before commencing the transplant process, ensure that the containers for your plants are readily available. It’s essential to have a suitable container prepared beforehand to prevent exposing the plant to environmental conditions or having to search for an alternative receptacle.
If you’re only replacing the soil, you can reuse the same container; however, it’s crucial to expedite the cleaning process by utilizing a solution comprising 10 parts water and one part bleach prior to rehousing the plant.
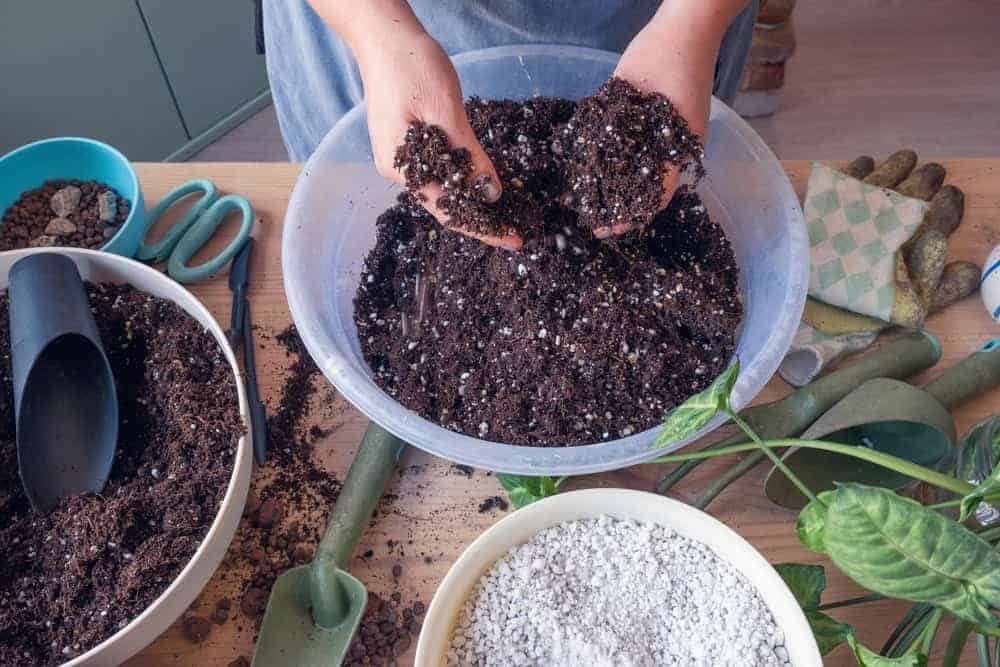
Fresh Potting Soil
Before filling the planter, ensure you have a suitable potting medium readily available. It’s essential to avoid leaving your plant unaccommodated for an extended period as you rush to procure the necessary materials. This will help prevent any potential discomfort or stress on the plant.
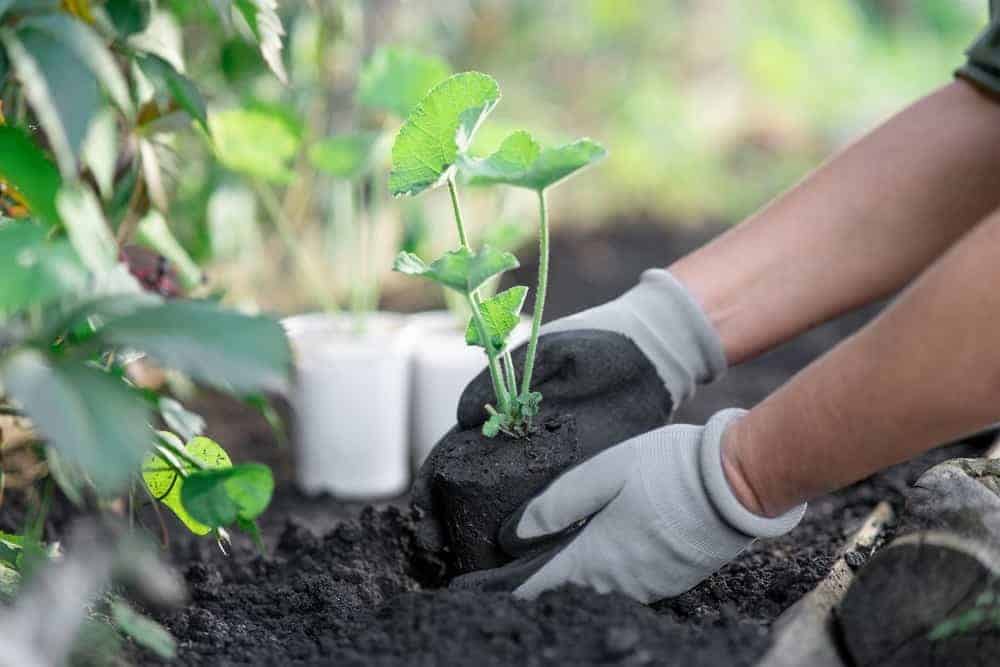
Gloves
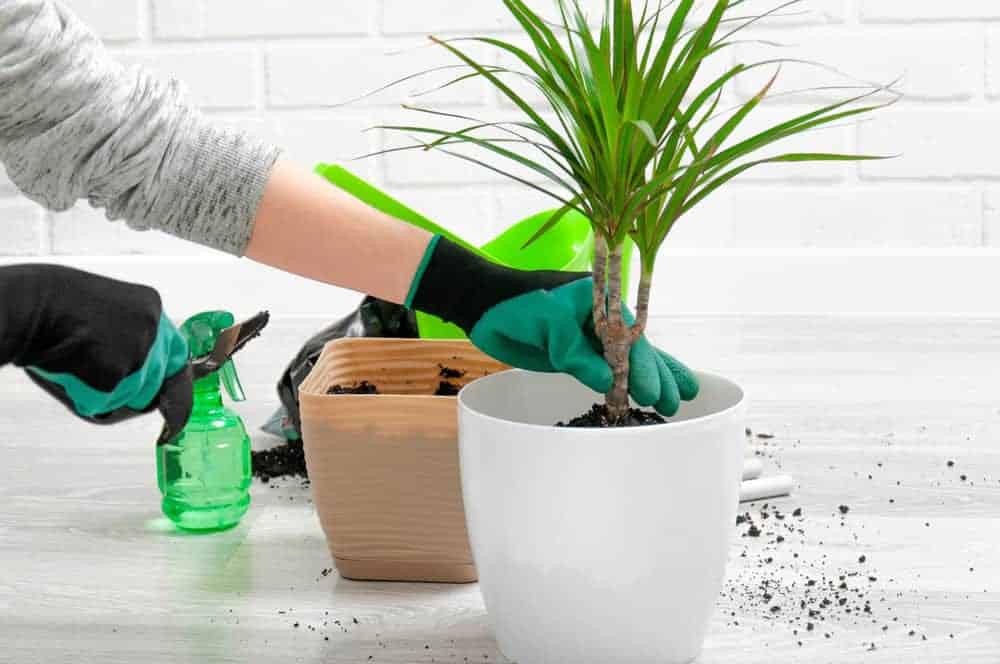
When it comes to removing plants from pots, many gardeners may not realize that it can be a physically demanding task. Not only do you risk straining your muscles, but you also put yourself at risk of injury or exposure to dirt and debris. To minimize these risks, it’s highly recommended by manufacturers of potting and seed-raising mixes that you wear protective gear such as gloves, and even consider using a mask if you’re working in an area with poor ventilation.
Taking this extra precaution is a simple yet effective way to ensure your safety while working with plants.
Tarp or Plenty of Newspaper
When it comes to repurposing an old container, one of the most important things to consider is the potential mess involved. It’s not uncommon for old soil to be full of trapped water or dusty material that can spill out and create a real nuisance. To mitigate this risk, it’s essential to have a plan in place for containing any debris that might escape during the process.
A tarp or plenty of newspapers can be a great way to keep things tidy, and if you’re feeling adventurous, you could even take your project outside and work on a clean surface – just make sure the weather is cooperating!
A Watering Can
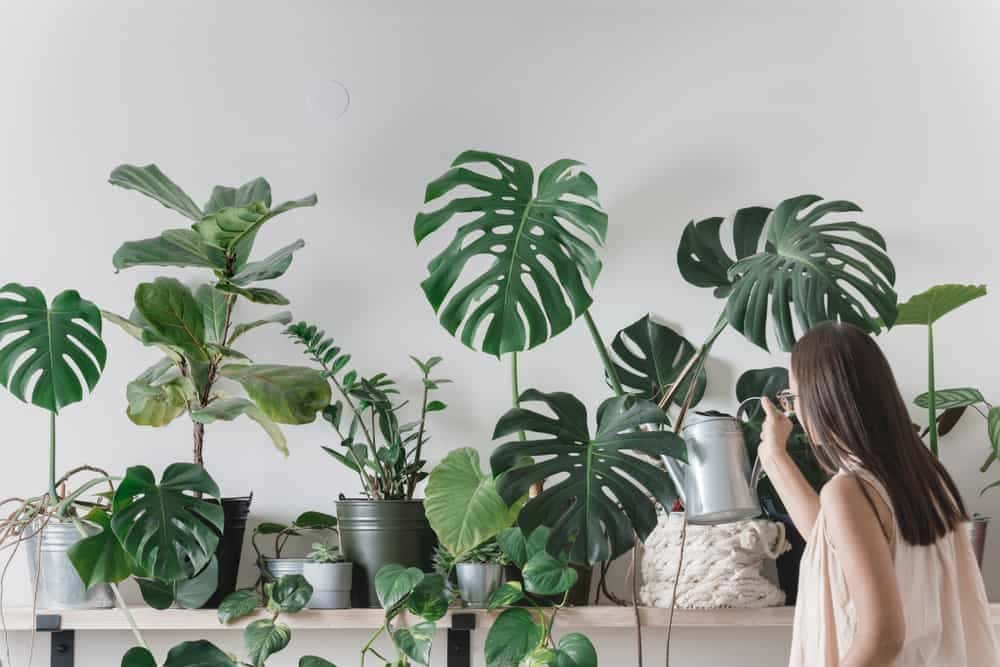
Proper hydration is crucial during the repotting process, as having water readily available prevents the need for frequent trips to the faucet. This allows you to focus on providing your plants with the necessary nutrients at the optimal moment.
A Gardening Trowel or Knife (Optional)
When faced with removing a plant from its container, it’s often necessary to employ a bit of finesse. A trowel or knife can prove invaluable in gently prying or coaxing the plant out of its old home. The duration it’s spent in the pot and the extent of root bound conditions can make some plants stubbornly resistant to removal.
To make the task easier, consider investing in a dedicated repotting tool rather than using one that’s also used for garden tasks, thereby minimizing the risk of inadvertently transferring diseases.
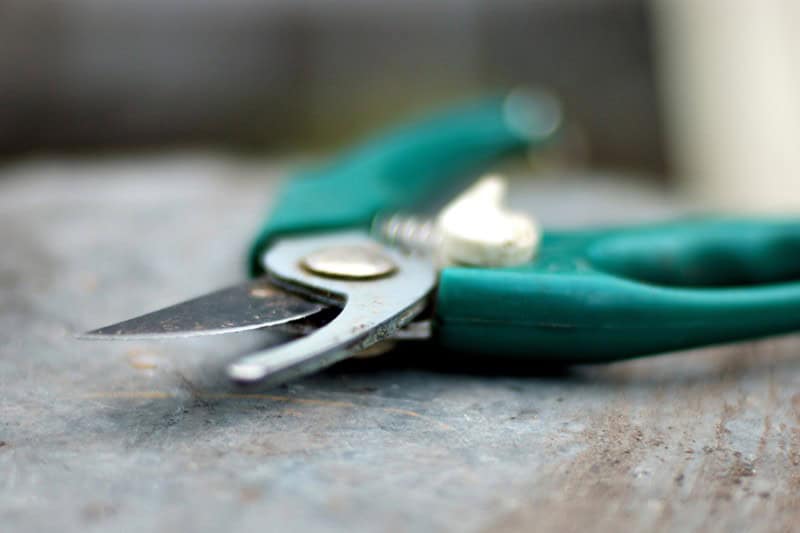
Secateurs
When it comes to nurturing your plants, one crucial step is pruning – not just any pruning, but precise and thoughtful trimming to remove damaged, diseased, or unsightly roots or stems. A sharp pair of secateurs or scissors is essential for this task, as they allow you to make clean cuts that promote healthy growth and prevent the spread of diseases.
By tackling any problematic areas, you’ll be creating an environment where your plants can thrive, free from the stress and strain that comes with compromised growth.
Decorative Soil Cover (Optional)
For many, the visual appeal of a newly arranged terrarium is as much about personal preference as it is about creating a harmonious environment for the plants. A simple yet effective approach is to top a fresh container with lava rocks, which can often add a touch of elegance. Alternatively, consider incorporating other natural elements like orchid bark or pebbles, carefully selecting those that complement the unique characteristics of your plant.
How to Repot Your Houseplants
Embrace this task with confidence, as it’s actually a straightforward process when approached with caution and patience. Ensure you’re well-prepared by having all necessary equipment within reach. A clever move is to water your plant about an hour prior to starting the procedure, allowing the soil to relax and become easier to work with, particularly if it’s been compacted. Let the newly hydrated plant sit for an hour before proceeding, giving the soil a chance to fully loosen up.
Remove the Plant
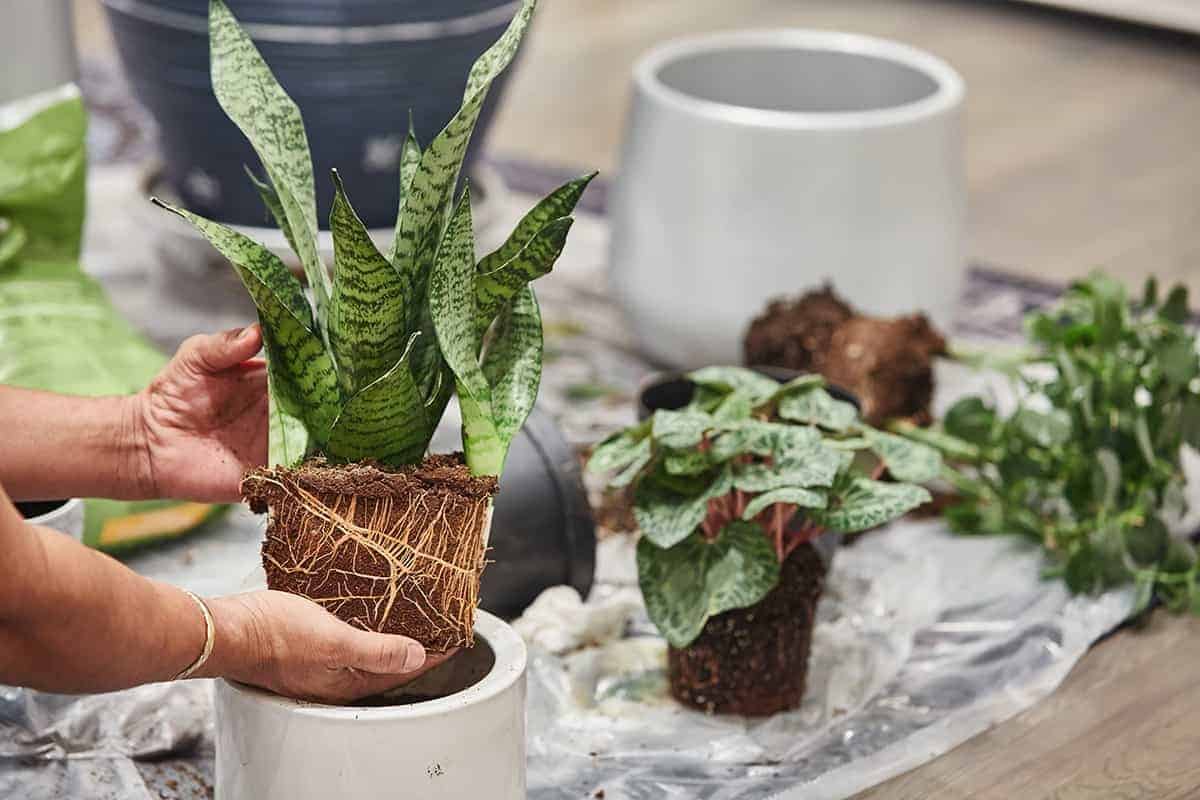
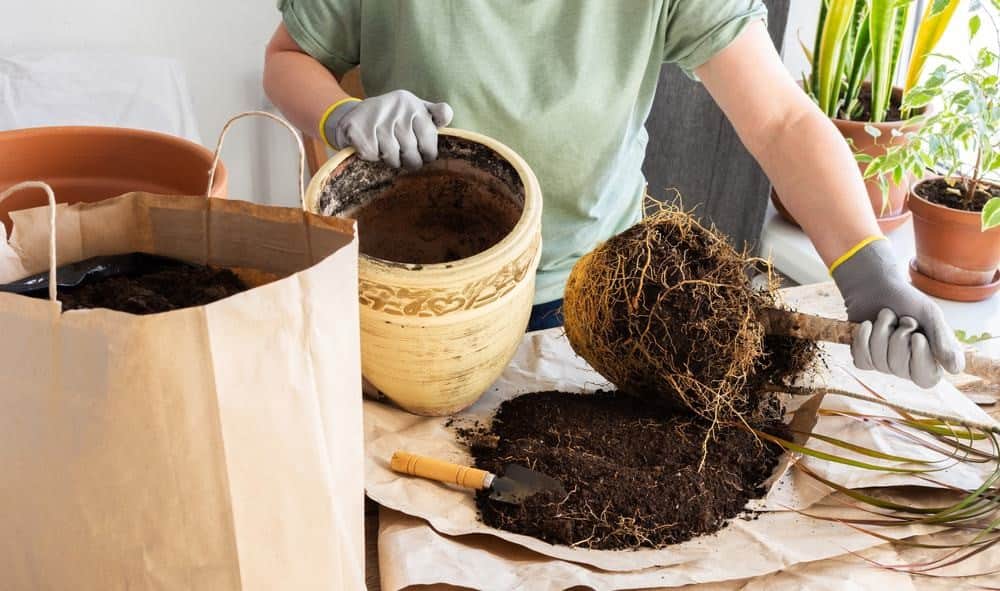
To coax your plant out of its pot, start by grasping the stem or stems and tilting the container at an angle. Gently tap the bottom and sides to loosen the soil, then slide the plant out. If it’s stubbornly stuck, you can try giving a gentle tug on the stem. If that doesn’t work, it’s time to get a little more creative. Insert a knife or trowel between the pot and the root ball, working your way around until the soil is loose enough to slide out easily.
Be patient – this might take a minute or two. The key is to be gentle and avoid forcing anything. Once your plant is free, carefully remove all the remaining soil from its root ball. Alternatively, you can rinse away any stubborn dirt with a soft stream of lukewarm water.
Inspect the Roots
When it comes time to repot your plant, start by inspecting its roots. Remove any damaged or diseased sections to prevent the spread of disease and encourage healthy growth. Prune back some of the longest roots to maintain a balanced root system. While you’re at it, consider trimming away any roots that won’t fit comfortably in the new container – but only if absolutely necessary. To promote root growth and air circulation, gently tease out any tight areas or tangles.
Once the roots are prepared, fill the new pot with fresh potting mix and press it down lightly. Be careful not to compact the soil too much, as this can prevent vital nutrients and oxygen from reaching your plant’s roots.
Place in a New Container
Position the plant on top of the new potting mix in the base of your chosen container, ensuring the root ball is slightly lower than the lip. Adjust the mix as needed to center the plant. Next, gently add more potting mix around the roots, maintaining a level and centered position for the plant. Once the mix reaches the top of the container, lightly press it down to about an inch below the lip, firming the roots into place without compaction.
Water thoroughly and relocate the plant to its final destination. If the plant’s usual location is cold or drafty, temporarily move it to a warm spot with indirect sunlight for at least a week before placing it in its permanent position.
Choosing a Container for Houseplants
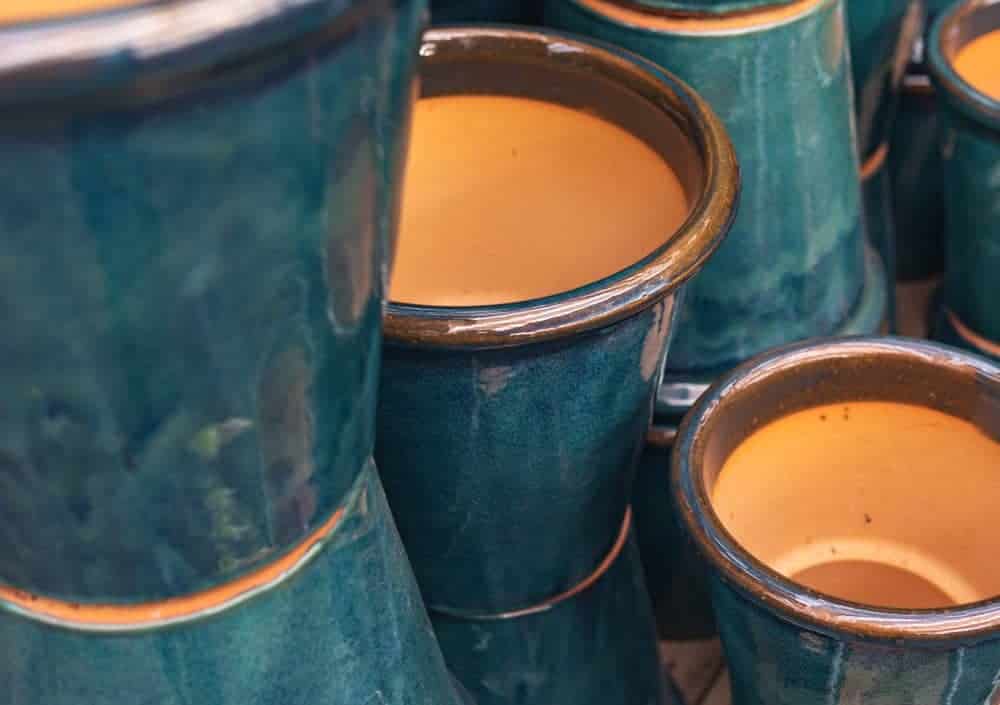
When selecting a container for your interior plants, consider not only their visual appeal but also the potential impact on the plant’s health and well-being. For instance, choose a container one size larger than the original to prevent overcrowding and root rot while minimizing waste of potting mix. Plastic containers offer portability and ease of movement, though be mindful that they can tip over if the plant grows unevenly or becomes too large.
In contrast, clay or terra-cotta pots are more stable due to their weight, which can also prolong the lifespan of the potting mix. Additionally, these types of pots tend to absorb excess water and unwanted nutrients that may build up over time. However, keep in mind that you’ll need to ensure your plant receives the right amount of water by watering more frequently. Crucially, make sure the container has drainage holes to prevent waterlogged potting mix.
Be cautious when watering, as the drip tray underneath can overflow if not properly emptied within 30 minutes. If the drip tray continues to overflow after this time, it may be a sign that you’re giving your plant too much water.
5 Mistakes to Avoid When Repotting Houseplants
When it comes to repotting your plants, there are several common mistakes that can have negative consequences for their health and well-being. One of the most critical errors is using a pot that’s either too large or too small. A container that’s too big can lead to waterlogged soil, while one that’s too small can cause root compaction as soon as the plant is repotted. To avoid this, make sure you’re using a pot that provides ample space for the roots to grow without becoming waterlogged.
Another crucial consideration is drainage. If your potting mix doesn’t drain well, you risk creating an environment where the roots are constantly sitting in water. This can be detrimental to the plant’s health. To prevent this, drill some holes in the bottom of the pot or use a pot with built-in drainage holes. Additionally, place a drip tray underneath the pot to catch any excess water. When repotting, it’s also important to handle the root ball with care.
Avoid removing too many roots or breaking off large sections of the root system, as this can cause significant stress to the plant. Instead, gently loosen the soil around the root ball and only trim excess roots if necessary. Soaking the soil for a few hours or overnight can make the process easier if the root ball is tightly compacted. Finally, consider the timing of your repotting.
Repotting a flowering plant during its blooming period can be disastrous, as it may disrupt the plant’s natural cycle and prevent it from producing flowers again. Similarly, repotting in cold weather can shock the plant, causing it to go dormant or even die. For these reasons, it’s best to wait until spring or summer when the weather is warmer and more conducive to healthy growth.
