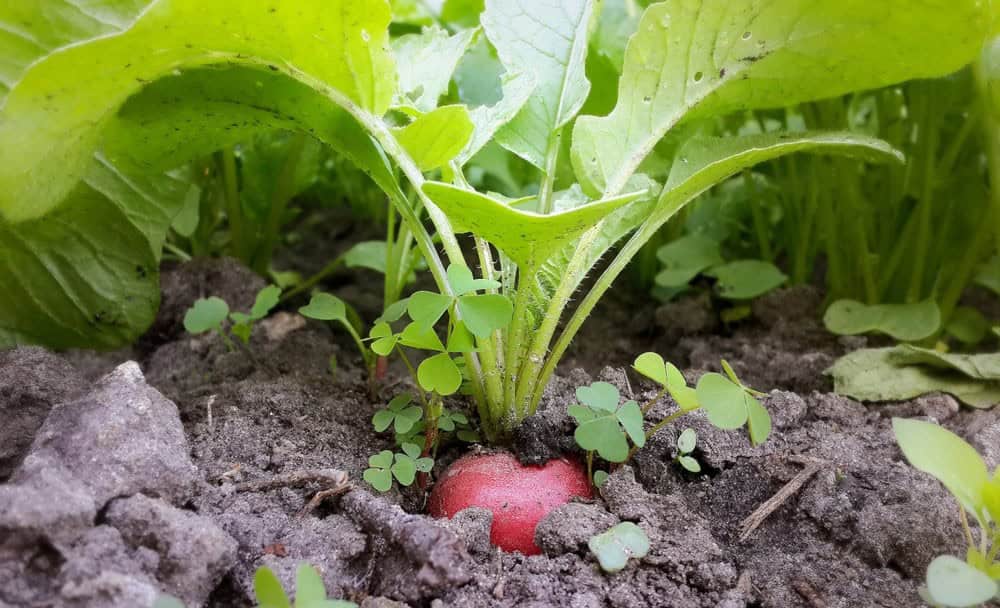
Radishes, one of the simplest and fastest-growing crops, can be a great addition to any garden. However, if you’re experiencing difficulties growing radishes, it doesn’t mean you’re not cut out for gardening. There are several factors that can affect their growth, and understanding these factors is key to resolving any issues. Let’s explore some of the most common challenges and how to overcome them.
17 Problems That Can Ruin Your Radish Crop
When tackling radish cultivation, it’s essential to be prepared for potential challenges, whether you’re an experienced gardener or embarking on your first attempt this season. To ensure success, focus on creating a well-prepared growing environment by thoroughly working the soil and making any necessary amendments. Consistent moisture levels are also crucial, so prioritize regular watering while avoiding excessive foliage irrigation by targeting the soil instead.
Additionally, adopt a crop rotation strategy to prevent common issues, maintain adequate spacing between plants, and water at the root level to foster healthy growth. By investing a moderate amount of effort, you’ll be rewarded with an abundance of pungent and flavorful radishes to savor.
Stunted or Small Roots
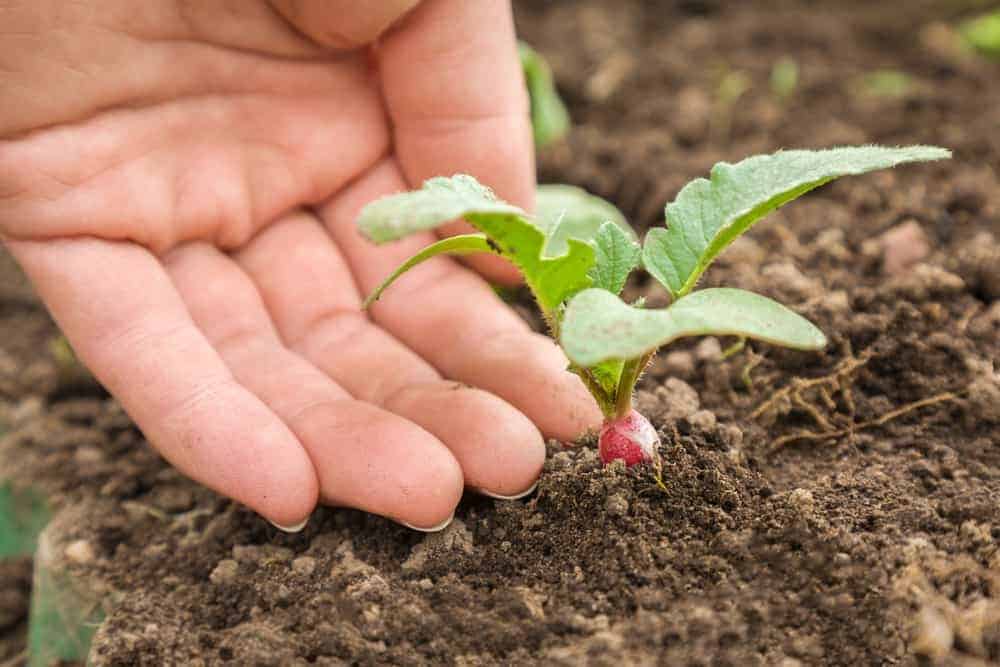
Radishes thrive in well-balanced soils that combine the benefits of loamy, aged compost-rich and sandy textures. A mix that’s too dense or lacks sufficient aeration can lead to compacted soil, which stifles root development. I speak from experience – it took significant amending for my soil to support robust root growth.
To create an ideal environment, ensure your soil pH falls within the 5.8-6.8 range and supplement with ample aged compost before planting.
You can also incorporate perlite to further enhance aeration. Aim to cultivate a fluffy tilth that’s at least 12 inches deep, providing roots with the space they need to flourish unobstructed.
Failure to Germinate
To successfully germinate these vegetable seeds, it’s essential to understand that they have a partial reliance on light. This means that if you plant them too deeply, you may encounter seed germination failure. To overcome this issue, start by raking the soil’s surface and scattering the seeds evenly across it. Next, apply a light layer of moisture using a hose on its lowest spray setting. Be careful not to overdo it, as excessive watering can cause the seeds to float away elsewhere.
Your goal is to achieve a gentle moistening of the soil, rather than soaking it. This simple adjustment can make all the difference in ensuring your radish crop gets off to a strong start.
Plants Are Stunted
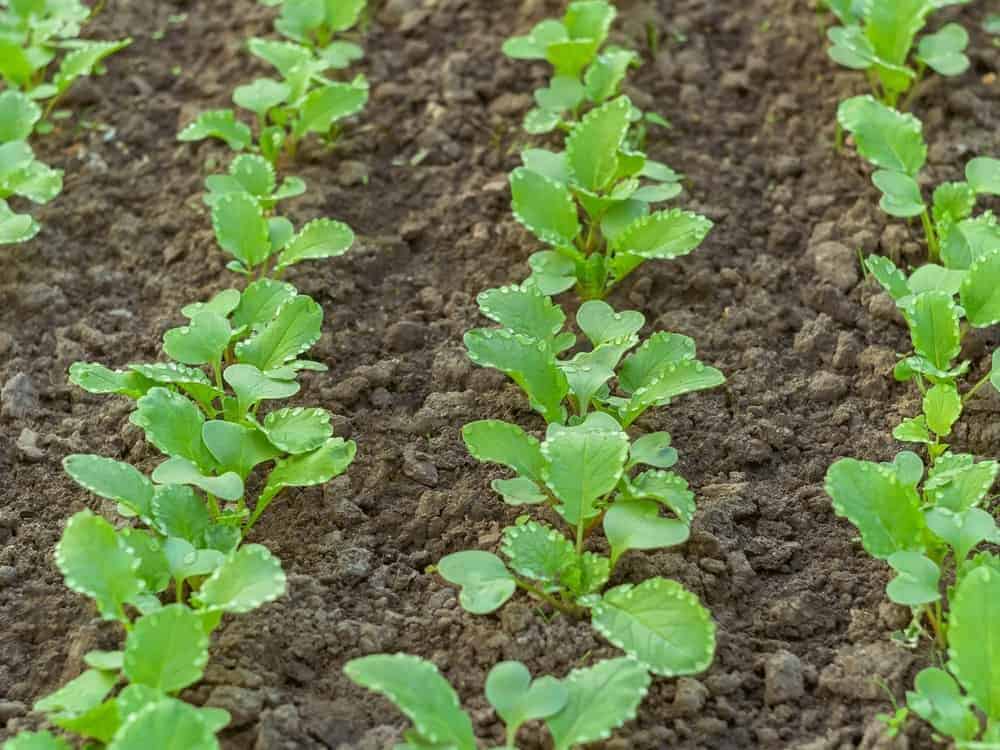
Radishes require sufficient space to grow, particularly when forming bulbs. Overcrowding these plants hinders their development and competition for essential resources like soil nutrients and water. For smaller varieties like ‘Cherrybelles’ or ‘Hailstones’, seed spacing should be around 2 inches, with rows spaced 10-12 inches apart. Larger radishes, such as daikon, necessitate more space. If space is limited, consider growing icicle radishes which occupy less room due to their elongated shape.
As the plants develop, thin out the seedlings to leave only the healthiest and strongest roots in place, maintaining a gap of 5 inches between developing plants for proper growth. Use the removed sprouts as sandwich fillings or soup garnishes.
Tiny Roots
Radishes are often touted as one of the best vegetables to grow in shade, but it’s essential to understand that just because a plant can survive in low light conditions doesn’t mean it will flourish. When I first planted radishes, I made the mistake of placing them in an area with limited sunlight – only about two hours of direct sun per day. The result was underwhelming: my radish bulbs grew no larger than peas.
It’s crucial to provide your radishes with at least six hours of daily sunshine for optimal growth and development. Without sufficient light, they become spindly and stunted, leading to poor vegetative growth and flavorless bulbs.
Flowers Forming
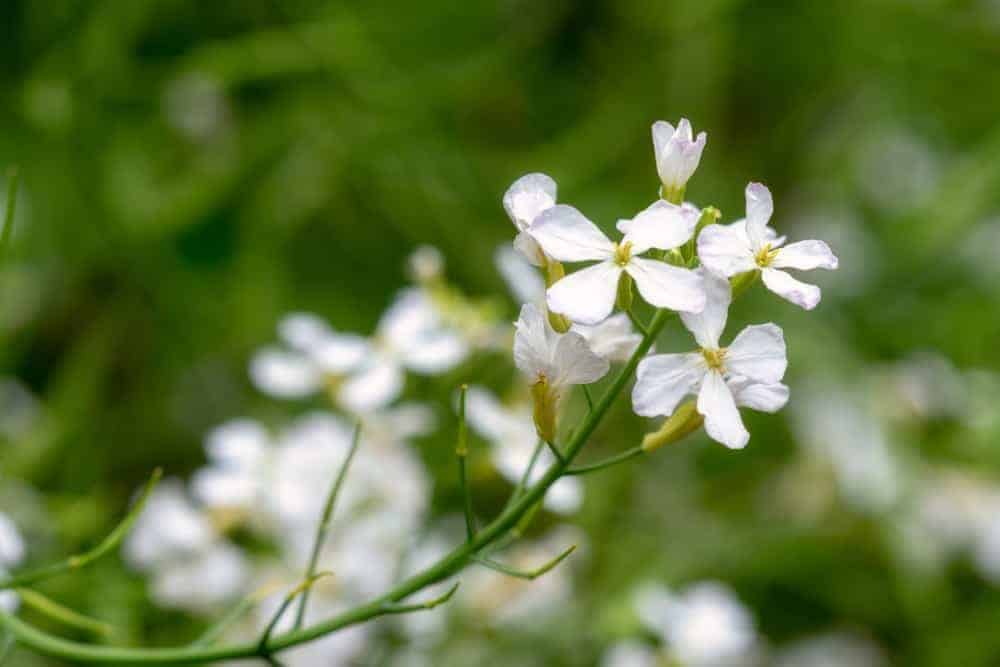
Radishes thrive when exposed to several hours of sunshine daily, but they also benefit from partial shade during the hottest part of the day. This is because they are particularly susceptible to bolting – a condition where the plants prematurely produce flowers and seeds – in extreme heat. To avoid this issue, aim to grow your radishes as early spring or mid-autumn crops instead of during the peak summer months. Interestingly, radishes tend to do well when planted alongside peas and lettuces.
In fact, you can get a bountiful harvest if you plant them at the same time as these vegetables. When it comes to providing shade for your radish plants, consider planting them behind trellises supporting pea and bean vines. Simply identify the areas that receive partial shade between 11 am and 2 pm and prepare your radish beds accordingly.
Drooping Leaves and Shrunken Stems
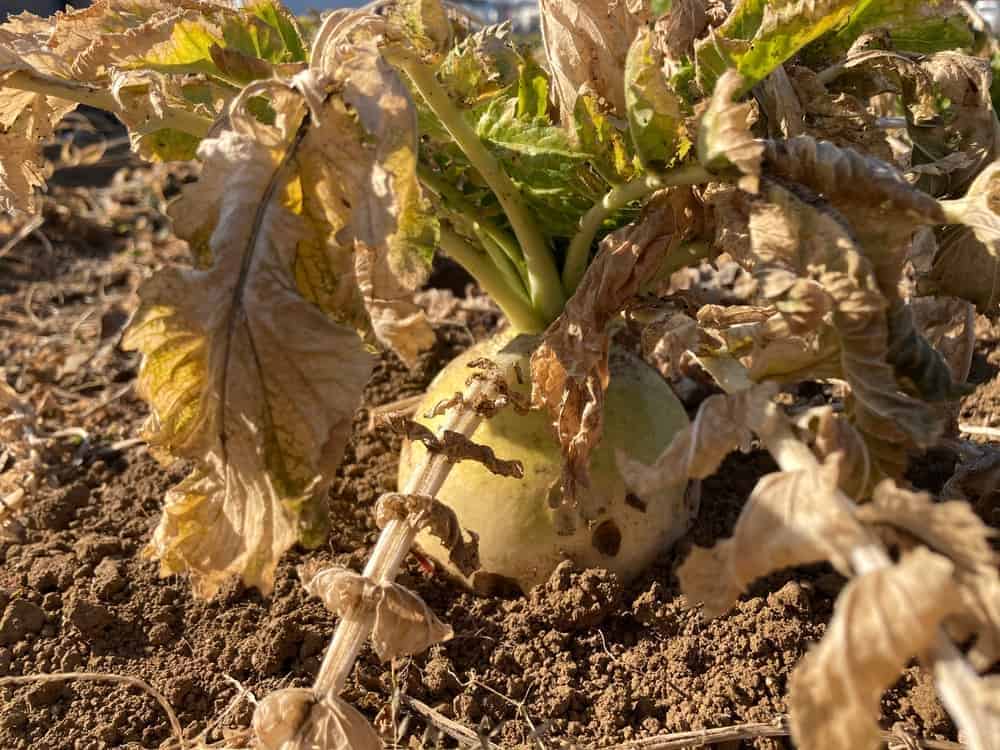
Fusarium wilt is a soil-borne fungal pathogen that targets plants’ roots and stem parts below ground level, disrupting their ability to absorb water. The affected plant areas will exhibit visible symptoms such as wilting leaves, brown discoloration, and reduced growth. In severe cases, the lower plant parts may appear shriveled and brittle.
To prevent further infection and minimize damage, it’s essential to promptly remove and dispose of any plants showing signs of Fusarium wilt.
Apply an organic fungicide to the affected area and opt for cultivating wilt-resistant varieties for a few seasons. Alternatively, consider crop rotation every few years to break the disease cycle and ensure long-term soil health.
Rotting Roots and Wilting Plants
The blackleg disease is a fungal infection caused by Leptosphaeria maculans that can have devastating consequences for root crops. If left unchecked, it can spread rapidly through the soil, rotting bulbs and stems, often without showing any visible signs until it’s too late. The first sign of trouble may be rutabagas that have turned to black slime underground, a sight my friend showed me recently. Fortunately, there are ways to prevent this disease from taking hold in your garden.
Pre-treating the soil with colloidal sulfur or hot water infused with garlic can help create an inhospitable environment for the fungus. After planting, sprinkling sifted wood ash around the nearby soil and maintaining a consistent watering schedule with warm water can also aid in prevention. To further minimize the risk of blackleg, consider adding organic fungicides to your regular watering routine every couple of weeks.
Powdery Growth on Leaves
Powdery mildew, a common issue for radish growers, can emerge during or after periods of intense heat and humidity when the soil-dwelling pathogen Erysiphe cruciferarum becomes active. This fungus typically lies dormant in the soil until it’s triggered to produce symptoms on radish leaves, characterized by a white, powdery growth. To prevent mildew from taking hold, maintain tidy leaf growth by pruning or training your radish plants to minimize leaf overlap and promote air circulation.
If mildew does develop, it’s essential to promptly remove and destroy the affected plants to prevent the spread of the disease. Following this, apply an organic fungicide to the surrounding area to ensure the issue doesn’t affect other crops in the vicinity.
Holes in the Leaves
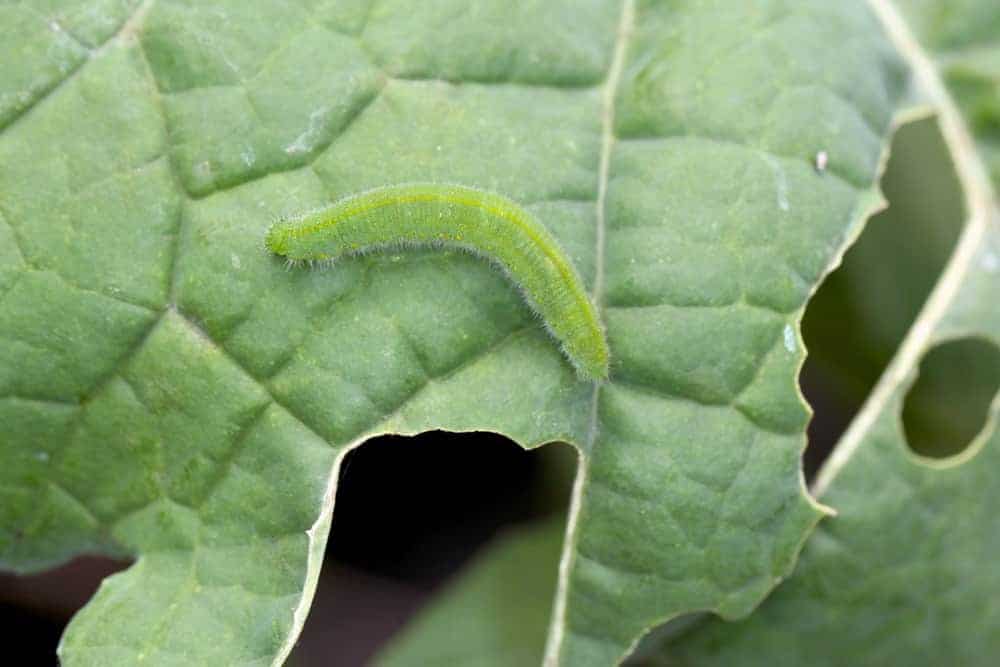
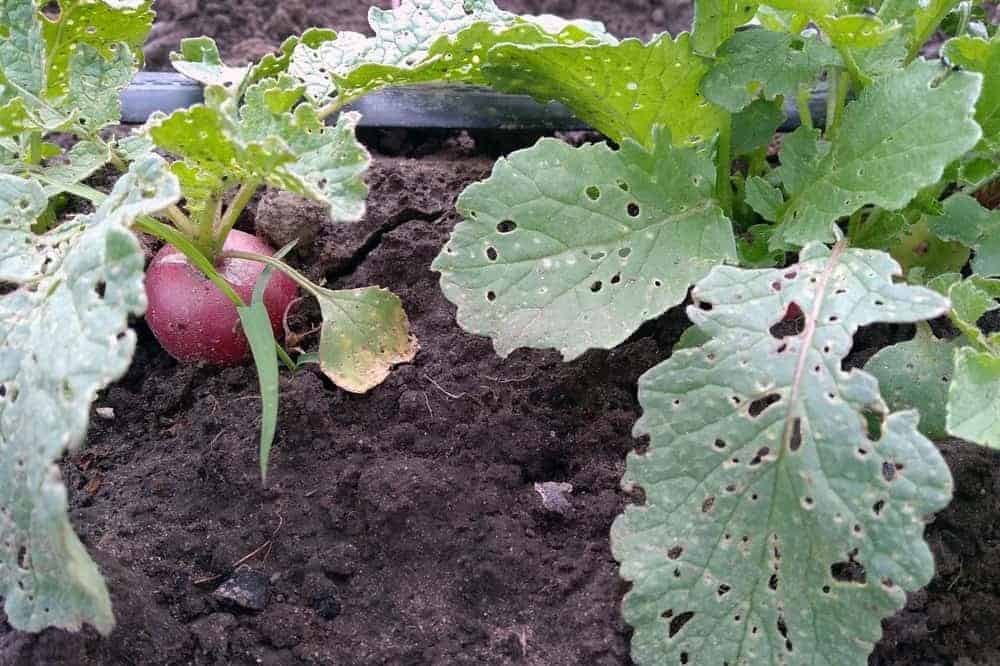
Radishes share a common family with cabbages, kale, and Brussels sprouts – the Brassicaceae family. It’s no surprise then that cabbage white butterfly larvae (Pieris rapae) have a taste for these plants too. While they target leaves and stems rather than roots, it’s possible to still enjoy your radish bulbs even if the leafy greens are devoured.
If you don’t have poultry roaming freely in your garden, consider setting up floating row covers to keep the butterflies at bay and prevent them from laying eggs on your plants.
Missing or Holey Leaves
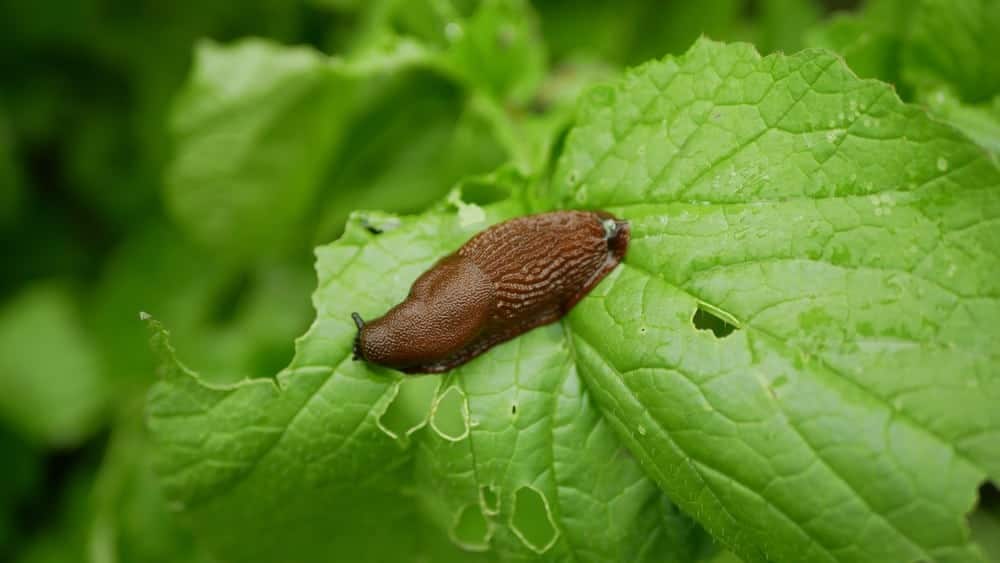
When it comes to ridding your garden of slimy slugs and snails, the first step is to understand their habits. These pests are most active at dawn and dusk, making them vulnerable to manual removal. Simply grab a pair of gloves and some tongs, and you can hand-pick these unwanted visitors from your plants. For larger infestations or those who prefer alternative methods, consider inviting ducks, chickens, or even natural predators like hedgehogs into the garden to dine on these gastropods.
Another option is to create DIY slug traps using beer as bait. Whatever approach you choose, steer clear of poisonous slug pellets, which can harm local wildlife that relies on snails and slugs for sustenance. For more expert advice on managing these common garden pests, be sure to consult our comprehensive guide.
Wilting Plants
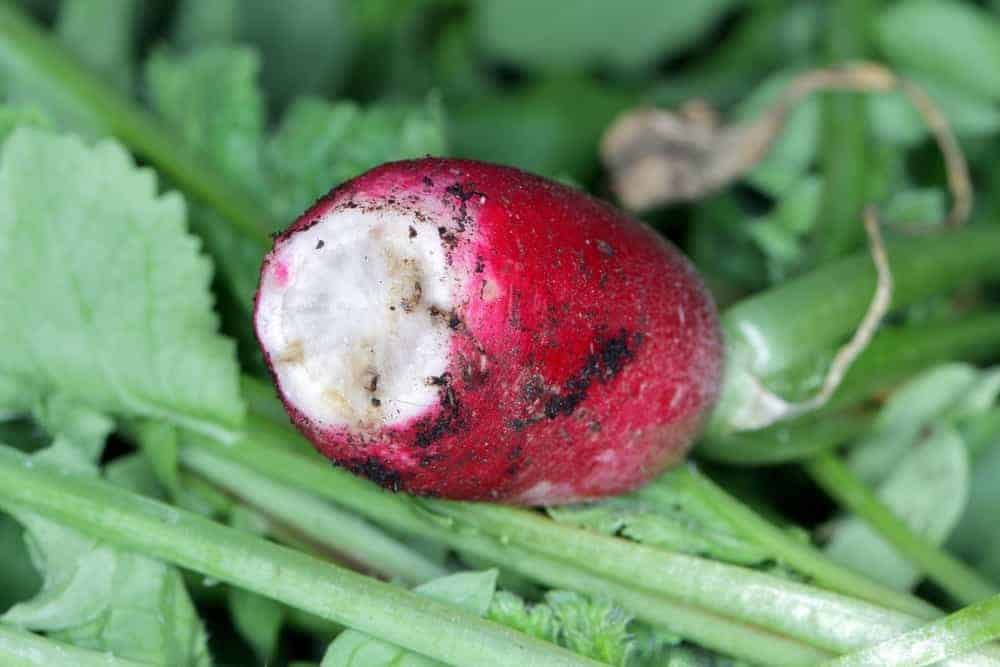
If you’re observing that your radish plants are wilting despite receiving adequate light and water, it’s crucial to inspect the roots for any signs of cabbage maggots (Delia radicum). These larvae appear as tiny, rice-like grains that burrow into brassica roots. They can render radishes, kohlrabi, rutabaga, and cabbages inedible by devouring the root core and causing it to rot from the inside out.
To prevent this issue, it’s essential to use floating row covers from the outset.
This simple measure will prevent cabbage flies from laying their eggs near your plants’ stems, thereby minimizing the risk of infestation.
Tiny Shotholes in Leaves
Radish pests, particularly flea beetles, are a common issue when growing these root vegetables. These tiny insects swarm brassica plants, leaving behind numerous holes and destruction. I’ve experienced firsthand the devastating impact of flea beetle infestations, losing an entire tatsoi crop to their ravages. To prevent this, focus on proactive measures that target the beetles’ life cycle.
Start by thoroughly raking fallen leaves and debris from your garden before winter sets in, as they overwinter in these areas. In the spring, turn over the soil to allow birds to feed on any emerging larvae. Implement floating row covers to keep the beetles out of your garden, and set up sticky traps if you notice evidence of their presence. Additionally, consider introducing parasitic braconid wasps into your garden by planting yarrow among your radishes.
These natural predators will help regulate beetle populations. Furthermore, planting mustard as a trap crop nearby can also deter flea beetles from targeting your radish crops.
Deformed Leaves With Yellow Stippling
Harlequin bugs are a common pest throughout North America, with a particular affinity for brassica plants. Their life cycle is remarkably brief, allowing them to inflict significant damage on radish crops in a matter of hours. To effectively manage these insects, it’s essential to maintain a weed-free garden area. This includes mowing any adjacent grass as short as possible, as harlequin bugs often breed and hide among weeds and tall grasses.
By eliminating their breeding grounds, you’ll significantly reduce the likelihood of infestation. In addition to keeping the garden tidy, manually remove any harlequin bugs you encounter from your plants, taking care to dispose of them in a bucket of soapy water. Furthermore, inspect your plants carefully to eliminate eggs and nymphs, ensuring that no new generations can emerge.
To prevent infestations altogether, consider using gauzy floating row covers to shelter your brassicas or opting for greenhouse cultivation instead.
Cracked Bulbs
When cultivating radishes or other root vegetables, have you ever noticed those unsightly cracks and splits in their roots? These imperfections can be attributed to inconsistent watering habits. By ensuring consistent moisture levels throughout the growing season, you can easily avoid this issue. The problem arises when soil becomes too dry and then receives a heavy dose of water, causing radish roots to rapidly expand beyond their outer layers.
This rapid growth leads to deep cracks that leave the roots vulnerable to disease, insect predation, and rot. To prevent this, strive for gentle, regular watering rather than infrequent deep soaks. Implementing a sprinkler system with a timer can help regulate daily waterings, ensuring your radish beds receive the optimal amount of moisture.
Deformed or Forked Roots
If you notice your radishes are growing with unusual shapes or irregularities, it’s likely due to an excessive amount of heavy grit in the soil. This can manifest as large pebbles or significant chunks of gravel that hinder root growth. When a developing root encounters such an obstacle, it may not possess the necessary strength to dislodge it, instead opting to adapt and grow around it. As a result, you might observe twisted, forked, or distorted roots.
To mitigate this issue, ensure you thoroughly rake and sift through your soil beds to remove any debris larger than 1/4 inch as you prepare them for planting.
They’re Too Spicy
Radish troubles often prove to be a simple matter to rectify. Unlike carrots, which improve in flavor with extended maturation, radishes exhibit the opposite behavior. As time passes, they become increasingly woody and pungent. To avoid this undesirable outcome, monitor their growth closely and harvest them at the earliest sign of bulb formation above soil level. By doing so, you can rest assured of enjoying sweet, juicy, and crunchy radishes rather than bitter, inedible ones.
Plenty of Foliage but No Bulbs
When excess nitrogen in the soil triggers an overabundance of leafy growth in your plants, it’s crucial to strike a balance to promote healthy roots and bulbs. A simple solution is to test your soil’s nutrient levels before planting in the spring, then amend with carbon to counteract the nitrogen levels and adjust potassium and phosphorous as needed. This proactive approach will help you avoid the issue altogether.
If mid-growing season finds your plants experiencing abundant leaf growth, don’t worry – it’s not a lost cause! Instead, consider this a bonus crop of nutritious greens, replete with iron, calcium, vitamin C, and phosphorous. Radish greens, in particular, are a nutritional powerhouse, boasting antioxidants and a versatility that makes them perfect for cooking methods like steaming, braising, or creaming like spinach.
Once you’ve harvested this current crop, apply the soil amendments described and prepare to sow your next batch of radishes. With some varieties maturing in as little as 16-20 days, you’ll soon be enjoying a new crop of these crunchy, nutritious treats.

