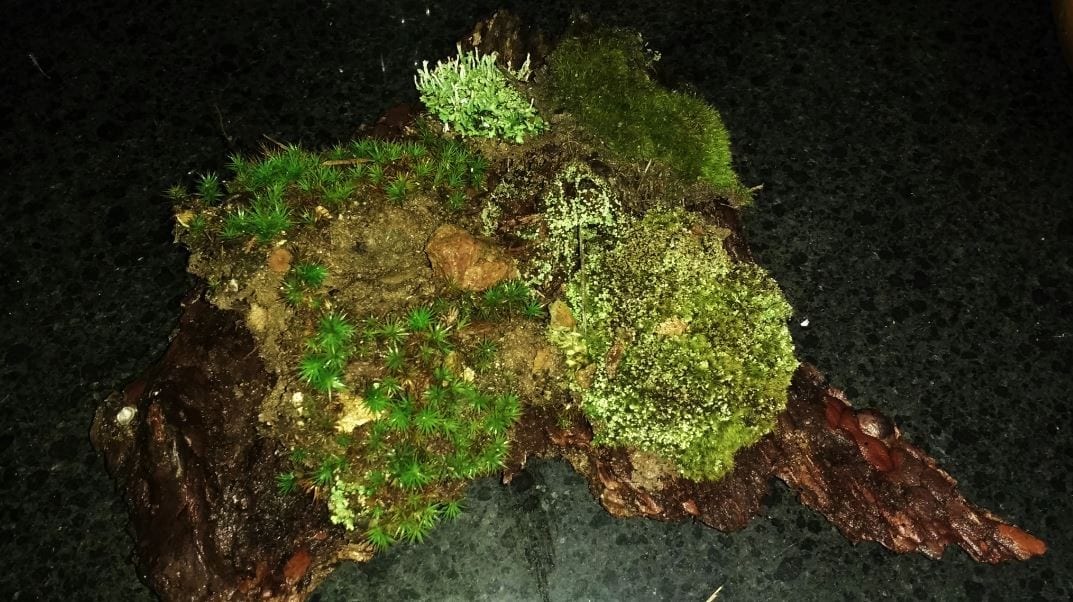
There’s an undeniable charm to moss in landscape design, reminiscent of whimsical tales featuring hobbits and fairies. Unlike grass or other ground covers, moss has a unique ability to evoke feelings of serenity and tranquility. For me, this fascination with moss was limited to its natural habitats – shady, moist areas under trees and rocks. That is until I discovered the art of cultivating moss in my own backyard.
Tip 1: Understand Moss
Unlike the typical flora found in gardens, moss stands out as a unique member of the bryophyte family. This category of plants also comprises hornworts and liverworts, further emphasizing its distinct character.
Non-Vascular
Moss defies conventional plant norms by eschewing roots altogether. This unconventional approach to sustenance means it doesn’t rely on a vascular system to absorb moisture and nutrients from the soil like most fruits and vegetables do. Instead, moss relies on precipitation and humidity to quench its thirst, while also drawing essential nutrients from the air, water, and dust particles that settle on its surface through natural processes.
Fungi-confusion
Mosses diverge from the traditional plant reproduction model, eschewing flowers and seeds in favor of spores, similar to fungi. This unique reproductive strategy allows them to colonize new areas with ease, making them well-suited to thrive in a variety of environments. When it comes to appearance, moss can sometimes be mistaken for lichen, which is essentially a fungus that derives its nutrients from an algal partner.
The similarity between the two is understandable, given their shared fungal heritage. Mosses, however, are true plants, with characteristics that set them apart from their fungal counterparts.
The Mother of All Plants
Moss has been a fundamental part of our planet’s ecosystem for over 450 million years, making it a true pioneer of plant life. It is believed that moss was the original plant species from which all other flora evolved, including the very same plants you cultivate in your garden today.
Lives by Light
While it’s true that many species of moss can survive and even flourish in shady conditions, every type still requires some level of sunlight exposure to undergo photosynthesis and produce chlorophyll. This is because their leaf-like structures, which are designed for collecting sunlight, play a crucial role in the process. In addition to sunlight, mosses also need access to water, as they use it during photosynthesis to convert sunlight into energy.
Tip 2: Pick the Right Planting Method
When it comes to landscaping with moss, the key to getting started is understanding the two primary approaches. One method involves introducing moss to a specific area of your garden through intentional cultivation. This can be achieved by carefully selecting and preparing the soil, as well as providing optimal growing conditions for the moss.
Planting Method 1: Transplant Moss
Purchasing moss in bulk can provide instant gratification, with the added benefit of resembling established growth. Roll out your moss, water it, and walk on it – voilà! You’ll be enjoying a lush, verdant landscape without breaking a sweat. This approach is particularly appealing for those seeking a low-maintenance solution. However, there’s a catch: pre-grown moss can come at a steep price tag, especially when factoring in shipping costs.
If you’re looking to cover a significant area, the expense might be prohibitively high.
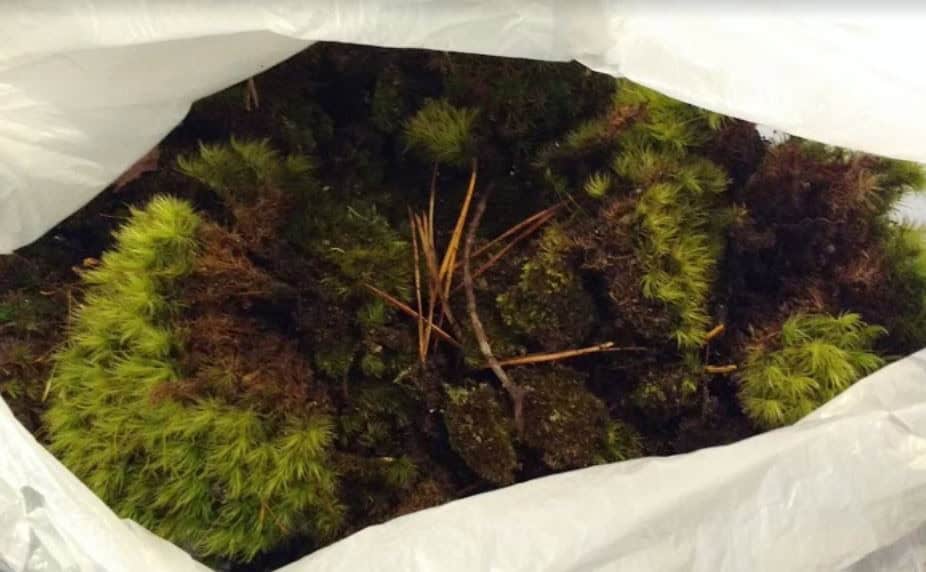
Alternatively, you could opt for wild harvesting. Just be sure to exercise restraint and respect local regulations regarding moss collection. It’s essential to strike a balance between satisfying your desire for moss and preserving the environment. While this method can be effective for creating a mossy landscape, it might not be ideal for filling in gaps or covering irregular surfaces.
In these cases, pre-grown moss may require some creative manipulation to achieve a natural appearance.
Planting Method 2: Spread Slurry
To install moss at a lower cost and achieve a seamless integration on rocks, fallen trees or stumps, creating a moss slurry is the ideal approach. This method not only reduces costs but also yields a more natural-looking outcome in your moss landscape design. Preparing a moss slurry is a straightforward process that requires blending a small quantity of moss with a suitable liquid base.
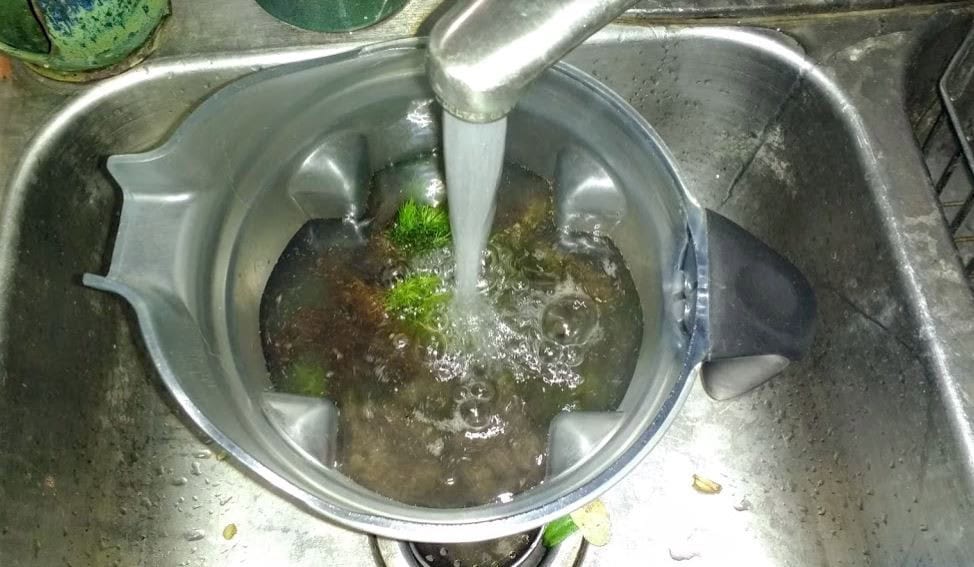
Simply combine a handful of moss with about a cup of liquid, pulse them together in a blender or food processor until well combined, and you’ll have a liquid solution ready for painting onto rocks or pouring over soil surfaces. The science behind this technique lies in the fact that moss propagates through spores. By blending existing moss with your chosen liquid base, you’re effectively dispersing those spores throughout the mixture.
When you apply this slurry to the desired area, you’re essentially inoculating the surface with moss spores, allowing them to grow and thrive. In terms of the liquid base itself, you have a range of options to choose from. According to moss growing experts, plain water is an excellent choice for creating a slurry. However, some enthusiasts prefer using buttermilk, egg whites or yogurt, as these substances help the moss adhere to surfaces better.
It’s essential to note that using these additives can promote mold growth if applied too thickly. As an alternative, you can mix in some clay with water to create a moss paste for improved sticking capacity.
Tip 3: Choose the Right Moss
While many people associate moss with shade and moisture-loving environments, there are actually some species that can thrive in full sun and tolerate drier conditions. For those looking to grow moss in arid climates, a reliable irrigation system is crucial. However, most commercially available moss types typically prefer shaded areas and acidic soils.
Many of the easiest-to-find and harvest mosses are found in wooded environments, growing on north-facing slopes or areas with consistent moisture. When collecting moss from nature, pay attention to the growing conditions it’s thriving in – this will help you recreate similar conditions at home. Alternatively, if purchasing moss from a retailer, select species that are well-suited for your desired soil and environment.
Tip 4: Properly Prepare Your Soil
When establishing a moss garden, one of the most crucial steps is preparing the ground. Since moss doesn’t have roots, it’s essential to remove any competing plant life and their root systems to give the moss a clean slate. This involves inspecting your soil pH and applying necessary amendments to ensure it’s suitable for the specific moss species you’ve chosen. Most mosses thrive in acidic environments with a pH of around 5.5. To create an ideal environment, compacted soils are also beneficial.
Instead of using pelletized sulfur to lower the pH, as you would for a vegetable garden, consider applying a solution of wettable sulfur and water to adjust the pH quickly. Once the roots have been removed, moss plants can be set out, watered, and stepped on to secure them in place. After planting, the moss will help prevent seeds from reaching the soil and sprouting. However, it’s still possible for seeds or remaining roots to push up through the moss and dislodge it from the soil.
Regular weeding will be necessary after installation to ensure the moss takes hold. Alternatively, you can apply a moss slurry to your cleared ground instead of using plants. On average, it may take 5-6 weeks for the moss to establish itself, although this timeframe can vary depending on your specific conditions. Be prepared to keep the soil weed-free and root-free until the moss has taken hold.
Tip 5: Rock It Out
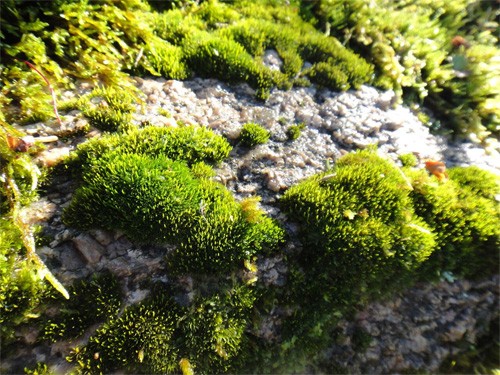
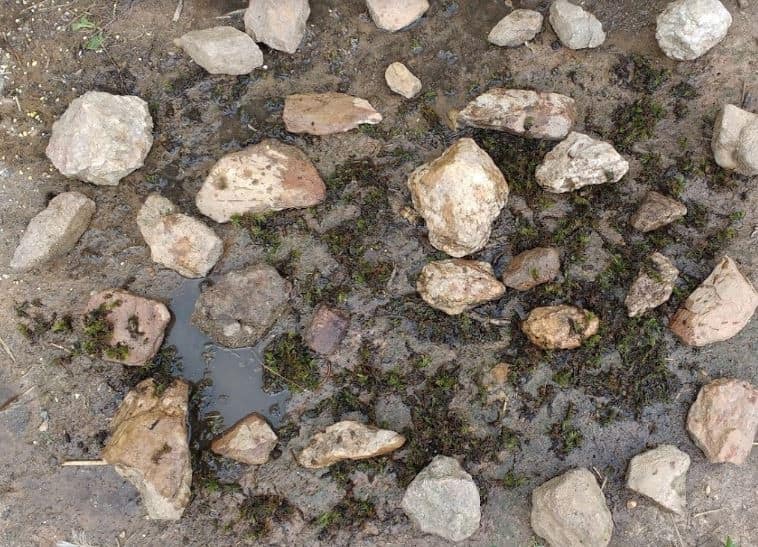
To effectively utilize moss on surfaces, capitalize on natural depressions or crevices to enhance its adhesion. This strategic placement allows the moss to thrive and develop a stronger hold. When combining mature moss with a slurry application, you can achieve an instant aesthetic boost while also cultivating a harmonious long-term effect. In flat terrain, employ smaller rock formations to create micro-environments that trap moisture and facilitate the germination of moss spores.
As the moss establishes itself, you can remove the rocks when they’re no longer necessary, allowing the lush greenery to spread freely.
Tip 6: Use a Misting System to Water
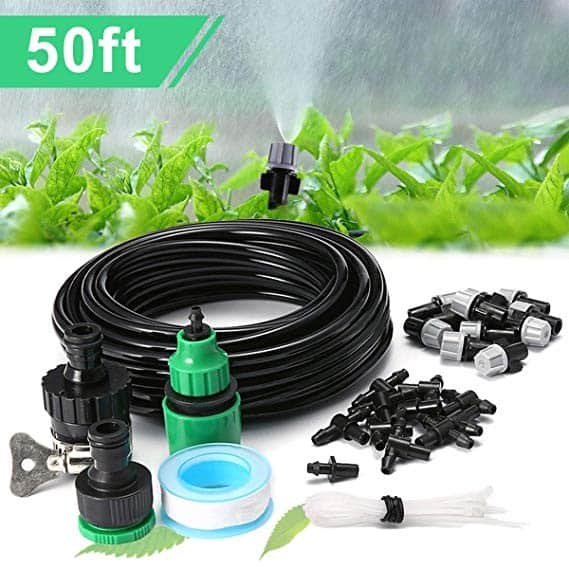
To thrive, moss requires regular moisture, but since it lacks roots, deep watering isn’t necessary. A simple misting or spraying of the surface is all that’s needed to keep it healthy. You can purchase specialized misting irrigation kits for this purpose or modify your hose with a misting nozzle. However, avoid watering during peak heat hours, as this can lead to mold growth. Instead, water in the cooler parts of the day, such as early mornings or evenings.
During the establishment period and beyond, aim for short, frequent watering sessions as needed.
Tip 7: Keep Moss Debris Free
Once your moss is well-established, maintenance becomes relatively straightforward. In addition to watering during dry spells and regular weeding, you’ll also need to ensure debris doesn’t accumulate on the surface. To achieve this, use a soft-bristled broom to gently sweep over your moss or employ a leaf blower with a gentle setting to remove any settling leaves and other material. When performing these tasks, exercise caution not to dislodge the delicate moss fibers.
Tip 8: Avoid Homestead Moss Mistakes
While moss can be a fantastic low-maintenance alternative to traditional lawns for many people, homesteaders may need to take additional steps to protect their moss from the activities of livestock and work animals. Without roots, moss is easily disturbed by digging animals, which can be a problem if you have chickens that love to scratch or ducks that enjoy rooting around for grubs.
Even barn cats can see moss as a convenient litter box, while dogs may quickly destroy a patch of moss in their enthusiasm for digging. As such, moss is best suited for areas where your homestead animals are not likely to venture, making it an ideal choice for private relaxation spaces or paths designed specifically for human use only.
Tip 9: Don’t Buy Moss-Nomers
When it comes to plants called ‘moss’, it’s easy to get fooled. Many plants boast the name, but aren’t actually moss at all. Case in point: ‘Irish Moss’ often found in hardware store plant departments, or the iconic ‘Spanish Moss’ that drapes from trees in the southern United States. To avoid confusion, remember this simple rule: genuine mosses never produce flowers. So, if you spot a moss-like plant with a flowering period, it’s likely an imposter.
Tip 10: Prevent Moss-takes
Moss is often viewed as a nuisance in many lawns, prompting the development of products aimed at eradicating it without harming surrounding vegetation. However, this invasive growth can actually serve as an indicator that the soil quality is subpar for supporting lush grass growth. Typically, moss thrives in compacted soil with acidic pH levels. By addressing these underlying issues through targeted improvements to your lawn’s soil quality, you can prevent unwanted moss invasions.
It’s essential to consider that even if your lawn itself is well-maintained, other areas of your property – such as those prone to waterlogging or nutrient deficiencies – may still be susceptible to moss growth.
Conclusion
The allure of moss lies in its timelessness and natural beauty, making it an ideal choice for reviving underutilized spaces on your property. Moss thrives in conditions where other plants might struggle, such as compacted soil, excessive moisture, or shady areas. By incorporating these low-maintenance and versatile organisms into your landscaping plan, you can effortlessly infuse a touch of moss magic into your homestead.

