Creating a herb garden is an accessible and rewarding endeavor for any gardener, novice or experienced. The best part? You can grow a year’s supply of your favorite herbs for the same cost as buying them at the store – a true gardening ‘paycheck’. However, it’s essential to be aware that herbs have their own unique characteristics. Many varieties are eager to spread and multiply, with some even being labelled as ‘invasive’ by enthusiasts. But fear not!
Rather than fighting this natural tendency, why not harness it? Simply use your abundant harvest to its fullest potential, and enjoy the fruits of your labor.
Talking Herbs
It’s unlikely that herbs are intentionally trying to overrun your garden and devour your lawn. Instead, they’re simply expressing their desire to be harvested – frequently! Herbs are incredibly productive because they long to be cut and dried, ultimately bringing joy year-round. Humans have been cultivating herbs with the goal of increasing their productivity for thousands of years. When herb growers fail to respond to their plants’ cries for pruning, chaos can ensue.
But you won’t fall into this trap. You’ll be prepared to dry both small and large batches of herbs, allowing you to store and utilize them in various creative ways. And it’s all just a matter of following these easy steps.
Early Harvests And Entry Level Production
To keep your herbs thriving, begin harvesting them early on. The initial snips will be modest – simply pinch off a few sprigs from the top of each plant to stimulate bushy growth. You can use these cuttings to add fresh flavor and visual appeal to salads or garnishes. As you revisit your plants a week or so later, you’ll notice that those early cuts have encouraged nearly double the top growth across the entire plant. At this point, it’s likely time for another round of harvesting.
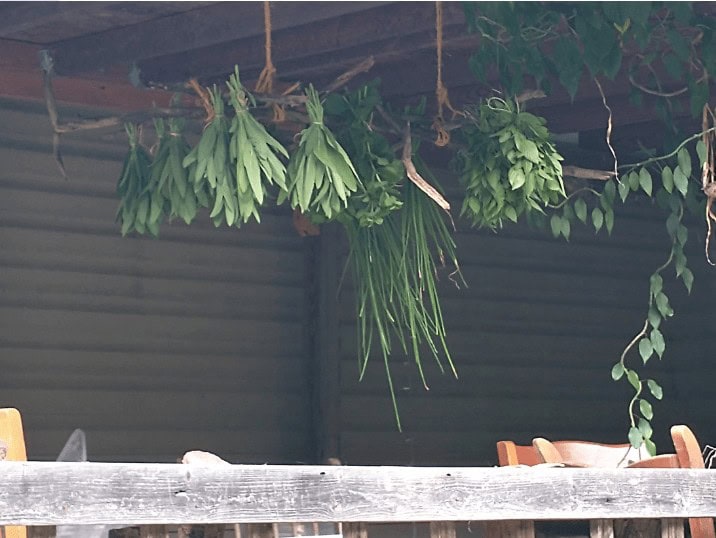
If you find yourself with an abundance of herbs, consider utilizing rustic herb hangers to dry small bunches. This not only preserves your harvest but also adds a charming touch to any room.
Method: Herb Bunch Hangers
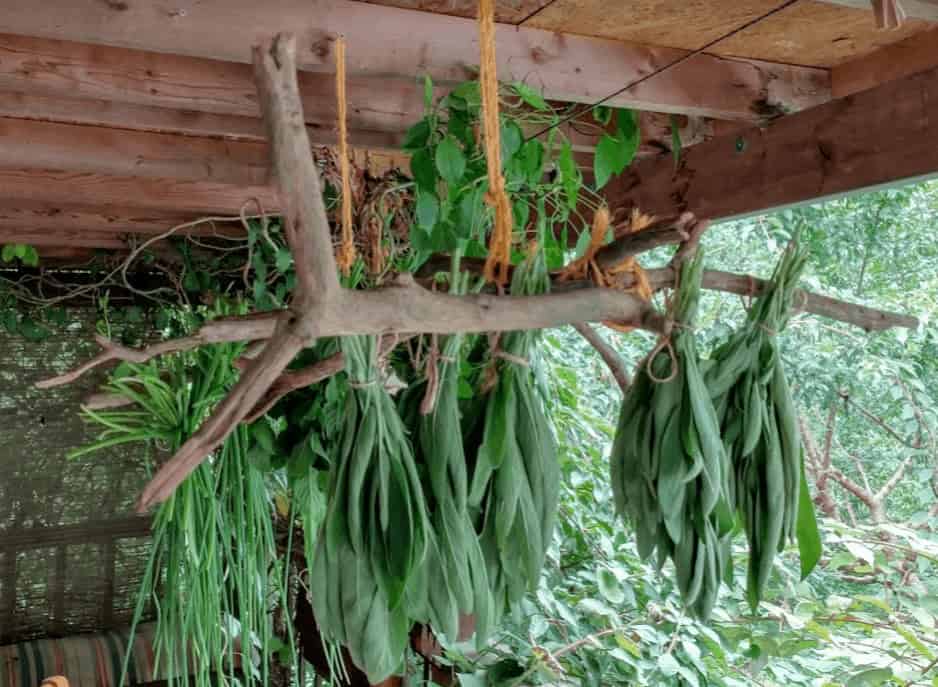
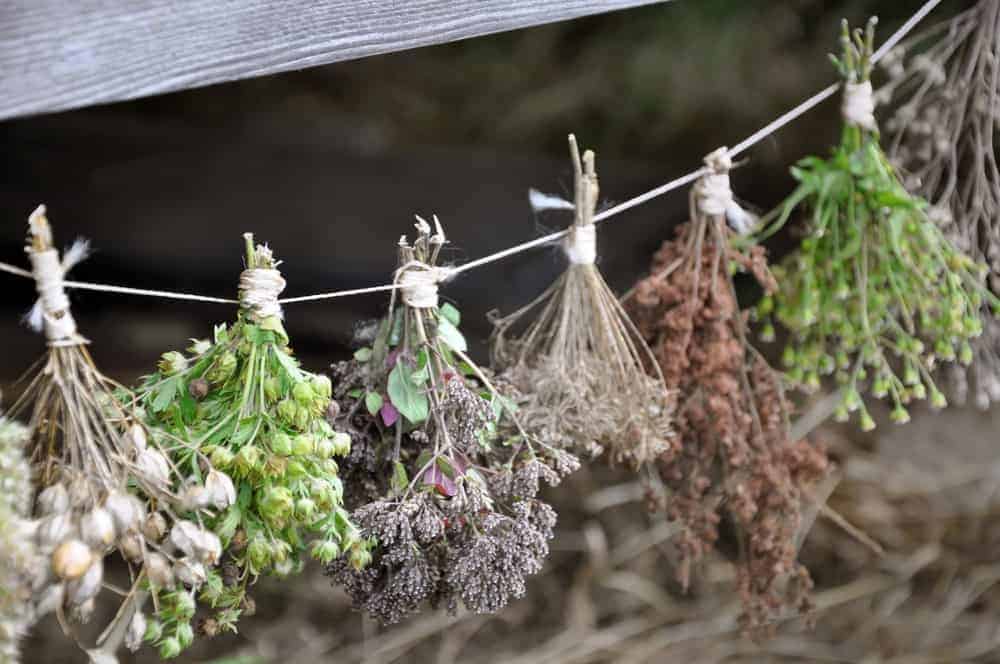
To preserve the freshness of dried herbs, start by grouping them into small bunches and securing them with a single- tied bow. This not only saves time but also allows for reusing the string to tie up future harvests. When creating these bows, make sure to leave generous loops that can be easily threaded over hanging apparatus. When it comes to selecting a suitable hanging device, your imagination is the only limit.
However, consider the following essential factors: sufficient airflow to prevent mold and mildew, minimal exposure to dust, sturdy construction to support the weight of the herb bunches, and sufficient space for easy access. For instance, you can repurpose an old coat rack or key rack as a makeshift drying station. Alternatively, borrow space from existing hanging areas in your home, such as hooks above your kitchen island or a dedicated hanger.
If you’re feeling crafty, consider creating your own custom herb hangers using materials like downed branches or driftwood. Personalize your setup to suit your style and available space.
Pros and Cons of Herb Hangers
Hanging herbs on rustic hangers is a simple yet charming way to preserve nature’s bounty. Despite processing hundreds of pounds of herbs annually, I still take pleasure in hanging select bunches for their aesthetic appeal. The benefits of this method are multifaceted. You can easily create a custom rack to fit any available space, and the herb hangers also serve as beautiful decorations.
When not using them to dry herbs, you can substitute fragrant bunches with flowers to add a pop of color and fragrance to your home throughout the winter months. However, there are some drawbacks to consider. The most significant is the time-consuming process of tying and hanging each bunch, which may not be feasible for those with limited time or patience. Additionally, if left untouched for too long, the herb bunches can become dusty and less desirable for use in cooking.
Practical Advice for Herb Hangers
When it comes to drying herbs by suspending them on herb hangers, consider this process as an opportunity to cultivate mindfulness. Savor each moment, from cutting and bundling the herbs, to the gentle dance of the leaves as they dry. Allow yourself to be fully present in the experience, letting go of any pressure or expectation.
As a general rule of thumb, only allow your herbs to hang for the duration it takes for them to fully dry.
Once they’re ready, transfer them to airtight containers and store them in a cool, dark location. It’s essential to give the herbs at least a week to mature and intensify their aromatic properties before using them.
Remember, patience is key when it comes to drying herbs. By taking your time and allowing the process to unfold naturally, you’ll be rewarded with a more complex and satisfying culinary experience.
Productive Herbs & Intermediate Production
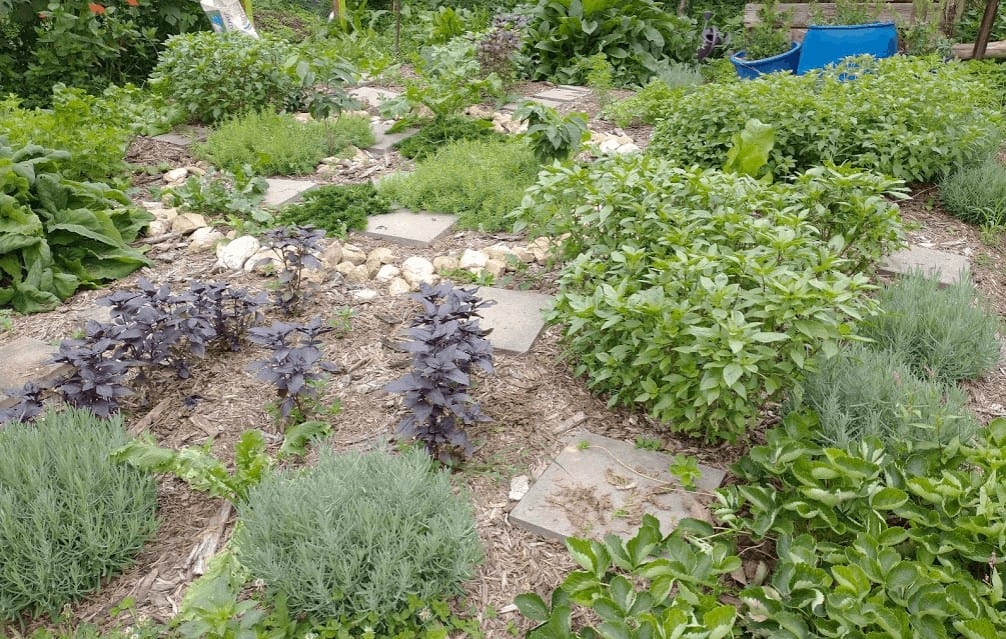
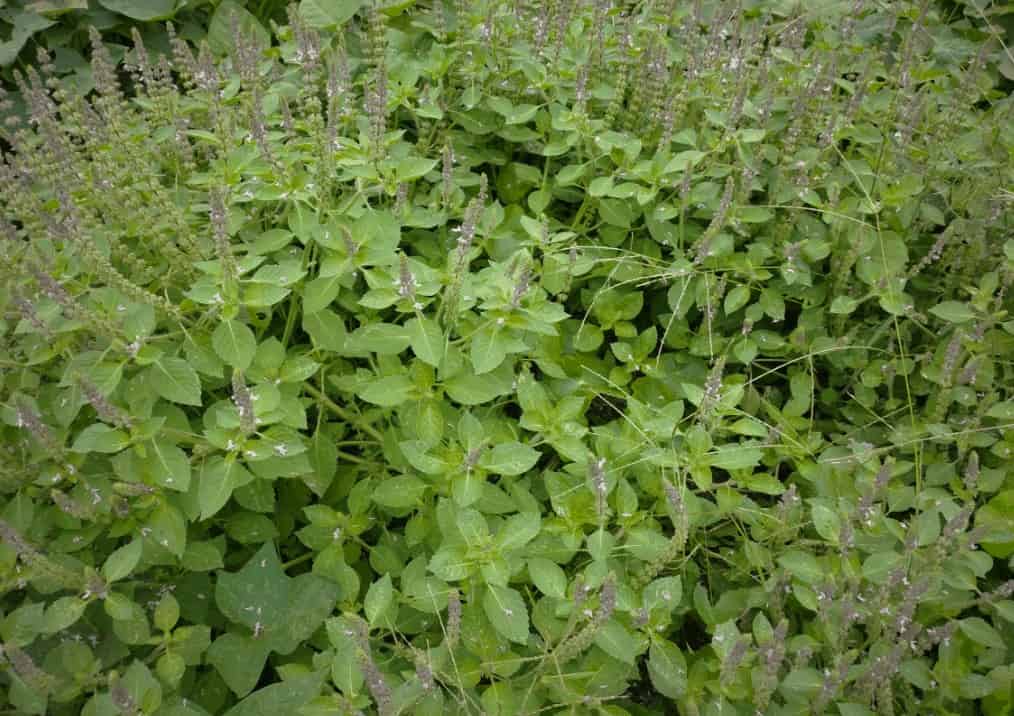
As my basil garden above flourishes with a variety of purple Genovese (front left) and other types, I’ve come to realize that herb hangers can only go so far in preserving the bounty. Once annual herbs reach their peak productivity and perennials are well-established, you may find yourself struggling to keep up with the sheer volume of flavorful and fragrant goodness. It’s then that trays or drying racks become a more practical solution for capturing the essence of your harvest.
Method: Trays and Racks
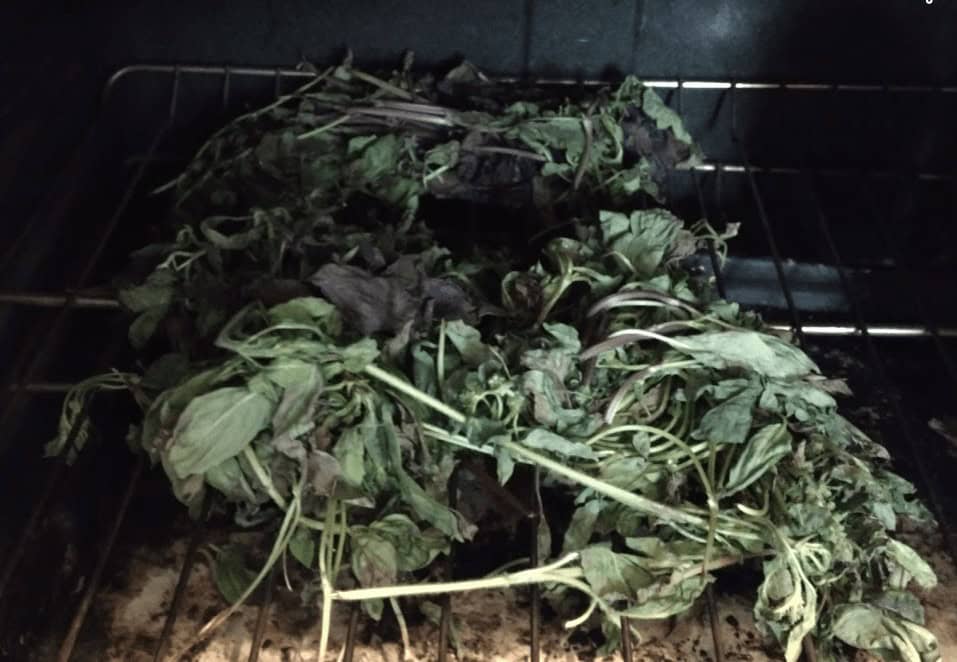
When it comes to drying herbs, you’re not limited to just making your own or buying specialized trays. You can also repurpose items you already have at home. For instance, the racks in your oven are perfect for drying herbs – just be sure to give them a good cleaning first and remove any lingering food residue. To dry your herbs, simply lay them out on the built-in oven racks, making sure not to overcrowd them.
Place a sheet pan or tray underneath to catch any falling debris as you handle the herbs. Some people prefer to use their cookie cooling racks on top of sheet trays for added drying power, but this method can slow down the process. To speed up the drying process, try setting your oven to a low temperature (135°F or less) and gently turn your herbs every couple of hours using tongs to ensure even drying. Of course, you’re not limited to oven racks alone.
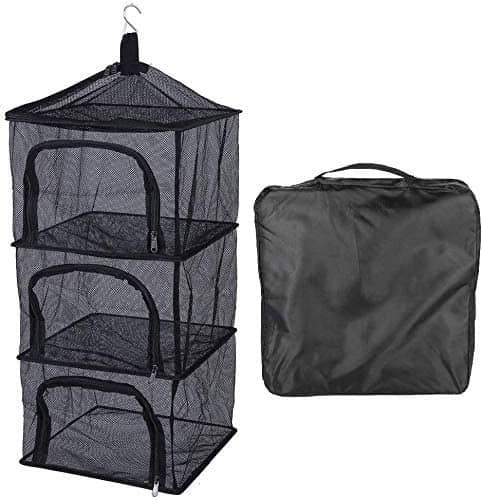
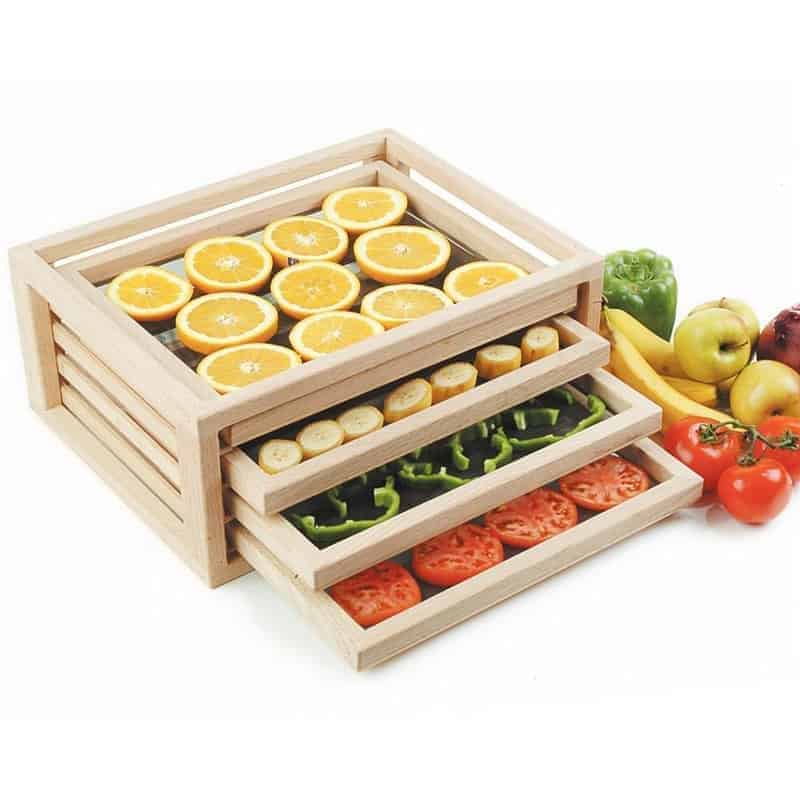
You can also purchase or make formal herb drying trays, which come in various shapes and sizes. For example, there are shelved laundry bag-style trays made from nylon netting that promote airflow and have zippers for easy access. These trays are great for displaying your dried herbs. For a more rustic look, you might prefer wooden framed herb drying trays with screens or mesh panels attached. These can be placed on tables or inside shelving units, allowing you to dry your herbs in style.
While some models may limit airflow, you can solve this by placing them near a fan set on low or using them outdoors on a breezy day.
Pros and Cons of Trays and Racks
Scaling up production requires adapting your herb drying methods beyond what’s feasible with small quantities. Trays and racks are ideal for processing larger amounts of herbs.
The advantages of trays and racks are undeniable. They simplify the process, eliminating the need for extra storage or purchases. The variety of styles, sizes, and uses also makes them a practical choice.
However, there are some drawbacks to consider.
When using your oven, you’ll need to dedicate space to drying herbs for several days, which can be inconvenient if you’re cooking for others. Additionally, storing racks when not in use requires planning, and more decorative designs often come with higher costs and longer production times.
Practical Advice
When the summer heat sets in, I rely on my oven to dry herbs instead of cooking. This strategy allows me to plan around times when we enjoy more salads or outdoor cooking, making it a convenient and efficient approach. In addition to using my oven for herb drying, I also utilize framed trays for various projects such as crafting paper, sieving compost, dehydrating tomatoes, and other tasks. The versatility of these trays makes them worthwhile investments that minimize storage space requirements.
To ensure optimal use of these trays, it’s essential to clean them thoroughly between uses. By doing so, you can prevent any lingering residues from affecting the quality of your subsequent projects. A smaller tray size also proves beneficial in this regard, as it reduces waste and minimizes cleanup efforts. By incorporating herb drying into your routine and leveraging tools you already possess, you can save both money and space – a win-win scenario that’s hard to resist.
Heavy Production & Herb Addicts
While my personal Tulsi patch is relatively modest at around 40 square feet, it’s not uncommon for home herb growers to encounter space constraints when drying larger quantities of herbs. Typically, oven-drying and framed trays can accommodate the needs of most gardeners. However, as one’s herbal endeavors expand to include tea-making for year-round consumption, distilling essential oils, or utilizing herbs for livestock and medicinal purposes, the need for alternative drying methods may arise.
Methods for Large Volume Production
For those who take their herb drying endeavors to the next level, there are a few unconventional options worth exploring.
One such method is harnessing the power of your car. Specifically, hatchbacks with foldable rear seats can provide an ideal environment for drying herbs. You can create a makeshift hammock by laying out racks or using a lightweight sheet and row cover to suspend your herbs. To get started,
Wait for a few sunny days when you don’t need to use the car.
Put the seats down to create a spacious area.
Hang your hammock using the car’s handles or other available hooks.
Crack open the windows by a couple of inches to allow humidity to escape.
Lay out your herbs on the hammock cloth and flip them occasionally, just as you would in an oven.
Once dry, you can roll up your herbs and use the hammock to thresh them.
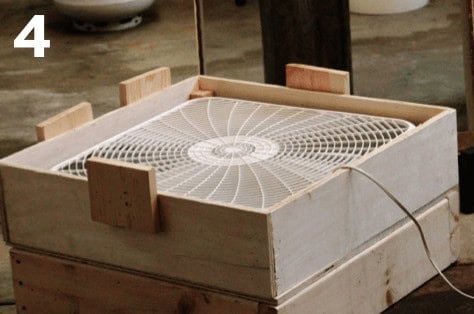
Alternatively, you can utilize oast boxes, which are typically employed for drying hops but also work well for herbs.
These consist of stacked frames topped with a framed box fan that circulates air through the herbs. You can supplement the natural drying process by using a hairdryer if needed.
Solar dehydrators are another option worth considering. These structures feature an air draw at the bottom, multiple layers of drying racks in the center, and a release for hot air and humidity on top. They’re suitable not only for herbs but also for fruits and vegetables.
For those who prefer a more traditional approach, you can construct a drying house, reminiscent of those used by our ancestors. These structures are designed with good airflow and protection from excess dust and outside elements. They typically feature rafters for hanging items to dry and spaces for flat drying. While often associated with drying corn, tobacco, and fruit and meat curing, they would undoubtedly be useful for herbs as well.
In modern times, drying houses might not be as common on homesteads, but there’s a possibility that small farm hemp production could revive their popularity.
Some enterprising individuals are transforming their garages and sheds into modern drying houses by following these simple steps:
Seal the space to keep out dust.
Add lines or racks for drying.
Use fans to circulate air.
Employ dehumidifiers to remove excess humidity.
Pros and Cons
While it’s not always necessary to go big, doing so can be beneficial if you’re processing large quantities of herbs for income or personal use. On the plus side, scaling up herb drying operations can lead to increased efficiency and reduced costs in the long run, as long as you have the right equipment and a solid plan in place. The setup may require some upfront investment in construction and time, but these expenses can be offset by long-term savings.
However, there are also potential drawbacks to consider. Going big on herb drying options requires significant upfront costs for construction, storage space, and initial set-up, which can be a challenge. Additionally, you’ll need to find a way to store the processed herbs, which introduces its own set of logistical issues. These factors should be carefully considered before deciding whether to go big with your herb drying operations.
Practical Advice
I’m fortunate to have found an unconventional method to dry tea herbs – using my car! Given I don’t drive extensively, this approach allows me to dry large quantities of herbs efficiently. Plus, it doesn’t require any additional setup costs since I already have the necessary floating row cover material on hand. Another benefit is that I also utilize oast boxes, which prove even more effective in drying herbs.
However, these containers are quite substantial and rely on electricity, making them less portable than I’d like. Despite this limitation, I do appreciate having them as an option. In my ideal scenario, I envision a dedicated drying house filled with various herb-drying contraptions, including mobiles, racks, oast boxes, and possibly even a sealed area for more modern drying methods. However, that’s a topic for another article!
Conclusion
When embarking on an herb gardening journey, my recommendation is to leverage what you already possess or explore free alternatives to get started. As you grow more fond of herbs and expand your cultivation areas, the need for upgraded drying tools will arise. At this point, building a drying house may become a necessity.
