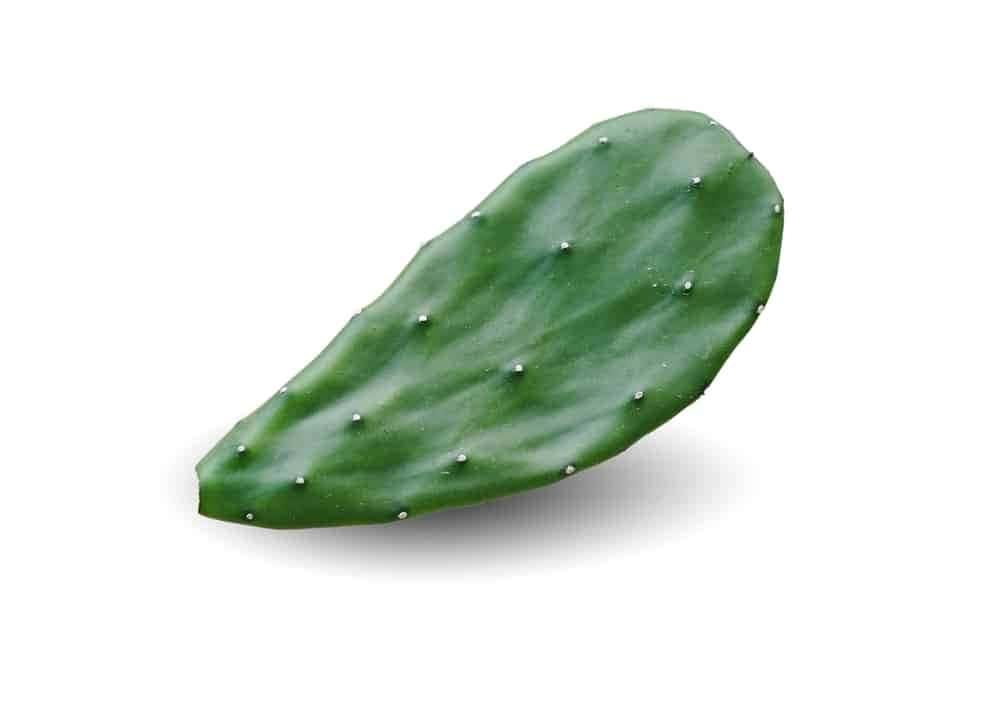
For those who reside in sweltering temperatures and appreciate plants that serve multiple purposes, prickly pear cacti are an excellent choice. These plants are characterized by their flat, club-like pads, which can often be found at grocery stores. Historically, the prickly pear cactus has been utilized for its medicinal properties in Mexico and Latin America, thanks to its antioxidant-rich and fiber-filled composition.
Today, it’s not only a popular ornamental plant but also an integral part of Mexican cuisine. While most varieties thrive in hot climates, some species can tolerate USDA Hardiness Zone 4, making them suitable for indoor cultivation as well. To grow and care for this remarkable cactus, refer to the following information.
Best Species of Prickly Pear to Grow at Home
The Opuntia genus comprises a diverse range of prickly pear or nopal cactus species, with numerous hybrids arising from their natural propensity to cross-pollinate. As houseplants, these easy-to-care-for cacti are a popular choice among plant enthusiasts, offering a unique display and the added bonus of flowering between spring and summer, when they produce vibrant purple, orange, or yellow blooms followed by typically red fruits.
However, it’s essential to exercise caution when handling these plants, as their glochids can be quite sharp – although some species are more notorious for this trait than others. All Opuntia species feature edible pads, flowers, and fruits, but O. ficus-indica is the most commonly cultivated variety for culinary use, with its edible pads known as nopales. For those looking to explore other options, there are numerous species that can be grown for both food and aesthetic appeal.
Purple Prickly Pear
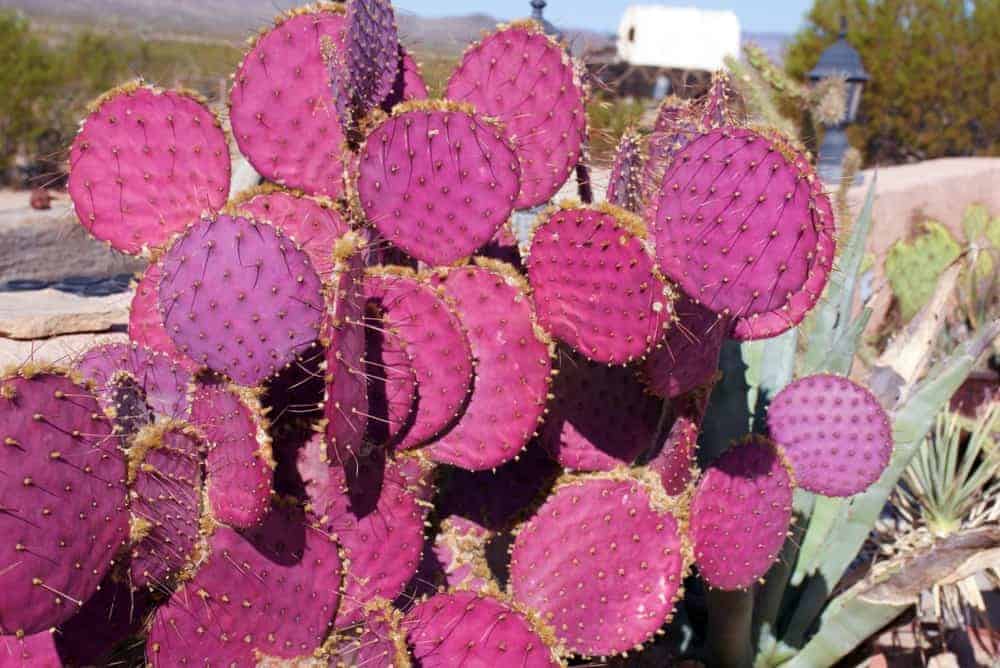
For those seeking a statement piece that adds a pop of color and whimsy to their garden, the purple prickly pear (O. macrocentra) is an ideal choice. Its vibrant, sunset-inspired hue is not only visually striking but also edible – the red fruits are ripe for the picking! This eye-catching cactus is well-suited to USDA Hardiness Zones 7-11 and thrives in hot, dry conditions, just like its native Sonoran desert habitat.
With a potential height of up to four feet and width of five feet, be sure to allocate sufficient space for this striking plant to flourish.
Tulip Prickly Pear
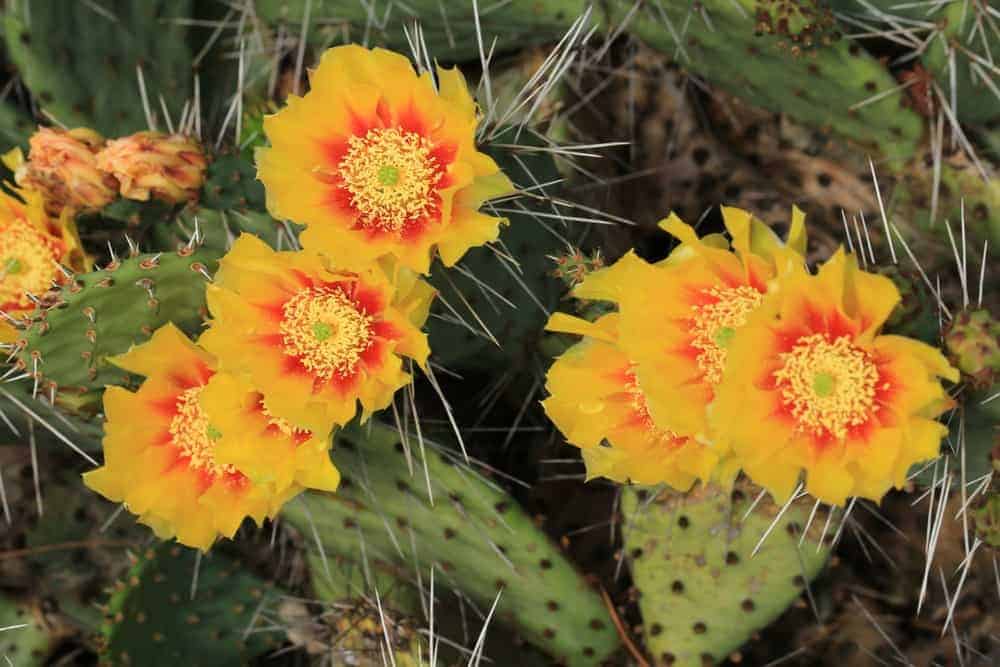
The tulip prickly pear cactus (O. phaeacantha) boasts an array of striking features. Its flowers resemble vibrant tulips, while its dense thicketed stems and upright growth habit add visual interest. As the plant matures, it displays a fascinating range of colors, including pale blue, green, and reddish-purple segments. The showy yellow and orange blooms appear in spring and summer, followed by the ripening of edible red fruit.
This versatile species is an excellent choice for those seeking a decorative and edible plant, as it thrives in USDA Zones 7-11.
Bunny Ear Cactus
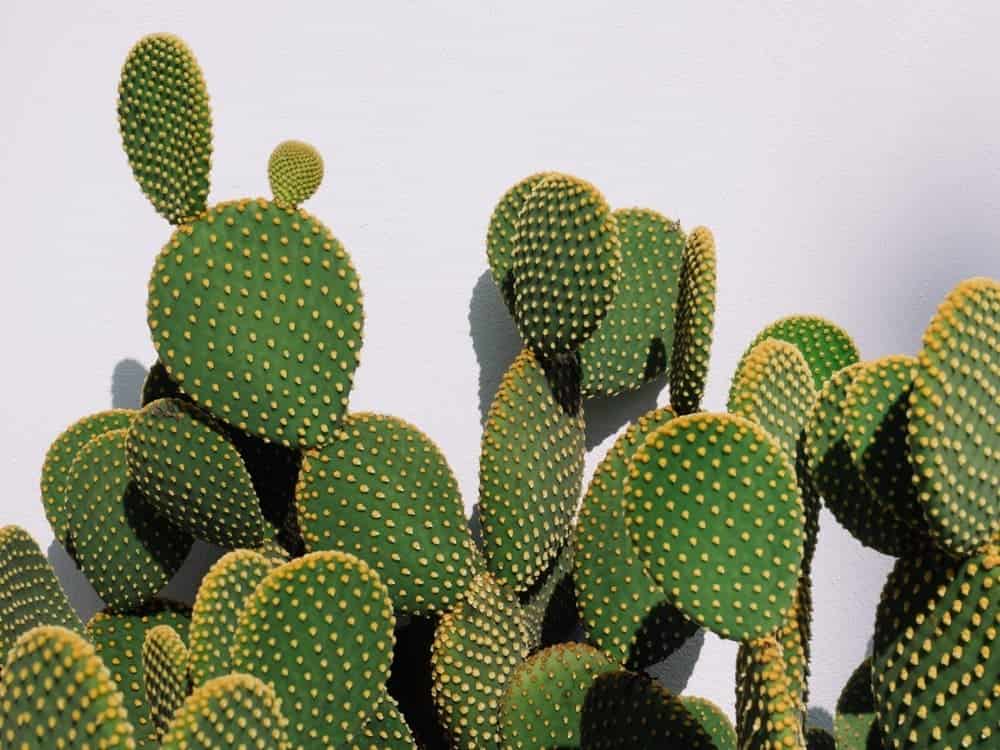
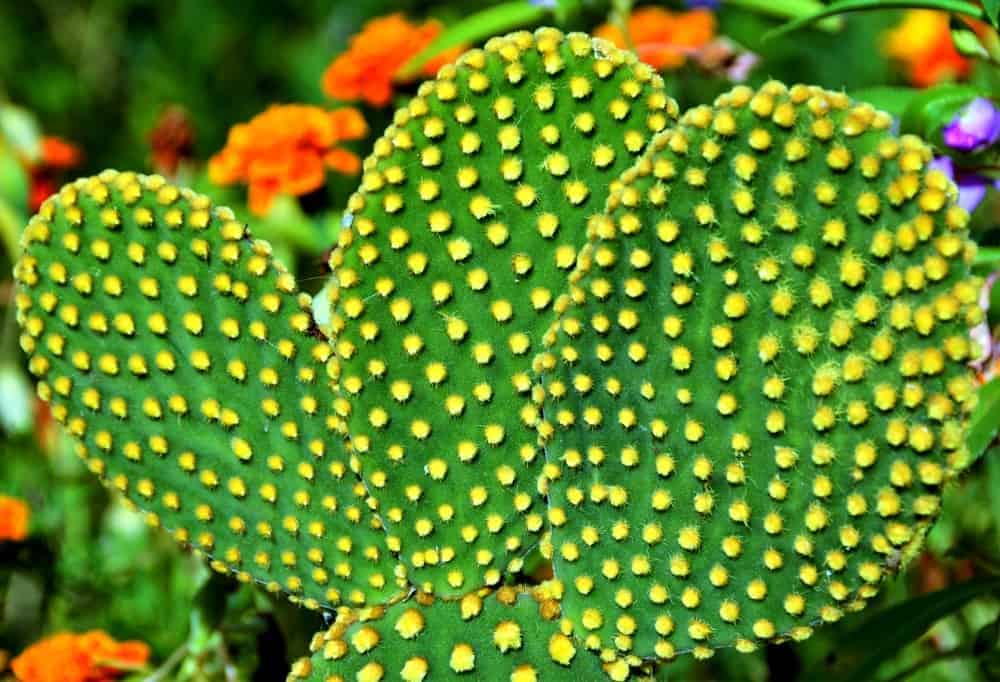
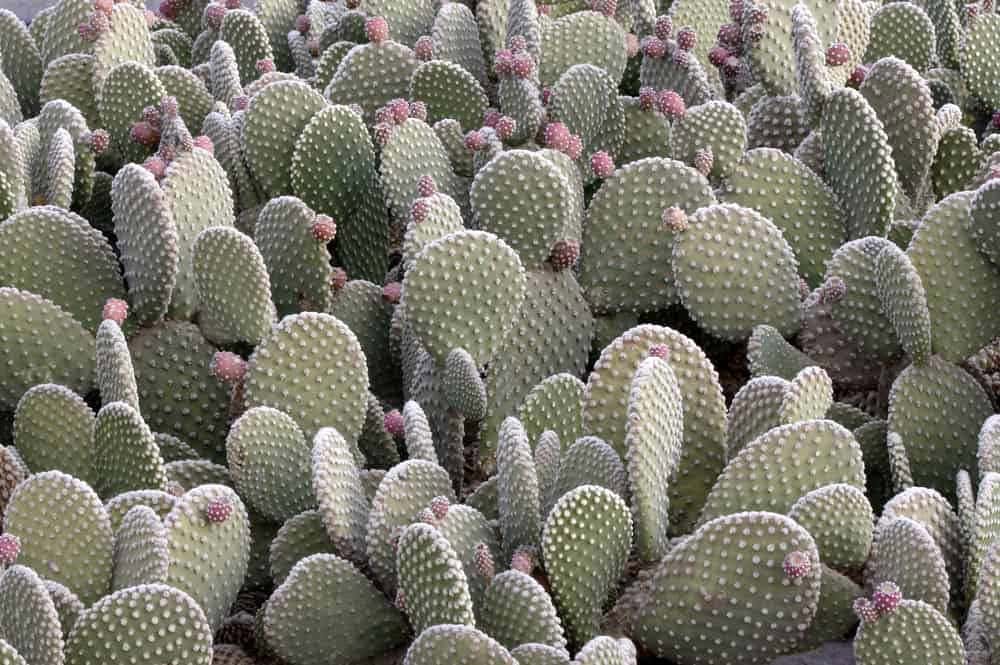
The O. microdasys, affectionately known as the ‘bunny ear’ cactus, is not only charmingly named but also visually striking. Its low-maintenance nature makes it an ideal choice for indoor cultivation, where it can thrive and add a touch of whimsy to any space. While flowers may be scarce indoors, the pads themselves boast an irresistible bunny-ear silhouette that’s sure to delight. For those willing to venture outdoors, this cactus is more likely to produce blooms in USDA hardiness zones 9-11.
Pancake Prickly Pear
The O. chlorotica, commonly known as the pancake prickly pear, derives its name from the distinctive flat pads that adorn its body. Standing tall at 6-9 feet in height, these pads boast a stunning blue-green hue, while the bright pink flowers that bloom on this cactus add an extra touch of vibrancy. The trunks themselves reach up to 11 inches in length, providing a sturdy foundation for this striking species. Notably, O.
chlorotica is one of the few prickly pear varieties that can thrive in USDA Zones 4-11, making it an ideal choice for gardeners looking to cultivate a hardy and resilient plant in cooler climates.
Beavertail Prickly Pear
For gardeners in USDA Zones 8 and above, the beavertail prickly pear (Opuntia basilaris) is a beautiful addition to their outdoor spaces. This compact species reaches only up to two feet in height, but it’s the glochids – the standard feature of all prickly pear cacti – that may pose a challenge for some. On the plus side, these plants are known for their stunning rose-purple blooms that appear during the spring and summer months.
If you’re looking to add more variety to your collection, there are several other species to explore, including the Easter (Opuntia humifusa), Golden (Opuntia aurea), Fragile (Opuntia fragilis), and Chenille (Opuntia aciculata) types. For those interested in propagating prickly pear cacti from seed, let’s dive into the process together.
Growing Prickly Pear Cacti From Seed
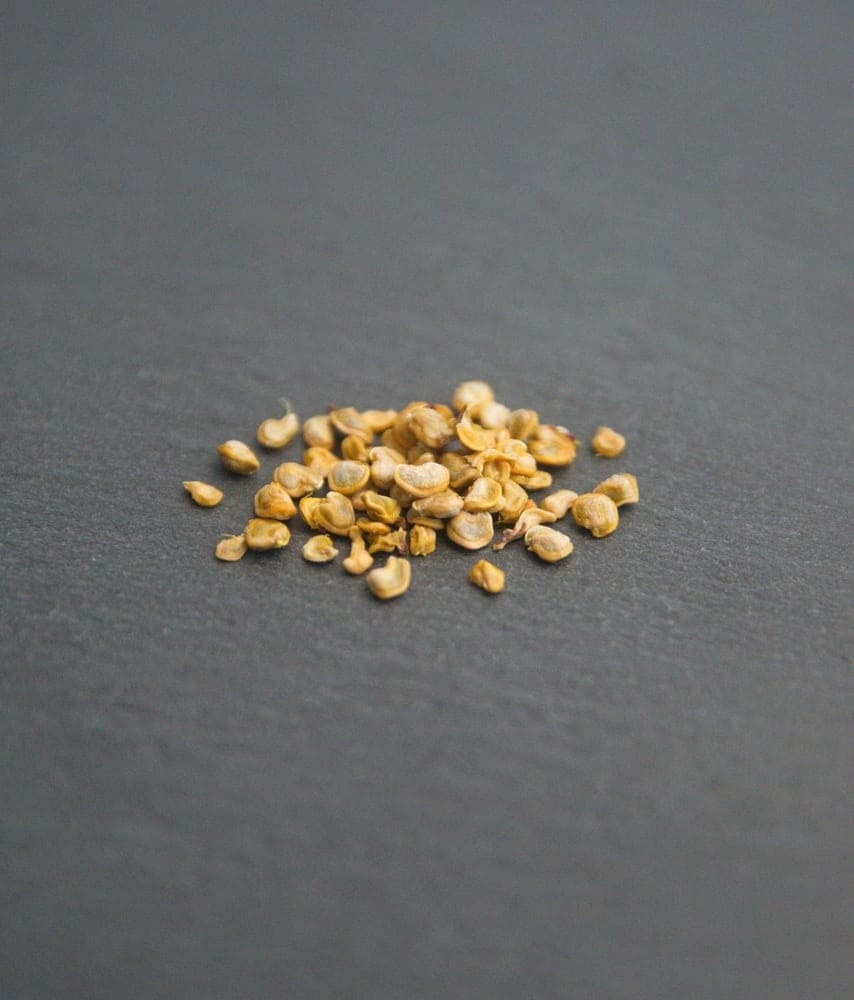
To begin the process of growing your own fruit, start by harvesting the seeds from ripe fruit. Rinse the pulp away and let the seeds dry naturally. To break down their tough outer coating, soak them in water for 24 hours and then lightly scratch the surface with a knife. A period of cold stratification can also enhance germination rates. Once prepared, plant the seeds in a pot filled with moist, well-draining soil, covering them with only a thin layer of soil or sand.
Wrap the pot in plastic wrap to maintain humidity and place it in a sunny, warm location. This may seem counterintuitive given that mature plants thrive in arid conditions, but the seeds require high moisture levels to germinate. You can expect sprouts to emerge within several weeks, although germination can sometimes take months. Once sprouted, seedlings can be transplanted to pots filled with a cactus-specific potting mix.
Growing Cuttings
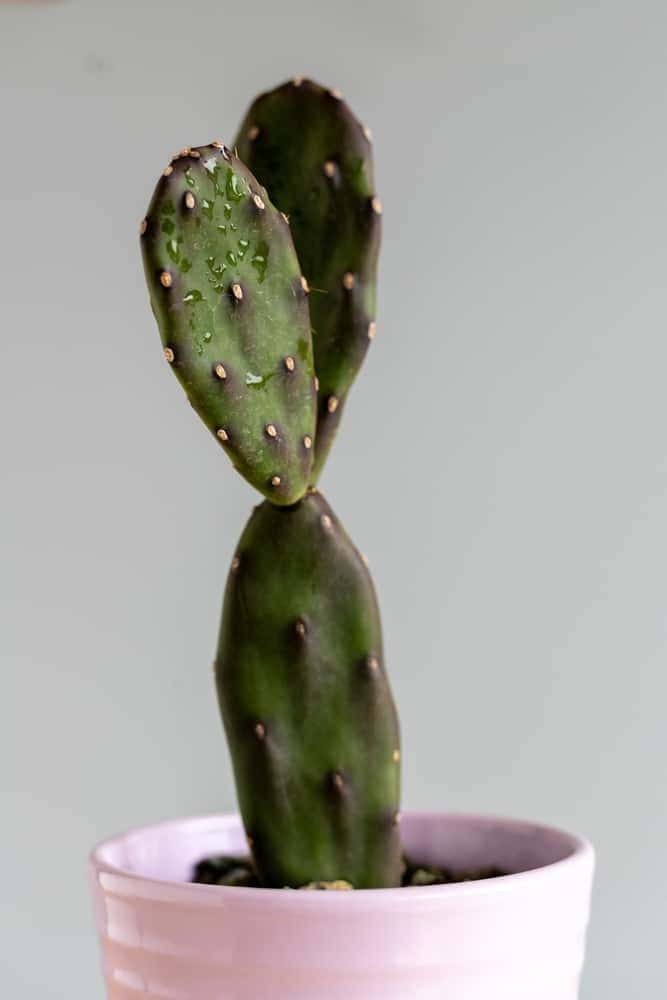
To successfully propagate your succulent, start by selecting a healthy stem from the mother plant. Cut it off at an angle, about an inch or two below any notable features like joints or ridges. Allow this raw end to dry out for 2-3 days before placing the cutting into well-draining cactus soil. It’s essential to give the wound time to form a callus, which will help prevent rot and promote healthy root growth. Once settled in its new home, keep an eye on the cutting over the next few weeks.
As it adapts to its environment, you should start to notice tiny white roots emerging from the base of the stem – a sign that your succulent is well on its way to becoming a thriving new plant.
Growing Requirements
Prickly pear cacti thrive in well-draining soil, which is crucial for their survival. Moisture-laden soil can lead to root rot and ultimately kill the plant. To ensure a healthy start, it’s essential to select or create suitable soil for your cactus. You can either purchase cactus-specific soil mixtures or amend your native soil with sand and well-rotted compost. When winter arrives, reduce watering significantly to prevent overwatering, which can manifest as dryness and deflation.
Prickly pears are desert plants that require at least six hours of direct sunlight daily to remain healthy. A south-facing window is ideal for indoor cultivation, but if you live in an area with extreme heat, providing some shade during the day, especially during summer, is recommended. In terms of temperature and humidity, prickly pear cacti are surprisingly adaptable, tolerating a range of climates depending on the species.
Some may prefer slightly more water or colder temperatures than others. To ensure you’re meeting your plant’s specific needs, get familiar with its characteristics and requirements before planting.
Caring Tips for a Prickly Pear Cactus
Prickly pear cacti can be finicky when it comes to watering, requiring just the right amount to thrive. Since they prefer dry conditions, you can water them sparingly every two or three weeks. A simple finger test can help determine if the soil is dry: stick your finger in the soil and wait for it to dry completely before rehydrating. If you’re lucky enough to live in an area with adequate rainfall, you may not need to add any water at all.
When it comes to fertilizing your prickly pear cacti, outdoor-grown plants rarely require it. However, if you’re growing them in containers or pots, a yearly application of a cactus-specific fertilizer can help replenish the nutrients that are washed away each time you water. If your cactus isn’t blooming, it may be due to a lack of food, so giving it some extra nutrition might do the trick.
Common Pests and Diseases
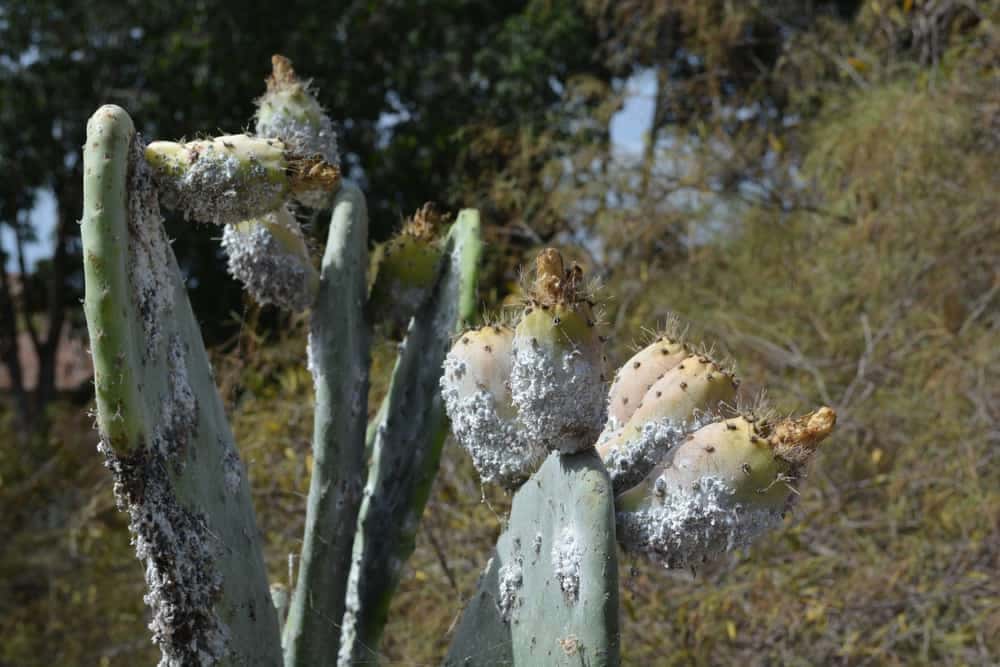
When growing prickly pear cacti, two common pests that can infest your plants are mealybugs and scale. These unwanted visitors can be eliminated by gently wiping them off with a cotton swab soaked in rubbing alcohol or carefully scraping them away. Additionally, regular applications of neem oil can help keep these pests under control. As indoor plants are more susceptible to pest issues, it’s essential to regularly inspect your cacti for signs of infestation.
Prickly pear cacti are also vulnerable to Phyllosticta fungus, which causes lesions on the plant that can develop into black spots and scabs. This disease typically thrives in humid and wet environments, but fortunately, it doesn’t usually kill the plant. However, it can spread to nearby plants and contaminate your entire garden. Since there’s no direct cure for this disease, the solution is to remove infected pads and take measures to prevent the fungus from spreading.
Other common issues with prickly pear cacti include shriveled pads resulting from underwatering, splitting pads due to overwatering, and patches of brown or white discoloration caused by excessive sunlight. By recognizing these signs and adjusting your care routine accordingly, you can help your plant thrive.
Harvesting Prickly Pear Cacti
While some may overlook the culinary potential of prickly cacti, these plants are a treasure trove of nutritious delights that can positively impact one’s health. Research has linked their fruit to diabetes treatment, cholesterol reduction, and potentially, a lower risk of obesity. To harvest the fruit, gently remove it from the pads, taking care to wear gloves to protect against the painful glochids. For ripe fruits, a simple twist or pull is sufficient.
When the fruit turns fully red in late summer, carefully break it off the pad. Harvesting the entire pad requires selecting a young, small pad and either twisting or slicing it free from the rest of the plant. After removing the fruit or pad, attention must be given to the glochids, which can be eliminated through burning or gently peeling them away with a vegetable peeler. Once rid of these pesky spines, indulge in your newfound treasures!
Like many fruits, they lend themselves to jams, jellies, syrups, and even ice cream. Alternatively, use the pads to add flavor and texture to dishes like roasted vegetables, scrambled eggs, or sautéed tomatoes.
