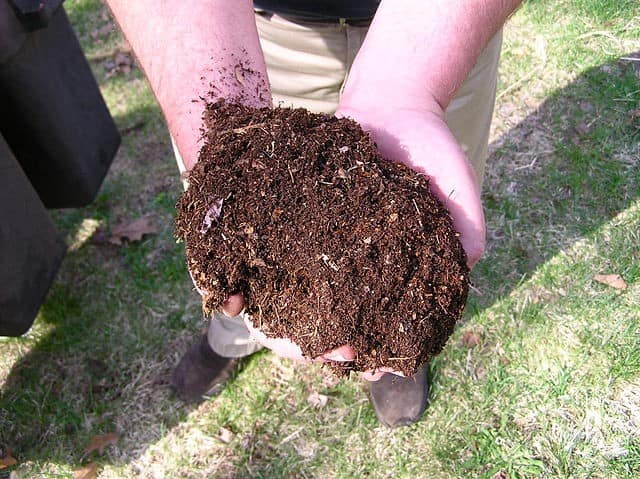
Composting is an essential process that underlies every garden’s success – whether natural or manmade. In its natural form, composting occurs everywhere, from forests where leaves and animal waste enrich the soil as they decay to ecosystems where decomposing organic matter nourishes new life. This fundamental concept can be harnessed in your own backyard by understanding the principles of composting.
By doing so, you’ll not only add vital nutrients and structure to your soil but also turn food, animal, and plant waste into a valuable resource. With its many methods, including vermicomposting, cold, and hot composting, we’ll delve into the most popular approach – hot composting – in this article.
Why Compost?
Compost plays a dual role in soil health, enhancing its water-holding capacity and providing essential nutrients. This reduces the need for synthetic fertilizers and irrigation, promoting a more sustainable gardening practice. Furthermore, it fosters a thriving ecosystem by supporting beneficial microorganisms like bacteria and fungi as they break down organic matter. In essence, compost creates an optimal environment for plants to absorb nutrients efficiently.
Additionally, it offers a practical solution for managing kitchen scraps and yard waste, diverting them from landfills and putting waste to good use in the garden at minimal or no additional cost.
What To Compost
Composting in the context of a food garden, like any other aspect of gardening, comes with its own set of guidelines. While these rules may seem restrictive, they’re essential for ensuring your efforts yield a healthy and thriving harvest.
Things to Avoid
When it comes to composting, it’s essential to be mindful of the types of materials you’re adding to your pile. High-fat items and those difficult to break down can spoil and develop unpleasant odors. On a similar note, avoid incorporating biodegradable waste, as this can slow down the process and introduce contaminants. Furthermore, some organic matter may even deter beneficial microorganisms from thriving in your compost.
For instance, onions and garlic can repel worms, so it’s best to exclude them. Here are some specific items to steer clear of: dog feces, cat feces, butter, cooking oil, meats, diseased plants (unless you’re following proper sterilization procedures), dairy products, coal ash, and weeds that produce seeds. Additionally, refrain from composting newspapers or cardboard – instead, set them aside for mulching purposes.
Things to Use
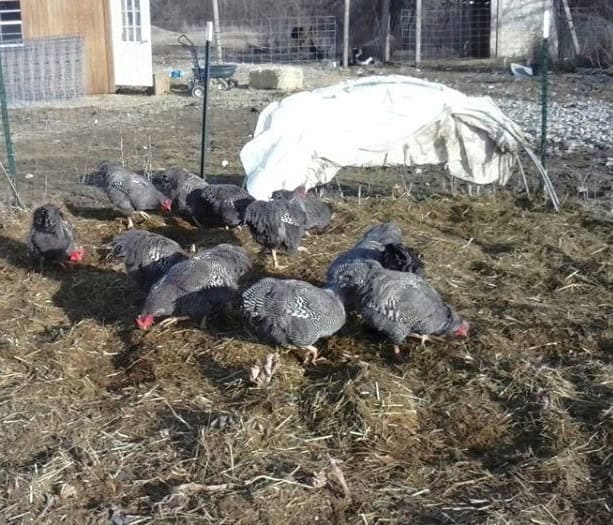
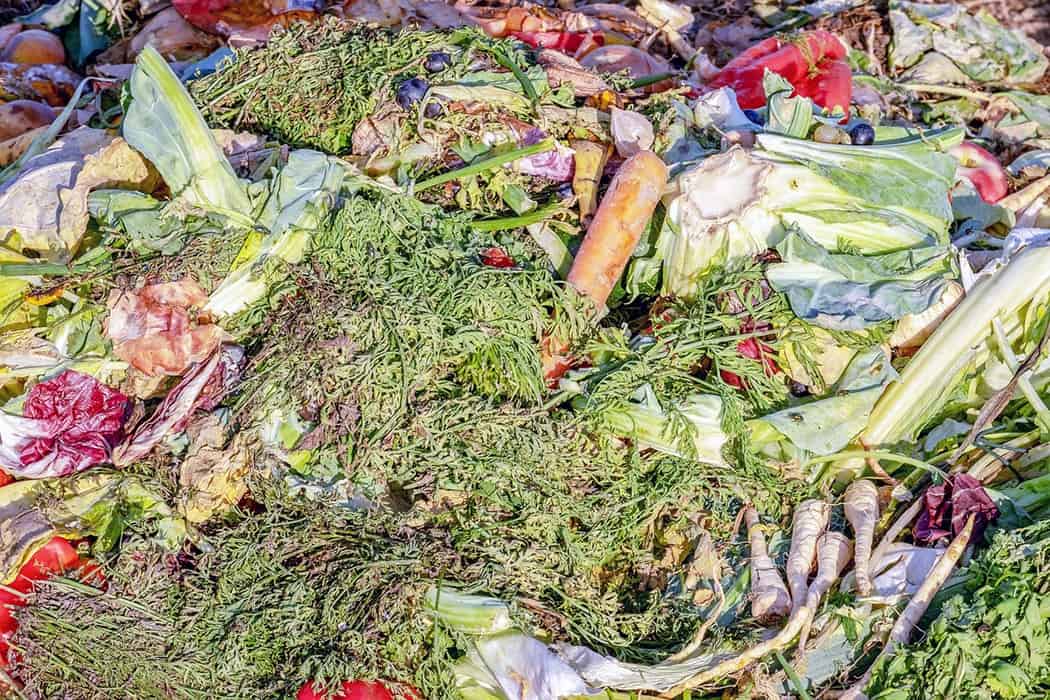
When it comes to composting, having a designated container in your kitchen to collect food scraps is a great idea. It’s an easy way to turn vegetable waste into nutrient-rich soil for your garden. While I personally prefer to divert my food scraps directly to my animals first – think chickens or goats – and then collect the resulting manure later, you can simply add them straight to your compost pile if that’s not feasible for you.
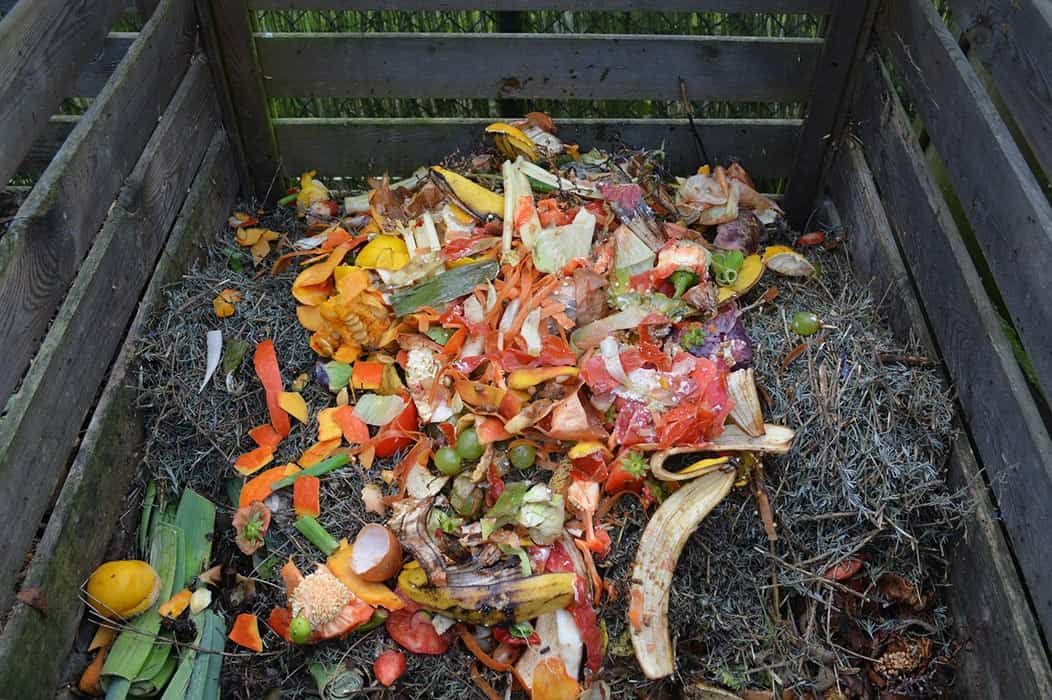
Either way, there are many other materials you can include in your compost mix to help it break down quickly and efficiently. These can include livestock manure, straw, grass clippings, small branches (make sure to cut them up first), spent plants, leftover veggies, bread, eggshells, leaves, vacuum and dryer lint, and even fireplace ashes or coffee grounds.
Where to Compost
Composting requires strategic placement, influenced by both location and available space. Whether you’re working with a compact contained area or a sprawling outdoor pile, proper positioning is key. In my childhood, we employed a makeshift ‘muck’ pile behind our barn, where manure was deposited from the stalls in a wheelbarrow. As the seasons changed, the decaying waste would be reloaded and reapplied to the garden. Though unrefined, this method proved effective.
When selecting a site for your compost pile, consider that some individuals might view it as unsightly. Avoid placing it near neighbors or on the front lawn, opting instead for a discreet location. The proximity of your garden can also be beneficial, streamlining the process. Key factors to keep in mind include good air circulation – avoid positioning it adjacent to buildings. A partially shaded area can prevent overheating and excessive moisture from rainfall.
In most climates, it’s wise to keep the pile away from sprinklers or irrigation systems. When siting your pile, steer clear of concrete or wood surfaces unless you have a moisture-collecting pan in place. Additionally, avoid positioning it near large trees or vines, as these plants can draw nutrients from your compost. Furthermore, keep the pile at a safe distance from wood fences and other wooden structures to prevent rot.
Compost Containers
When it comes to composting, many people feel pressured into investing in expensive equipment, but the truth is that getting started doesn’t have to break the bank. In fact, you can create a functional compost pile without spending a dime by simply designating a spot and letting nature take its course. Of course, having a container can be helpful in maintaining order and regulating moisture levels, making it easier to manage your composting process.
You have two options: either create your own or opt for a pre-made solution.
DIY
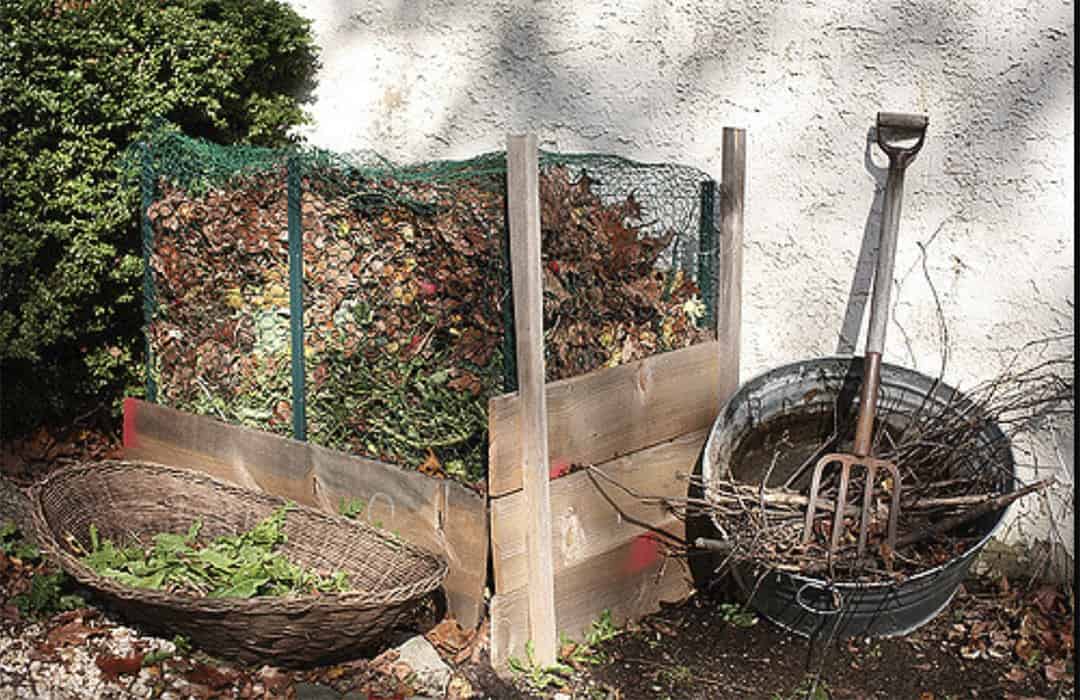
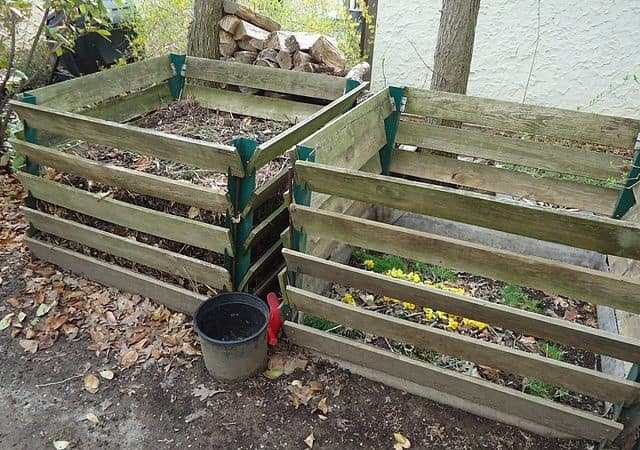
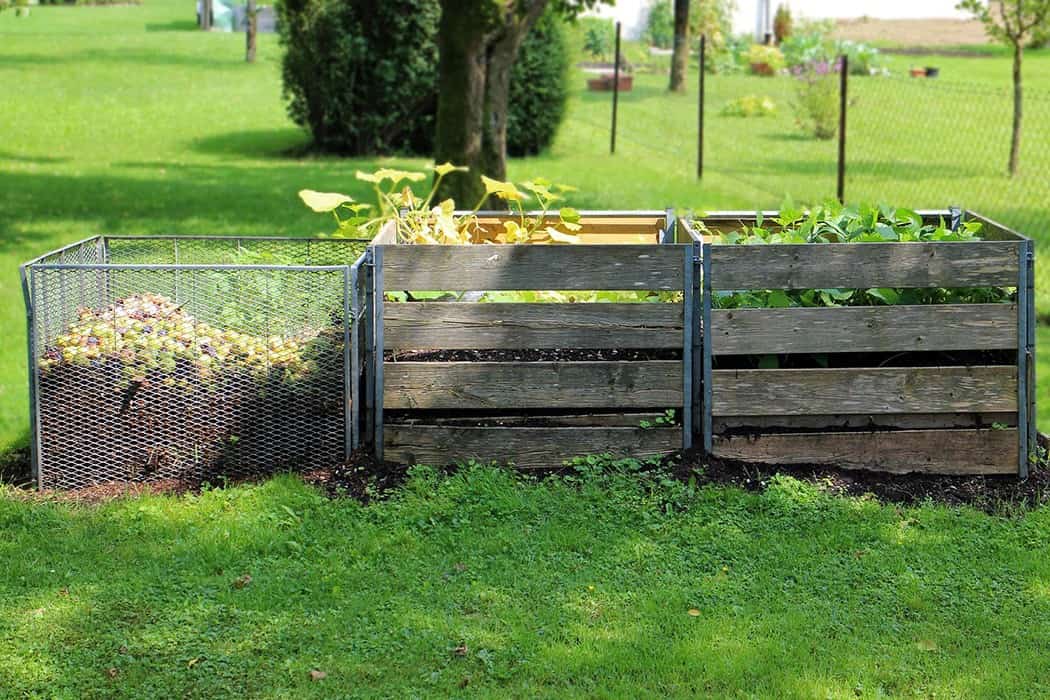
The concept of containing waste decomposition is quite popular among individuals who opt for vermiculture. To facilitate this process, many people construct or acquire rectangular bins measuring around 3 feet in each dimension, which collectively occupy a ground space of approximately 9 cubic feet. This size is deemed suitable for initiating microbial action. The containers can be crafted from wood, plastic, or metal wire.
A trio of adjacent boxes enables the simultaneous handling of multiple piles at varying stages of decomposition. As the first bin fills up and begins to break down, it’s swapped with a fresh pile in the second box, while the first is utilized for newly added materials.
Closed Bins
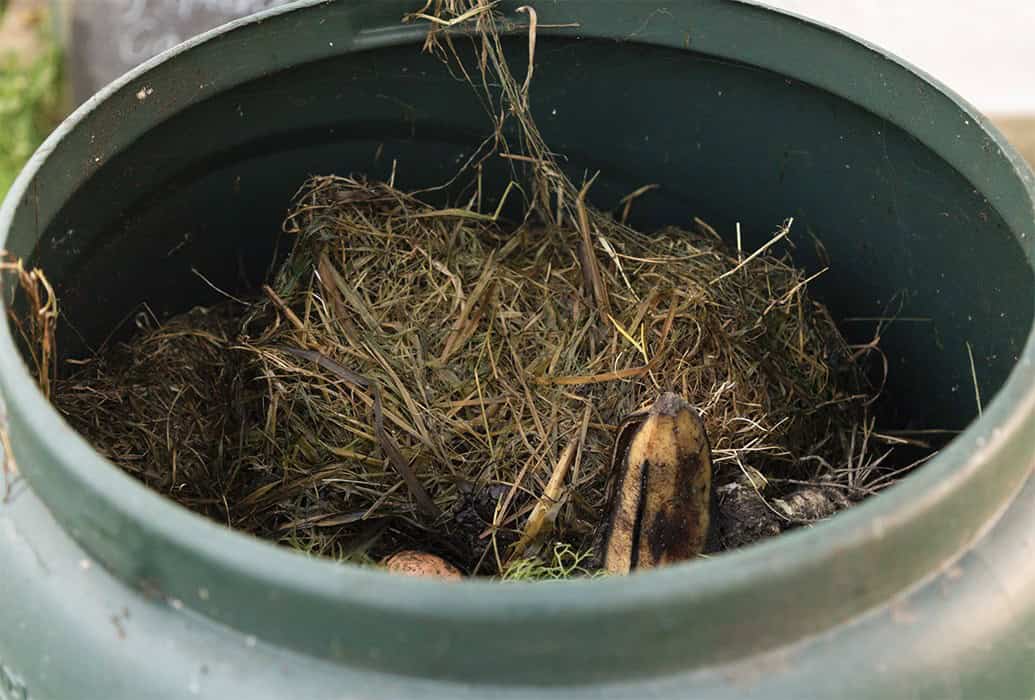
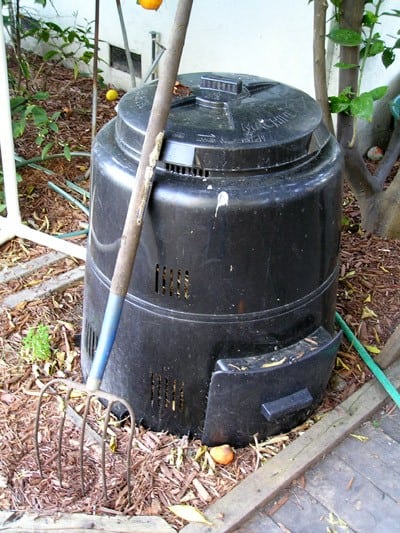
Urban dwellers can also reap the benefits of composting, even in environments where traditional methods may not be feasible. My mother’s experience is a great example: after leaving her farm behind, she moved to a suburban neighborhood where open-air composting wasn’t allowed. To accommodate this restriction, I purchased a standalone compost bin for her, and we placed it in a partially sunny spot near the flower gardens.
This solution allowed her to maintain control over her fertilizer production while still blending in with the surrounding environment. For those looking to replicate this success, there are numerous options available online. However, the primary consideration is ensuring that the composting setup doesn’t become too wet. To mitigate this risk, look for bins featuring drain holes or consider adding a cover to protect your compost during inclement weather.
Indoor Options
If you’re not blessed with an abundance of outdoor space or prefer a more convenient alternative, indoor options are readily available. You can either craft your own compact indoor bins or opt for pre-made ones. Although they may be smaller in size, these indoor solutions still prove effective in keeping your living area tidy.
Starting Your Pile
Composting 101: Mastering the Layering Method for Optimal Results The foundation of successful composting lies in creating a well-balanced and aerated pile. To achieve this, I employ the layering method, which can be applied to both large and small compost areas. The approach is simple: think of your compost pile as a layered lasagna, with varying colors representing different carbon-to-nitrogen ratios.
To begin, establish a foundation of brush, such as straw, to facilitate air flow and drainage. This initial layer sets the stage for the rest of the pile. Next, add brown layers, comprising good carbon sources like leaves, branches, old hay, sawdust, and corn stalks. These elements provide structure and slow down microbial activity. The topmost layer is reserved for greens – high-nitrogen materials like grass clippings, vegetable scraps, and manure.
Once your pile is assembled, thoroughly moisten it to achieve a consistency akin to a damp sponge. Be cautious not to overwater, as this can impede the decomposition process.
Making it Thrive
Composting 101 revolves around controlling four fundamental elements: air, water, temperature, and food. Air circulation is crucial, as microbes like bacteria and fungi rely on oxygen to break down organic matter. To facilitate this process, ensure your compost pile has sufficient fluffy materials like straw, allowing for airflow and critters like pill bugs and earthworms to ingest and process the material. This breakdown accelerates with insects’ consumption and subsequent defecation.
Proper aeration is vital for microbial activity. Water also plays a pivotal role, as microbes and decomposers require damp conditions. Envision a moist sponge – your compost pile should maintain similar levels of moisture. If you’re concerned about drainage, position the pile in an area with good flow. In hot and dry weather, consider adding water to keep the microorganisms thriving.
Temperature is another essential factor, as it allows for microbial activity and kills unwanted seeds, bacteria, and viruses. To achieve this, layer your compost pile, ensuring adequate air, water, and moisture. Heat will develop naturally under these conditions. Alternatively, you can try cold composting, but be aware that the process may take a year or more to yield results. Finally, it’s essential to feed those microbes.
This is where kitchen scraps come in handy, making it easy to supplement your pile. However, depending on the materials used, additional adjustments might be necessary. For instance, if you’re incorporating animal bedding shavings, add a dusting of lime to balance the pH level.
To Turn Or Not To Turn
The debate surrounding turning in composting 101 is a contentious one. Proponents of turning argue that it allows oxygen to penetrate the pile, mixes materials evenly, and accelerates the process. However, those who don’t turn believe that this practice has the opposite effect – cooling the pile down and disrupting microbial life. I’m among the latter, having conducted research on microbial activity in compost during my college days.
My findings indicated that microbial populations dwindle for approximately two weeks post-turning, effectively slowing down the composting process. That being said, gardening is all about experimentation, so feel free to try turning your pile once a week and observe the results for yourself.
Troubleshooting
Composting can be a bit finicky, and it’s not uncommon for the process to slow down or stall entirely. Despite best efforts, some compost piles may fail to heat up or decompose effectively. This is where attention to detail comes in – by identifying and addressing common issues, you can get your compost back on track. One key factor to consider is ensuring optimal conditions within the pile.
Carbon to Nitrogen Ratio
Moisture
When it comes to composting basics, maintaining the right moisture level is crucial. Aim for a balance that’s similar to a damp sponge that has been wrung out – not too wet and not too dry. This optimal moisture range allows microorganisms to thrive, breaking down organic matter efficiently. Greens, in particular, have a high water content, which means they require less additional moisture.
If you’re fortunate enough to live in an area with regular rainfall, consider adding a cover or layer of straw on top of your pile to prevent excessive moisture accumulation. This simple step will help regulate the moisture levels and ensure a healthy composting process.
Air
Compost critters require a certain level of oxygen to thrive. If your pile becomes too dense, they won’t be able to breathe efficiently. A telltale sign of compaction is when it’s difficult to insert a shovel into the pile. To address this, you can either gently turn the pile with a fork or introduce dry, fluffy materials like straw to increase airflow and loosen up the mixture.
Alternatively, if you don’t have access to straw, consider incorporating 2-inch perforated PVC pipes into your compost pile. Simply ensure these pipes extend from side to side, allowing for adequate aeration.
Temperature
When it comes to hot composting, one of the key indicators of success is the temperature of the pile. Ideally, this should fall within the 140-160°F range. At this temperature, pathogens are eliminated and decomposition occurs at a rapid pace. If your pile isn’t generating heat, it may be due to inadequate nitrogen or moisture levels. While it’s not necessary to obsess over hitting the exact mark, a healthy pile will generally self-regulate.
However, if you insert your hand into the center of the pile and don’t feel any warmth, it’s a sign that something is amiss. For the tech-savvy, a compost thermometer can provide a precise reading. If everything looks good, you can also introduce a small amount of yard soil to the mix, which may be lacking in beneficial bacteria.
Pay Day
Your compost pile operates similarly to a savings account: you put in materials and receive finished compost as a reward. The layering method typically requires three to six months for completion, after which you can enjoy the fruits of your labor. Compost can be applied at any time, providing essential nutrients to your garden without harming plants. Spring and fall are prime times to add compost, especially when preparing the soil for planting or wrapping up the growing season.
Alternatively, incorporate it into the soil while tilling or turning with a shovel, or spread a layer on top of rows. For optimal results, I recommend adding two inches of compost in the fall. And if you’re like me, your chickens will gladly lend a helping hand (or beak) to this process. With your newfound expertise, congratulations are in order – you’ve earned the right to reap the rewards of your hard work.
