While DIY can sometimes be more expensive than buying something pre-made, it’s a different story when it comes to raising chickens. In fact, you can provide many of the necessities using resources already available on your homestead. Unfortunately, I didn’t learn this until after I got started and ended up spending more on chicken care than I was saving from their egg production for the first couple of years.
Now that I’ve gained some insight, I’d like to share some simple ideas to help you get started with caring for your flock without breaking the bank.
Rules of the Roost Hacks
When it comes to designing the perfect roost bar for your flock, simplicity is key. Aim for a low-to-the-ground, wide structure that can comfortably support the weight of your birds. Additionally, consider ease of cleaning when choosing the right material and design. While there are no hard-and-fast rules governing roost bars, I do recommend avoiding overcomplicated and costly solutions. Instead, consider these more practical options.
Natural Roost Bars
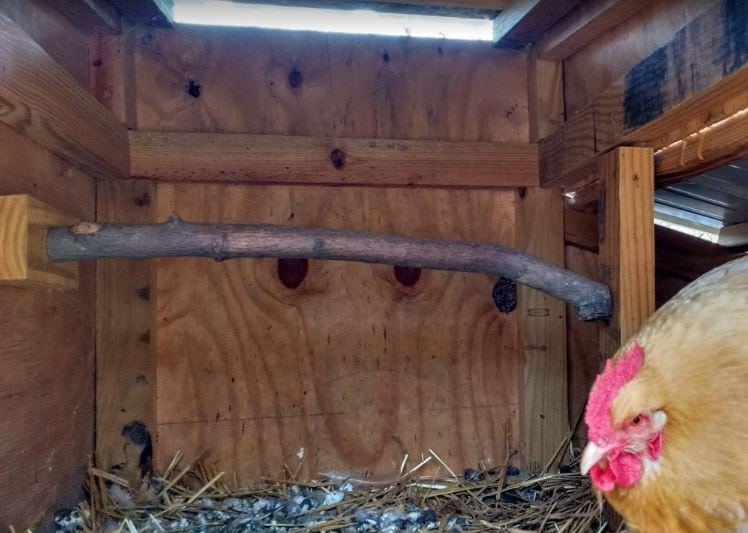
When it comes to providing a comfortable and natural roosting experience for your flock, don’t waste your money on store-bought roost bars. Instead, take advantage of the abundance of free-sourced branches that can be found in woodland areas following a storm. The 2.5 to 4-inch diameter limbs from freshly downed trees are perfect for fitting your coop’s roost area and will add a touch of rustic charm to the space.
What’s more, since chickens would naturally roost in tree limbs in their native jungle habitat, they’ll find it extremely appealing. By utilizing these natural branches, you’re not only saving money but also providing your flock with a sense of familiarity and comfort.
Pallet Roost Bars
When searching for branches in a desert environment, the options might be limited. A viable alternative is to repurpose wooden slats from free pallets, which are often nailed together. To access these slats, you’ll need a pry bar and hammer to disassemble the pallet into usable pieces. For those with larger flocks of chickens, an entire pallet can serve as a roosting area.
By attaching hinges to the wall side, similar to a Murphy bed, and adding foldable legs to the opposite side, you can create a mobile and space-saving structure that allows for easy cleaning and maintenance.
Lumber Roost Bars
When constructing a roost bar for your chickens, you don’t need to break the bank. In fact, all you require is a humble 2×4 piece of lumber, some scrap wood, and a few wood screws to create safe perches. To ensure the comfort and safety of your flock, be sure to face the wide side upwards, allowing their feet to remain flat on the perch. It’s also important to avoid more expensive solutions, such as wooden dowels or shower rods, which can cost upwards of $3.
Not only are these alternatives unnecessary, but they may even contribute to potential health issues affecting your chickens’ feet due to their small diameter.
All One Level Roost Bars
I used to believe that a ladder roost bar was essential for keeping my chickens safe at night, but years of observing my hens jostling for position and occasionally treating foot injuries from roost falls changed my mind. I’ve since discovered a more effective and low-maintenance solution: installing low bars (18-24 inches high) around the perimeter of your coop, leaving the center open for easy cleaning.
This design is not only practical but also accessible to those with limited carpentry skills, requiring minimal effort to set up.
Chicken Feeders and Feed Storage Hacks
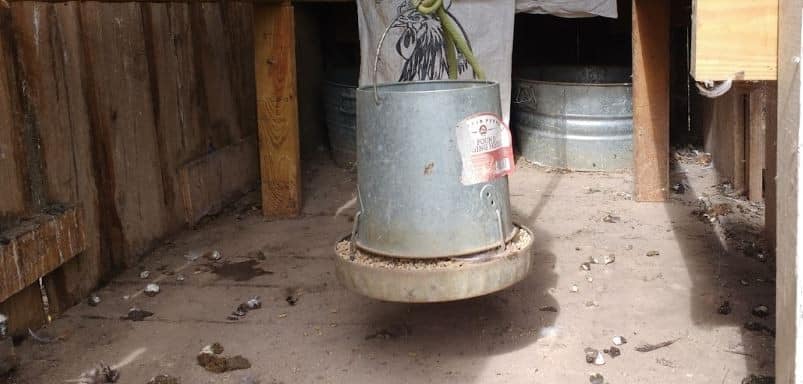
As a chicken keeper, I find myself drawn to instinctual methods when it comes to caring for my flock. Unfortunately, much of the advice out there doesn’t align with what I’ve learned keeps my birds thriving. This is particularly true when it comes to feeding them. The fear of pathogens in chicken waste has led many of us to go to great lengths to keep their food separate from their droppings. We end up with elaborate feeders that are a chore to clean and fill, but do they really need to be?
From my experience, healthy chickens are perfectly fine with a bit of poop mixed in with their grub. In fact, they’ll enthusiastically scratch through it searching for tasty treats like insect larvae and seeds. Instead of investing in complex feeding systems, I recommend providing your birds with ample space, access to forage, and fresh water. This approach not only simplifies feeding but also saves you money.
Trust me, your chickens will be just fine – and probably happier – with a more natural feeding arrangement.
The Scatter Feed Method
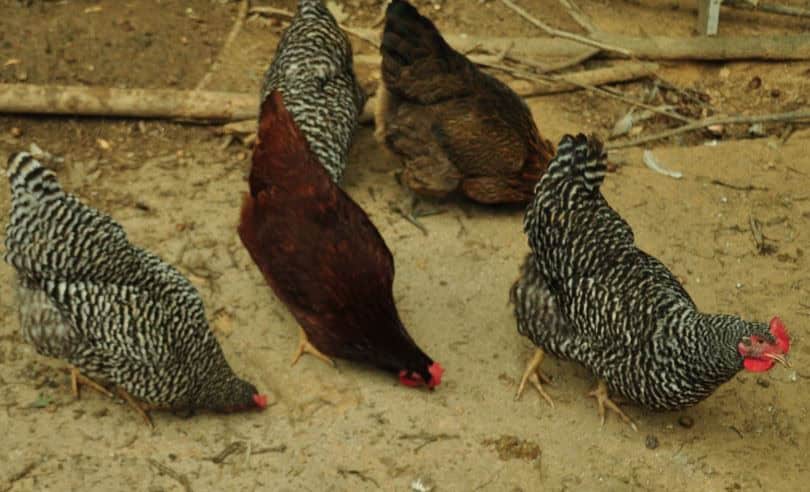
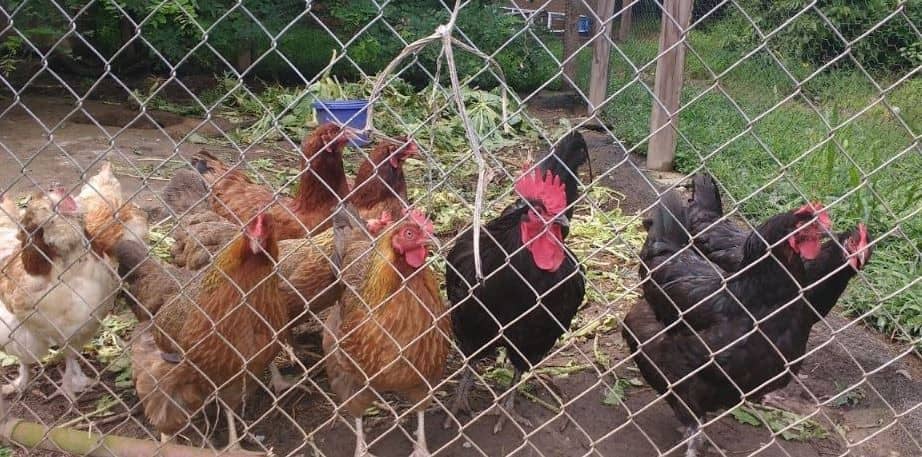
When it comes to feeding my chickens, I adopt a straightforward approach. Simply scatter their feed on the ground, allowing them to forage and have fun finding their next meal. This method works wonders for most of the food I provide, excluding only layer pellets which become mushy when wet and easily washed away. The rest – including chicken-safe leftovers, scratch grains, sunflower seeds, weeds, and other treats – gets a good scattering in their run.
I particularly enjoy watching them discover whole seeds, even if they don’t initially eat every last piece. If the weather turns rainy, these seeds can sprout, providing an additional source of nutrition that’s easy for them to access.
Any Available Container Feeder
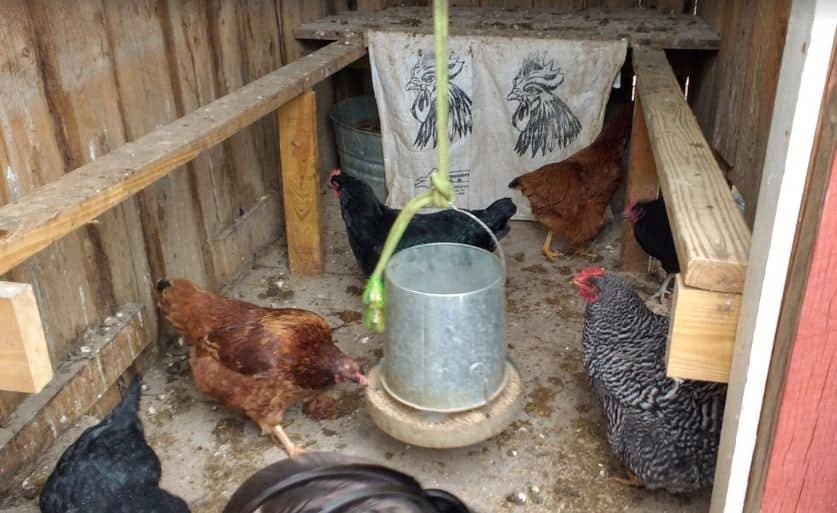
When it comes to serving layer pellets to your flock, a good rule of thumb is that each chicken will consume around 4 ounces of feed per day, assuming limited forage and scraps are available. Based on this guideline, you can estimate the daily needs of your flock. For example, if you have four chickens, a clean food-grade container holding at least 16 ounces of feed would suffice as both a scoop and serving bowl.
If you’re managing a larger flock, consider using larger containers like 8-quart dollar store dishwashing tubs or even larger, cut-down storage bins that can hold up to 1-2 gallons of feed. Other options include cutting open family-size juice jugs on their side with carefully crafted cut-outs, or halving gallon jugs to create a makeshift feeder.
Easy Feed Storage
When it comes to storing large quantities of feed, having the right containers can make all the difference. One option is to repurpose 55-gallon metal drums or plastic barrels with a capacity to hold around 250 pounds of pelleted feed or even more scratch grain. The twist-on lids on pickle barrels provide added security for your feed storage needs.
Prices for these containers may vary depending on your location, but as an example, I’ve found that metal drums are often available in packs of two for $35. While the lids can be a bit finicky, placing a concrete block on top keeps them secure and in place. Plastic barrels tend to run around $25 apiece, while pickle barrels with their sturdy construction are well worth the investment at $35 each.
Chicken Feed Hacks
For optimal health and well-being of your laying hens, consider using pelleted commercial feed tailored to their ages and purposes. The leading manufacturers have invested heavily in research to develop formulas that promote superior growth, egg production, or meat quality. However, I am not convinced by the benefits of layer feed due to concerns over unknown ingredients, sourcing, and potential impact on my chickens’ health.
To mitigate these concerns, I opt for a more mindful approach, gradually reducing the quantity of commercial feed while introducing alternative nutrients and supplements.
Probiotics:
Homemade Yogurt
Not only does homemade yogurt benefit humans, but it’s also a valuable treat for your chickens. I make sure to use all my older milk to create yogurt for my flock. The probiotic-rich food provides numerous benefits, including enhanced egg production thanks to its calcium and protein content. Moreover, the runny consistency of yogurt makes it an ideal tool for my chicken health inspections.
By pouring it on the ground, I can attract the birds and encourage them to stay put while they eat, allowing me to conduct visual checks on each bird in broad daylight.
Kombucha SCOBYs
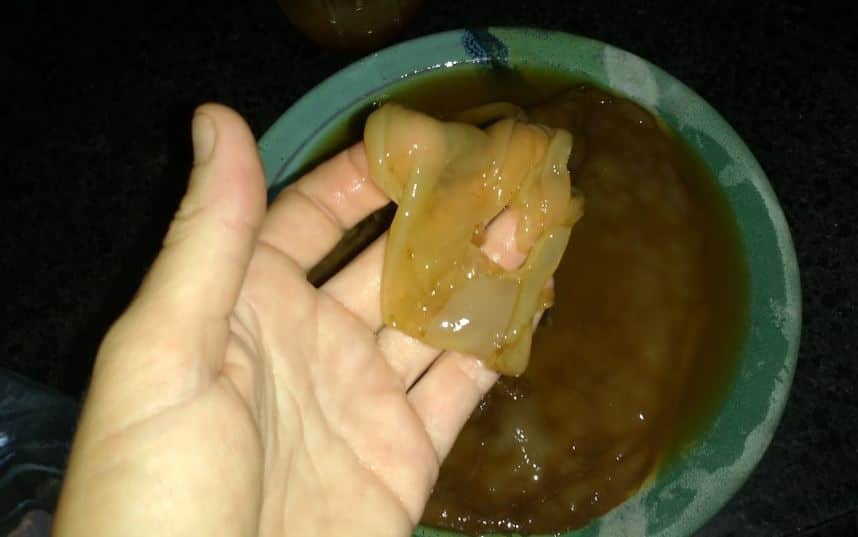
If you’re a kombucha enthusiast who’s ever struggled with managing the growth of those seemingly endless SCOBYs, you know the importance of finding creative ways to utilize their byproducts. One innovative approach is to offer them as a nutritious treat to your backyard chickens. Not only do these fermented tea treasures provide an abundance of probiotics, protein, and fiber for your feathered friends, but they also promote a healthy gut microbiome in both the birds and yourself.
Vinegar Mothers
In a similar vein to the SCOBYs found in kombucha, vinegar ‘mothers’ also produce babies – or rather, more probiotic-rich vinegar. These extra mothers are not only essential for fermentation but also packed with beneficial bacteria. Interestingly, my chickens aren’t too fond of them when they’re fresh, preferring them once they’ve dried out a bit. After that, they proudly display their snack finds, just as they would show off a new lizard discovery before devouring it.
Fermented Veggies
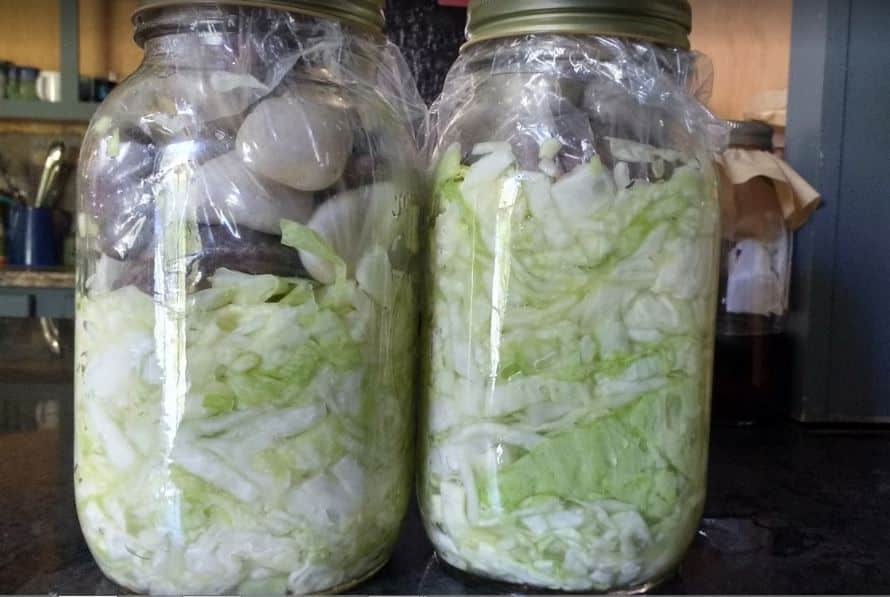
Occasionally, I create a fermentation batch that doesn’t quite meet my expectations. Perhaps I’ve added too much caraway to the sauerkraut or over-seasoned the kimchi. Thankfully, my chickens are more than happy to help me out by consuming any slightly imperfect fermented veggies. However, to ensure their well-being, I make sure to distribute the daily dose of fermented goodies in moderation, taking care not to overload them with excess salt.
Fermented Herbs
To provide optimal nutrition for my flock, I employ a unique approach to fermenting herbs specifically for my chickens. By using a 2% salt solution and allowing the mixture to ferment for approximately two weeks, I cultivate a thriving ecosystem of beneficial bacteria. This method is particularly well-suited for herbs like oregano, basil, and lemon balm, which demonstrate exceptional fertility and growth.
When it comes to dosing my chickens, I believe in moderation, providing only small amounts daily to prevent excessive salt consumption. Typically, I allot about one tablespoon per ten chickens as a general guideline, although individual results may vary.
Greens:
Considering the importance of incorporating greens into your backyard chicken’s diet, it can be a challenge to find ways to do so without increasing their workload. Fear not, as we’ve got some solutions that will keep your feathered friends happy and healthy.
Weeds
I’ve found an efficient way to deal with weeds on my property – by giving them to my chickens! They’re quite fond of a variety of unwanted plants, including henbit, chickweed, dandelion, miner’s lettuce, upland cress, purslane, bittercress, dead nettle, nutsedge, and various annual grasses. They even enjoy weeds with seed heads. In addition, they’ll occasionally eat dock (burdock or curly dock) and amaranth, although I’ve read that these plants can be toxic to chickens.
Fortunately, my flock seems to naturally regulate their consumption of these plants, eating them slowly without any adverse effects. As a precaution, I do inspect the leaves and flowers of amaranth family members for blister beetles before adding them to the chicken’s menu.
Garden Scraps
In addition to providing a balanced diet for my chickens, I also utilize the garden’s bounty by feeding them various vegetable tops and greens that are not destined for human consumption. Beet, turnip, carrot, and rutabaga tops are all fair game, as well as any insect-infested plants I pull from the garden. Before serving these to my flock, however, I ensure that I have properly identified the pest and confirmed their safety for consumption by my chickens.
Furthermore, I supplement their diet with chard, kale, pea greens, bolted lettuce, and outer cabbage leaves – essentially any green thing that grows in the garden. The only exceptions are the green parts of nightshade family plants (such as tomato, potato, peppers, and eggplant), which my chickens tend to avoid, anyway. I also exercise caution when it comes to rhubarb leaves and seeds, which they occasionally taste while foraging but rarely consume in large quantities.
As such, I choose not to serve them to my confined flock.
Protein:
Meat Processing Scraps
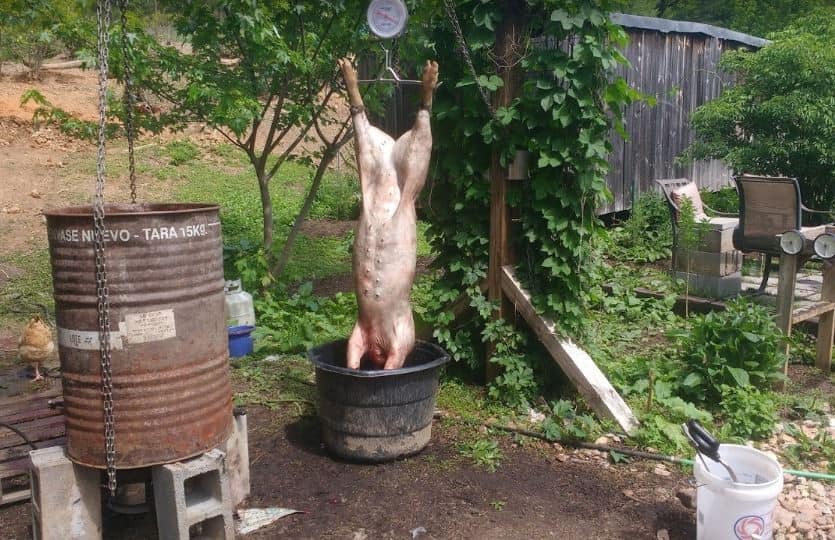
I take a pragmatic approach to feeding my chickens. While the idea of feeding them chicken by-products doesn’t sit well with me, I do provide them with parts and pieces from processing non-poultry livestock. My free-range flock enthusiastically devours blood, meat chunks, viscera, skin, and other offal, even when I toss in fresh scraps to keep them occupied. Raw, super-fresh meat, fat, and viscera are always on the menu, while older or previously frozen items get cooked before being served.
My philosophy is that chickens would naturally scavenge a fresh kill in the wild; why not let them do so on my homestead? In reality, a hungry chicken will eat just about anything, but since my laying hens are well-fed, they’re discerning eaters and won’t touch something deemed unworthy. As it stands, I’m confident that providing a varied diet with some ‘unusual’ components is beneficial for their overall health and happiness.
Maggots and More
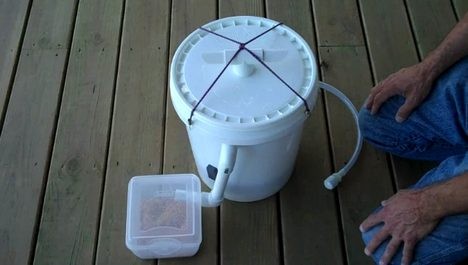
Pest insects are an excellent source of protein for your chickens, with maggots, Japanese beetles, marmorated stink bugs, and garden grubs being great options. The beauty is that you can collect these free of charge in your own backyard or garden. However, it’s essential to note that house fly maggots may harbor toxic bacteria and diseases. Fortunately, soldier fly maggots offer a safer and more popular choice for producing high-quality protein. In fact, you can even cultivate them at home.
You have two options: buy pre-made cultivation kits or create your own setup using a 5-gallon bucket, PVC pipes, and some creativity.
Chicken Litter Hacks
When it comes to chicken litter, strong opinions are aplenty. Some individuals even view me as a culprit for eschewing pine shavings in favor of alternative materials. However, I believe it’s essential to consider the historical context and the environmental impact of relying on plastic-wrapped pine shavings, readily available at farm supply stores. In fact, there were times when people didn’t have access to such products, and yet they managed just fine.
For instance, you can opt for more sustainable and cost-effective solutions that won’t harm your flock.
Don’t Use Litter
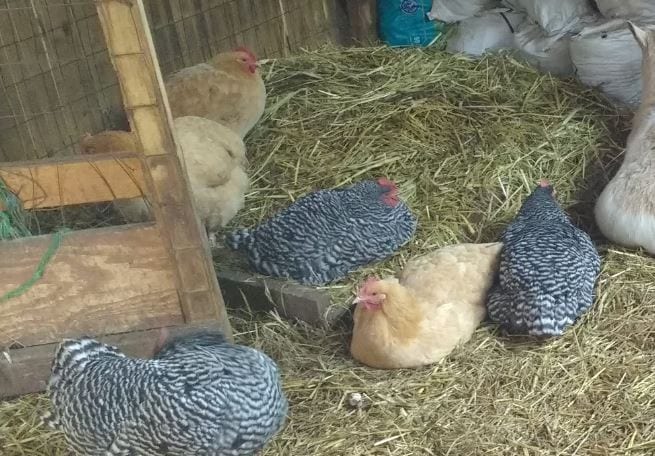
I opt out of using litter in my chicken coop, instead choosing to let nature take its course. Yes, I do add a thin layer of straw or hay to my nest boxes for added comfort. However, the floor remains litter-free. To maintain cleanliness, I dedicate one day a week to scooping out stuck-on debris from the floorboards using a flat spade. This task is then followed by a thorough sweeping and dustpaning into a bucket destined for composting.
You might think me mad, but I know of a seasoned chicken keeper who has never resorted to litter or rigorous cleaning. Instead, he harvests aged droppings from his coop floor come springtime, using them as fertilizer in his garden beds. As long as my flock enjoys daily free range and adequate ventilation, I’m confident that litter is not essential for their overall well-being.
Local, Cheap, with Less Plastic
When I see pine shavings on sale for $5 per bundle, I take note, but I still don’t opt for them. You see, they come wrapped in plastic, which isn’t ideal. If you’re looking to use litter, whether it’s for composting or something else, consider alternatives that don’t contribute to single-use plastics. Our shared environment will appreciate the effort. For me, locally cut straw bales are a better option.
They cost around $5-6 each and come with reusable ties that can be repurposed in other projects. Straw bale litter tends to last longer than pine shavings for the same price and composts more quickly too. Hay bales also work well as litter, though they might contain perennial weeds, so use caution when composting them for annual garden use. If you have access to shredded paper, that’s another great option.
I used to collect it from my office job and found it was perfect for a variety of purposes, including chicken litter and worm food. When in doubt, pine needles and sawdust can be good alternatives. Local lumber mills might offer bulk purchases or free pickups for these materials. If you’re desperate, untreated sawdust can even be used as litter. Just be sure to dampen it to prevent dustiness and change it before mold sets in.
Chickens did evolve in jungle environments and thrive in woodland landscapes, so mulches like leaf, hardwood, and mixed wood material work well too. Utility companies often drop off these materials during annual tree trimming, and they hot compost quite well if layered about a foot deep. This makes them suitable for keeping water buckets from freezing and warming late-molting chickens.
Nest Area Hacks
I’ve lost count of the numerous blog posts I’ve devoured on nesting boxes, each with its unique twist. What’s equally fascinating is the array of reasons people choose these varying designs. However, the reality is that all you need is a snug, semi-private space that’s easy to maintain and your chickens will feel comfortable laying their eggs there. Providing such a sanctuary ensures you won’t have to embark on an Easter egg hunt every day of the year.
No Cost Curtains
Initially, I was perplexed by the concept of installing curtains in a chicken coop. However, after observing how my flock reacts to having their own space while laying eggs, I now fully understand the benefits of providing them with some privacy. To create this cozy atmosphere, I employ a staple gun and repurpose 50-pound feed sacks as curtains in the nesting area. When they become soiled, I simply remove them (ensuring to collect all staples), then replace them with fresh ones.
The More the Merrier
When it comes to nesting, chickens are surprisingly social creatures. Despite my best efforts to create cozy, compact nest boxes, I consistently found two hens eager to share a single box. This led to an unfortunate number of broken eggs. To avoid this issue and provide each chicken with the space they desire, I now construct larger nesting areas.
A variety of materials can be repurposed for this purpose, including old plastic totes, galvanized garden buckets, cut drums, or even broken trash cans placed on their sides. Another option is to utilize 5-gallon buckets, which offer rounded sides that make them prone to rolling. To keep these in place, a few strategically placed large rocks can do the trick.
Conclusion
As you explore these budget-friendly chicken care hacks, remember that every little bit counts when it comes to providing for your flock’s needs. The costs of building a coop, installing fencing, and purchasing feed can add up quickly, making it all the more important to get creative with what you already have on hand. By exercising your resourcefulness and putting your own unique spin on things, you’ll be honing an essential homesteading skill that will serve you well in countless situations.
So go ahead, take a cue from MacGyver’s infamous ingenuity, and see where it takes you – you might just find yourself coming up with innovative solutions to common challenges.
