When it comes to canning, many of us view it as a way to salvage an overabundant harvest. However, I’ve come to realize that having a plan is essential for getting the most out of our gardening efforts. By knowing what you want to preserve and planning your garden accordingly, you’ll be able to minimize waste and maximize production. This approach also allows you to anticipate specific recipes or flavor profiles throughout the year.
For instance, if you’re a fan of homemade salsa or green bean salad, having a plan in place ensures that you’ll have a consistent supply without sacrificing valuable space or time. Rather than approaching canning in a haphazard manner, where you might end up with a few jars of peaches or tomatoes scattered throughout the year, we’ll show you how to create a comprehensive blueprint for your canning garden.
This will not only help you make the most of your existing gardening efforts but also empower you to take your canning skills to new heights by planting foods specifically designed for preserving.
Planning for Canning
When it comes to planning a canning garden, it’s essential to approach the task strategically, rather than simply planting what you like to eat. Think of your garden as a grocery store list, where you’re stocking up on bulk quantities of produce that will be preserved and enjoyed throughout the year. By doing so, you’ll avoid waste, ensure a steady supply of fresh veggies, and make canning a more efficient process.
Start by thinking about what foods your family craves during the winter months when your garden is dormant. Which staple ingredients do you always have on hand? What do you tend to buy at the grocery store most frequently? If it’s canned corn, make sure to plant that! Create a list of your family’s favorite foods and prioritize those in your planning. Don’t be overwhelmed by the vast array of options available – start small and focus on one or two crops.
Tomatoes and green beans are popular choices for canning, but cucumbers, carrots, and corn are also relatively easy to grow. If you’re feeling adventurous, consider grouping plants to produce a favorite dish, like a salsa garden with cilantro, onions, tomatoes, and peppers. The possibilities are endless!
Plan Your Garden Space
As you’ve selected the plants for your garden, it’s essential to create a comprehensive plan to ensure a successful harvest. A blueprint serves as a roadmap for your gardening endeavors, allowing you to strategically plan crop rotation, integrated pest management, fertilizer application schedules, and the selection of suitable plant varieties. This planning phase also enables you to monitor progress over time, analyzing what worked well in previous seasons and making adjustments as needed.
By reviewing last year’s layout, you can refine your approach for future growth, refining techniques and optimizing yields.
Draw a Garden Map
To initiate the process of planning a garden, start by creating a visual representation of your outdoor space. This can be as straightforward as drawing a rough outline on paper or as advanced as utilizing software tools. Once you have a clear idea of your garden’s layout, it’s time to determine how much space is available for planting. The next step involves calculating the ideal number of plants needed, considering factors such as family size and preservation goals.
While various guidelines suggest specific square footage based on these criteria, keep in mind that actual requirements will vary significantly depending on the types of crops grown, their yield, and more. To streamline the planning process, consider utilizing online resources like Storey’s publishing worksheets, which offer customizable templates to help you get started.
When it comes to designing a canning garden, it’s easy to assume that vast expanses of land are required for sprawling rows of green beans. However, with careful planning, it’s entirely possible to create a thriving garden that seamlessly blends fresh eating and preservation areas within a surprisingly compact footprint.
Smaller Gardens
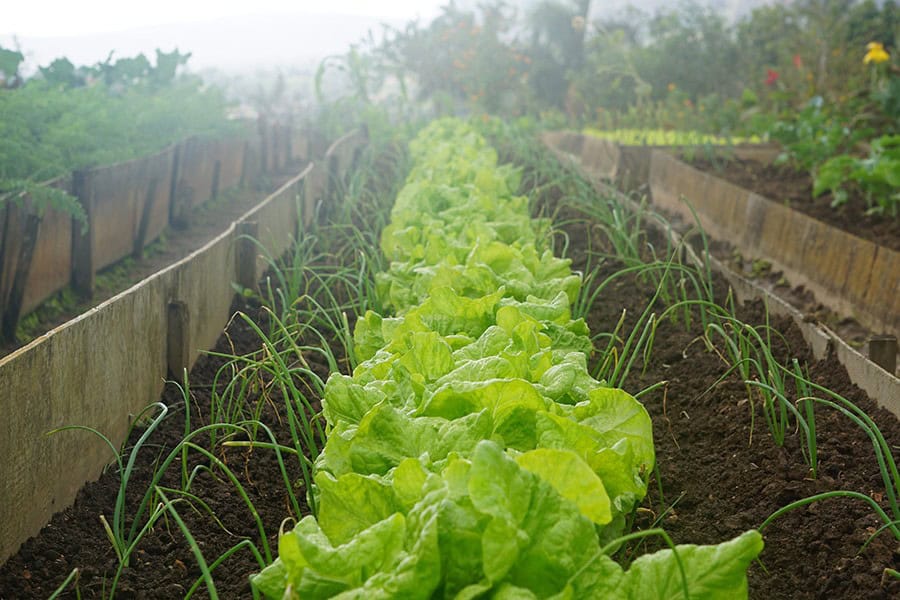
Regardless of the size of your canning garden, it’s entirely possible to grow enough produce to preserve and enjoy throughout the year. If your space is limited or you’re a fan of Square Foot Gardening, you can still harvest an abundance in 4-foot square beds. For instance, consider one such bed planted with 144 green bean seeds spaced 4 inches apart in each direction – this will yield approximately 35 pounds of green beans, which translates to 14-18 quarts after processing.
Similarly, you can plant 256 carrot seeds 3 inches apart in a single 4-foot bed and expect to harvest around 30 pounds of carrots, equivalent to about 15 quarts of diced carrots when preserved. Online resources offer various charts detailing the yield of pounds to quarts for canning purposes, allowing you to plan your garden with precision.
Larger Gardens
For larger gardens, typically spanning 400 to 800 square feet, the freedom to spread out crops can be both a blessing and a curse. On one hand, you can accommodate more varieties and quantities, but on the other hand, it’s easy to get carried away and over-plant, leading to overcrowding and reduced yields.
To maximize your harvest, take a step back and think about what you need and want from your garden.
Consider your family’s eating habits, any dietary restrictions, and the types of produce that are in high demand at your local farmer’s market.
With more space to work with, you can experiment with different varieties, try new crops, or even dedicate sections to specific products, like green beans or carrots. For example, 50 feet of green beans could yield around 30 pounds, while the same amount of space dedicated to carrots might produce approximately 50 pounds.
In a larger garden, it’s crucial to maintain organization and discipline. Avoid the temptation to plant everything at once; instead, take your time to thoughtfully plan and arrange your crops for optimal growth and harvesting.
Timing
When planning a canning garden, timing is everything. To ensure a successful harvest, focus on coordinating the maturity dates of your plants with your desired processing schedule. If you’re aiming to process food in late September, for instance, review the expected maturation times of your varieties and plan accordingly so that everything ripens around the same time.
Alternatively, you can stagger your plantings to accommodate multiple canning sessions or to allow for a fresh supply of produce before or after processing. As an example, I’ve shared my own planting schedule in the recipe for a salsa garden, which demonstrates how to coordinate plantings for optimal results.
Plant Varieties for Your Canning Garden
As you embark on the journey of canning, it’s essential to select vegetables that are resilient enough to withstand the intense heat and pressure involved in this preservation method. Not only do these varieties need to be able to tolerate the rigors of processing, but they should also thrive as hardy, productive plants to ensure optimal yields.
Green Beans
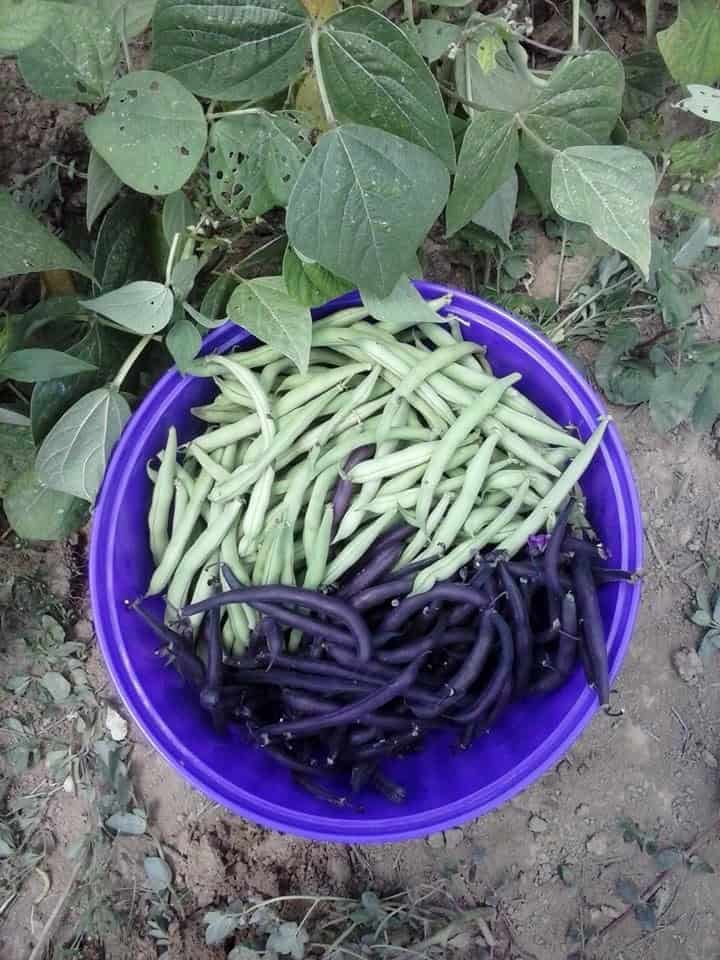
Green beans are a top pick for home canners due to their abundance and ease of succession planting. This allows you to have a steady supply for both fresh eating and preserving. For optimal flavor, harvest your green beans when they reach around 5 inches in length. Avoid canning those with fully formed pods or showing signs of yellowing. Among the many varieties available, Provider is a reliable choice for its traditional bean taste that remains intact during the canning process.
Its consistent yields, even in less than ideal conditions, make it a great option for gardeners seeking a dependable supply. Another personal favorite, Royal Burgundy, may appear green but is actually a purple bean that turns green upon cooking. This variety boasts a delightful crunchy flavor when fresh and holds up well during canning, preventing the dreaded mushiness. Other popular options include Blue Lake and Jade.
Tomatoes
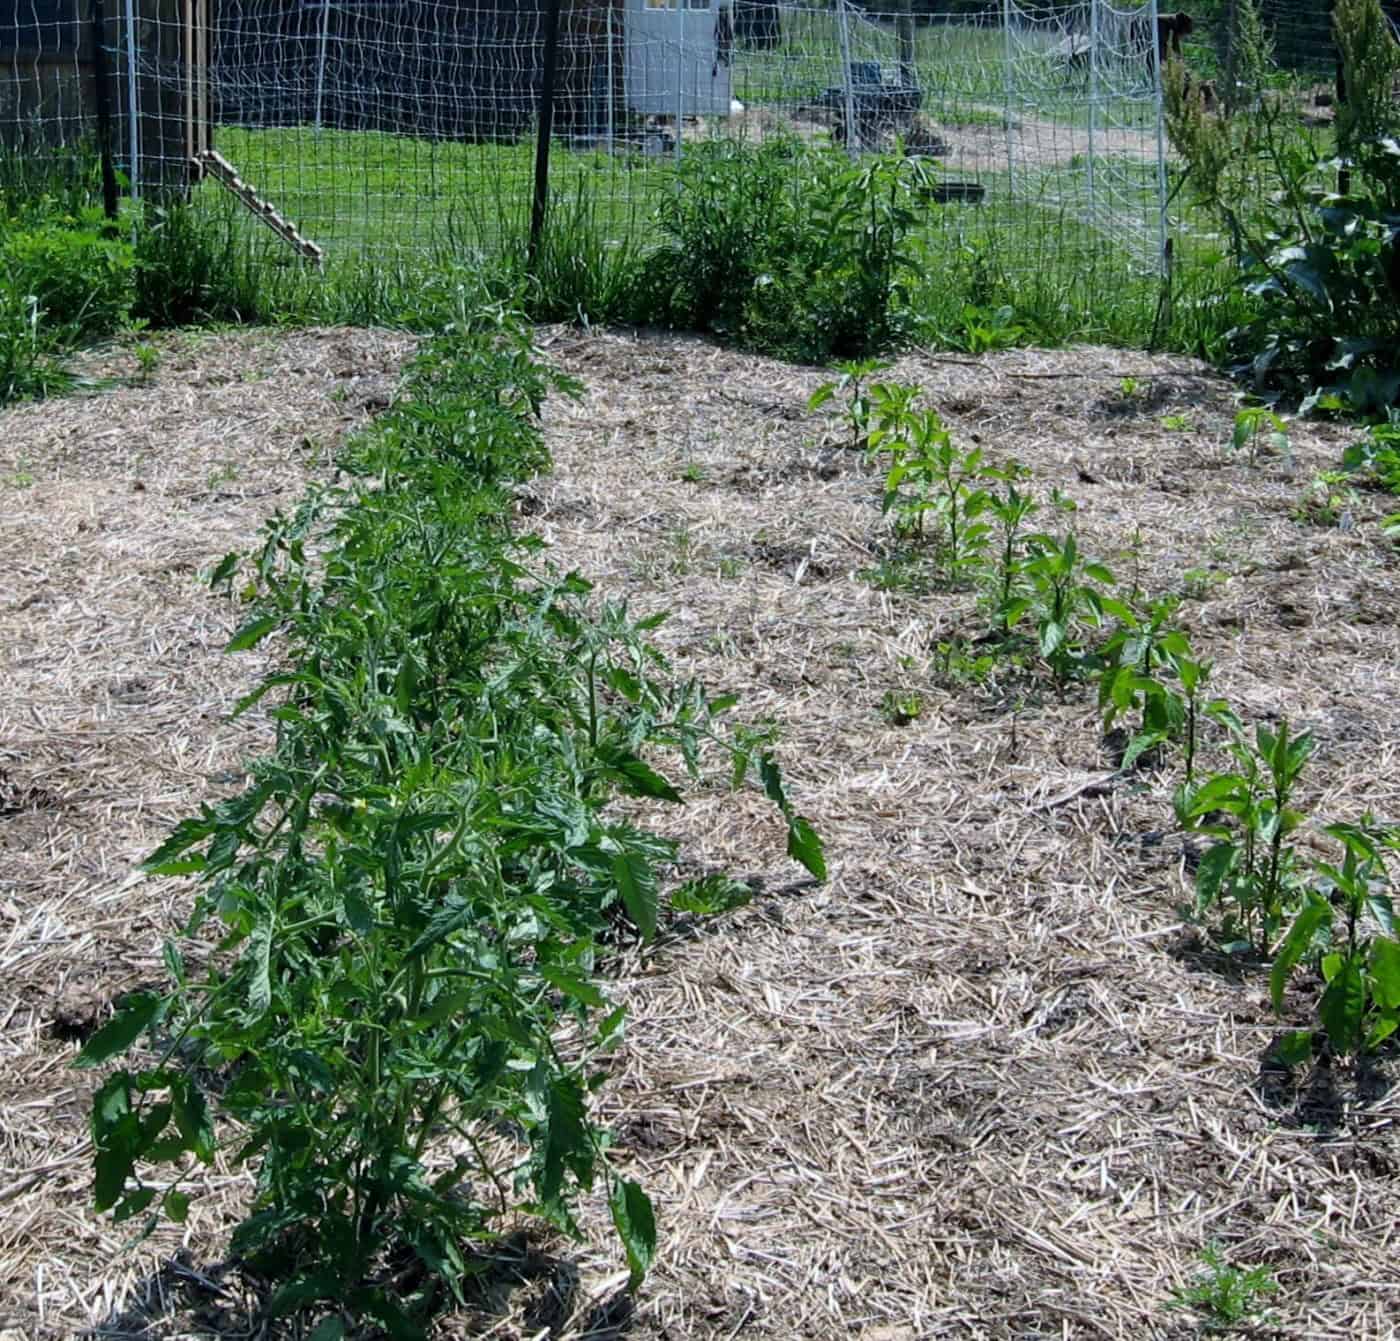
As an avid gardener, I’m often asked about my favorite tomato varieties for canning. With a family legacy steeped in Italian heritage – my last name’s a dead giveaway! – it’s no surprise that I have a deep affection for tomatoes. And when it comes to canning, having the right variety can make all the difference. My go-to choice for pasta sauces and fresh tomatoes is Amish Paste.
This heirloom plum tomato is a personal favorite, with its meaty texture and robust flavor making it perfect for creating rich, thick sauces. In fact, a single bushel of paste tomatoes can yield around 6 quarts of sauce when cooked down – a true labor of love! Another variety I swear by is Rutgers, which makes an excellent slicing tomato for adding to winter dishes. Just be sure to remove the seeds, as they can impart a slightly bitter flavor.
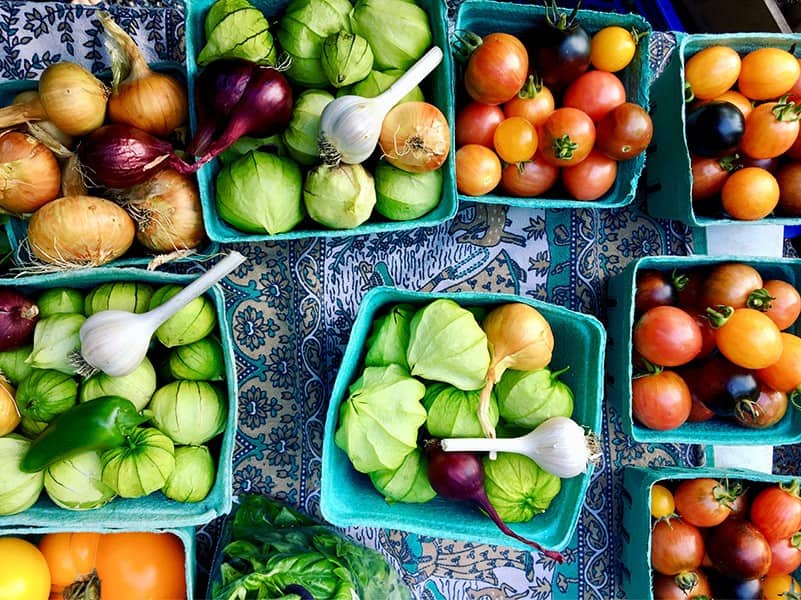
And finally, my salsa garden wouldn’t be complete without San Marzano tomatoes, Amarylla tomatillos, and Lipstick peppers – not only do these varieties bring a pop of color to the table, but their unique flavors and textures make for a truly memorable dish.
Corn
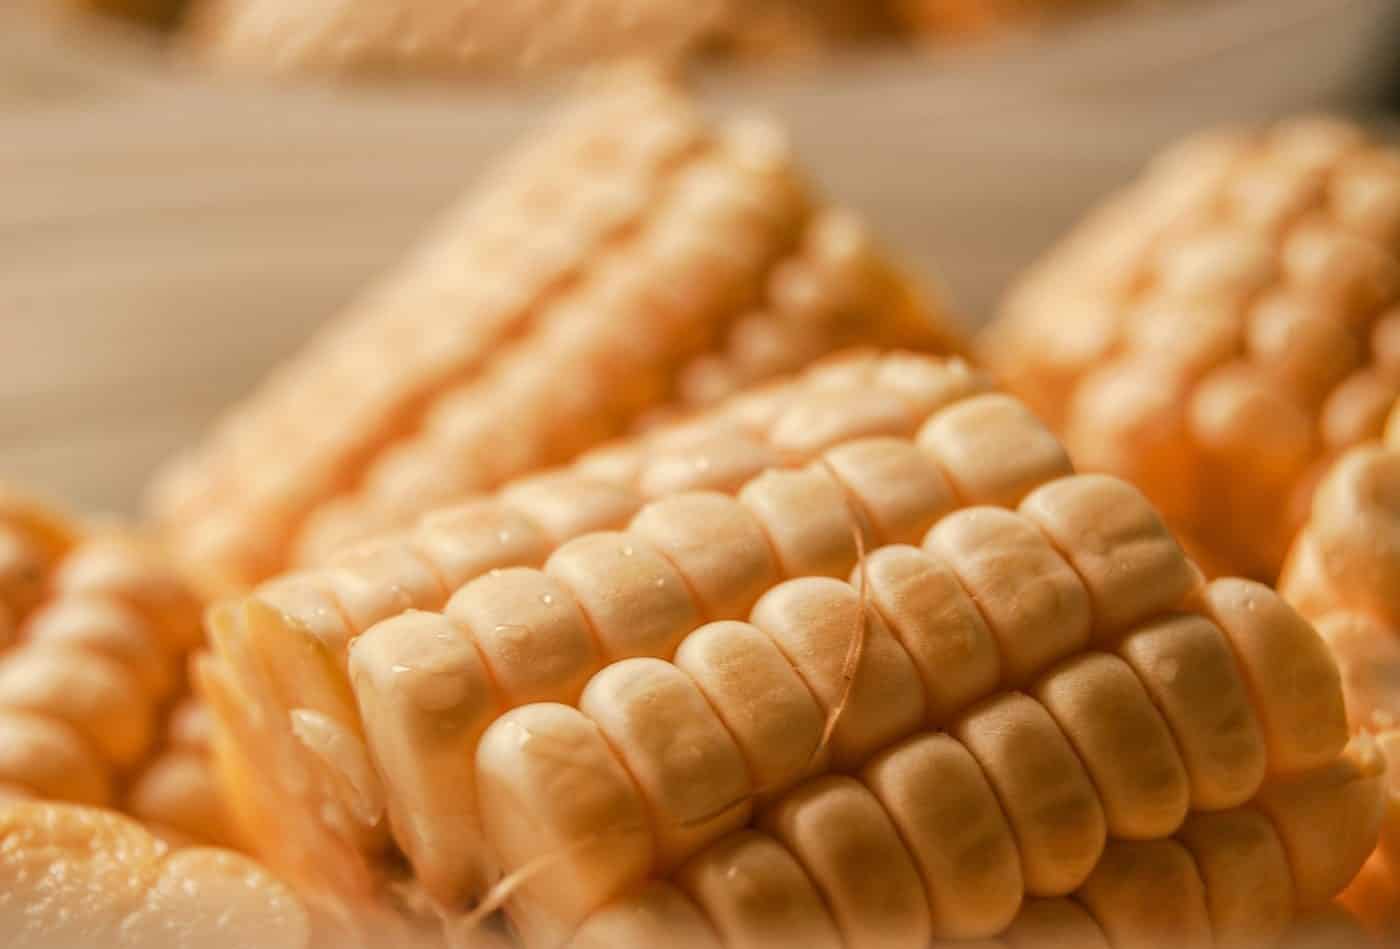
While corn may take up a significant amount of space and yield less per plant compared to other vegetables (approximately 50 ears per 50-foot row), its delectable taste and versatility make it a staple in summer cooking. A bushel of corn typically weighs around 30 pounds, producing 7 to 11 quarts of fresh produce. If you’re accustomed to store-bought corn, you’re in for a treat when trying fresh, canned varieties.
For a canning garden, aim to select dependable corn varieties that yield at least three ears per plant. To maintain flavor and quality, it’s essential to process corn as soon as possible after harvesting, as its flavor can quickly degrade. Bodacious is an excellent choice for canning, boasting uniform ears that simplify kernel removal. As a yellow corn variety, it also presents well when canned.
Silver Queen, on the other hand, offers a delicious white kernel experience, although it may appear cloudy when canned. While this affects its visual appeal, it retains its flavor well, making it a worthwhile option for those willing to overlook its appearance.
Carrots
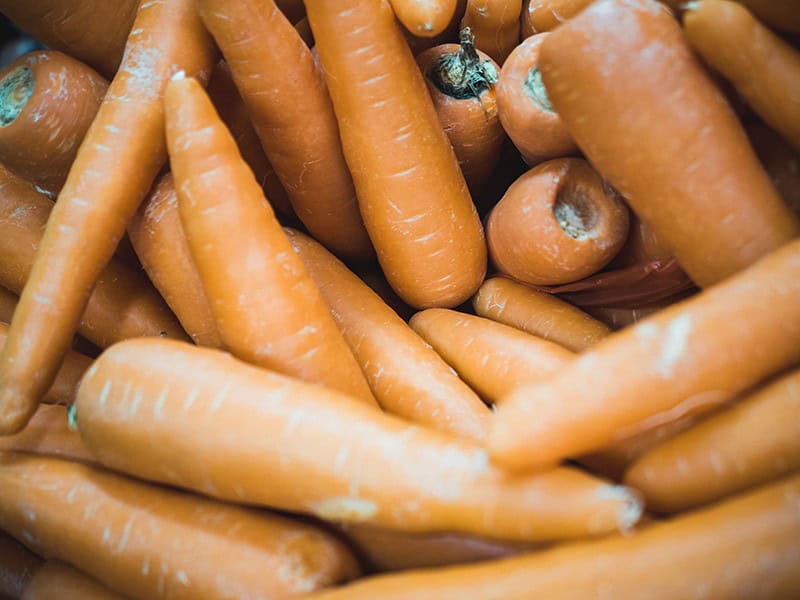
As the new year rolls in, there’s no better feeling than biting into a crunchy, sweet carrot straight from a canning jar. The Red Core Chatenay variety is particularly well-suited for home preservation, maintaining its flavor and texture even after months on the shelf. For those who prefer to harvest their carrots before the first frost, Imperator and Danver varieties are excellent choices, as they mature in time and store nicely over the long term.
Interestingly, you can expect to yield about 1 quart of canned carrots for every 2 pounds of fresh carrots used, making it a rewarding and cost-effective way to enjoy your harvest year-round.
Cucumber
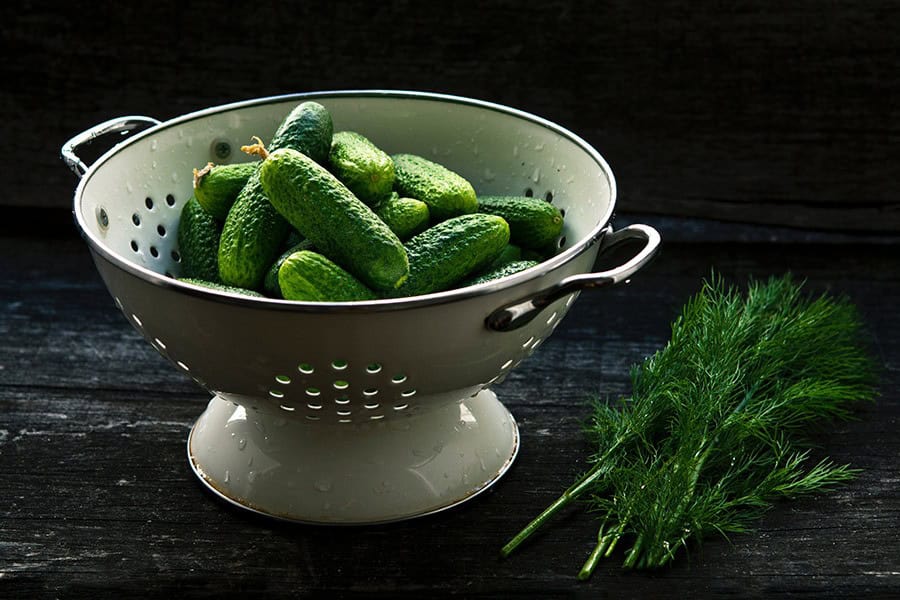
When it comes to making pickles at home, one of the biggest advantages is that they can be significantly more flavorful than store-bought varieties. To get the best results, it’s essential to choose cucumber types that maintain their crunch and have a natural affinity for pickling’s bold flavors. A simple way to find suitable varieties is to look for names that include the word ‘pickle’, such as National Pickling, Kirby, Little Leaf, or County Fair cucumbers.
When selecting a variety, remember that a pound of cucumbers typically yields around a quart of pickles.
Peppers
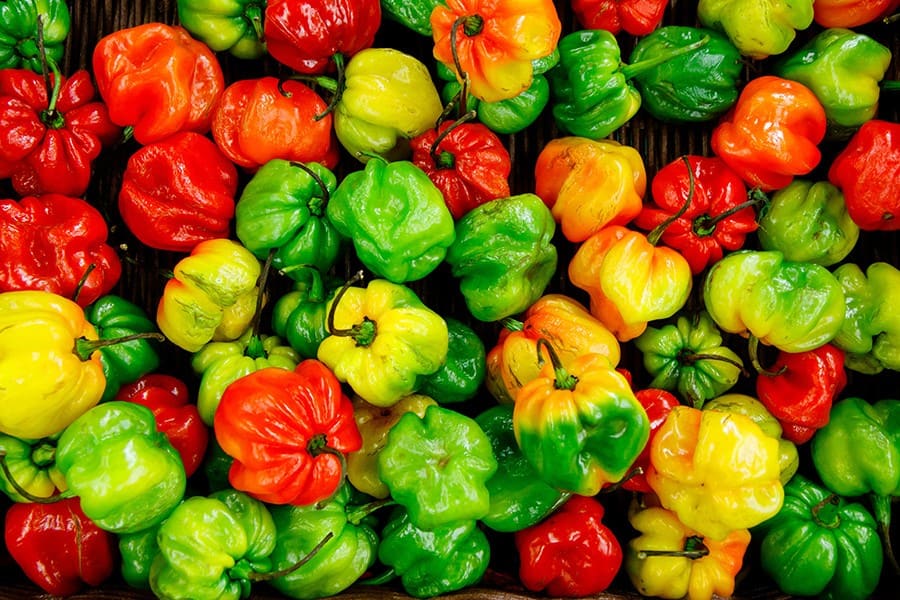
When it comes to adding flavor and excitement to your meals, peppers are an excellent addition to any kitchen. One standout heirloom variety is Jimmy Nardello’s sweet bell pepper, which shines when canned. Meanwhile, smaller varieties like banana, habanero, or jalapeno peppers are perfect for preserving. In fact, some breeds, such as the Sweet Pickle Pepper, are specifically designed for pickling purposes.
To make a pint of tangy pickled peppers, you’ll need about a pound of fresh peppers to start with.
Cabbage
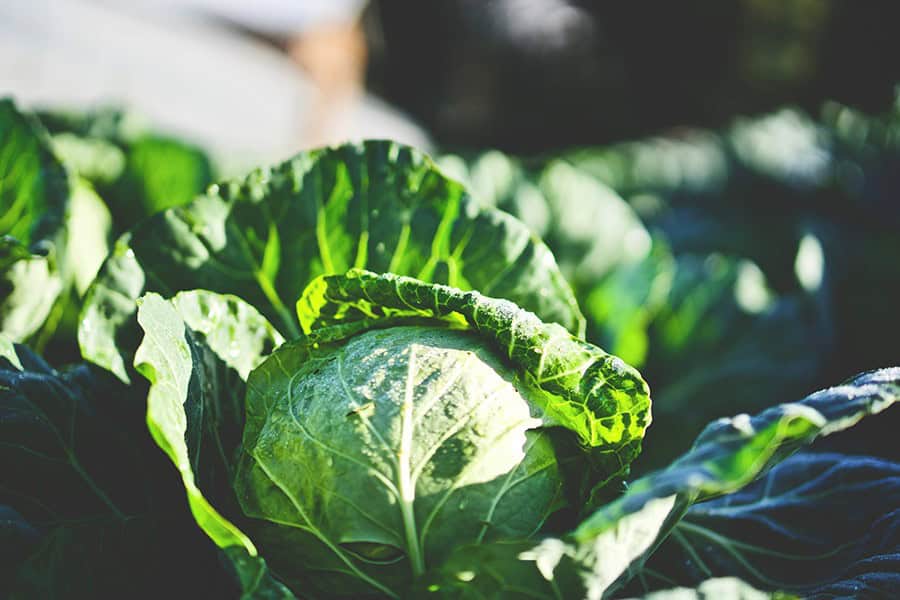
For sauerkraut enthusiasts, Late Flat Dutch and Golden Acre are excellent varieties to consider. Late Flat Dutch boasts a 100-day maturation period, making it an ideal choice for companion planting with slower-maturing vegetables. In contrast, Golden Acre has a relatively quicker maturation time of 65 days, rendering it more suitable for canning gardeners seeking to harvest their produce in a shorter timeframe.
When it comes to yield, you can expect approximately one pint of sauerkraut per every three pounds of fresh cabbage.
Grow a Salsa Canning Garden
A compact salsa garden is a great way to utilize a small space, like a 2-foot by 8-foot bed. Imagine each square foot as a box – you have 16 potential planting spots! Along the back of the garden, I plant my tomatoes, carefully selecting four varieties and placing one in each square. Since my raised beds are situated along a fence, the tomatoes can grow upwards. Next, I add four pepper plants in front, one per square. Notice that I don’t include any hot peppers?
We prefer sweet or mild salsa flavors. If you like a bit of heat in your salsas, simply swap out one of the sweet pepper plants for a jalapeno. Two squares are dedicated to onions – I’m fond of Red Spanish Sweet varieties, and plant nine onions per square. The remaining two squares are reserved for herbs: six cilantro plants in one square and two basil plants in the other. To ensure everything matures at the same time, I stagger my planting schedule.
Cilantro grows more quickly than tomatoes, so I start the tomatoes earlier and the cilantro later. Onions take the longest to mature, so they’re started indoors well before the season begins. When selecting pepper varieties, I choose ones that match the maturation rate of the other plants in the garden – sweet peppers that take around 60-100 days to ripen are perfect for synchronizing with my canning garden’s schedule.
A bit of planning and time invested before starting seeds will make all the difference in the success of your canning garden. Once you get into a rhythm, you’ll find yourself growing more and processing less – it’s a wonderful feeling! We’d love to hear about your favorite canning recipe in the comments below.
