Building upon our previous exploration of the best plants for making cordage, we’re now diving deeper to provide a step-by-step guide on how to transform species like milkweed, cattails, palms, honeysuckle, and willow into practical, multi-purpose cordage. For those aiming to achieve self-sufficiency or simply looking to acquire a valuable skill, learning DIY rope-making techniques is an essential aspect of becoming more resourceful and independent.
In this guide, we’ll walk you through the process of turning these plants into usable cords, perfect for a variety of applications.
Is it Difficult to Make DIY Rope?
While it may not be a challenging process, creating your own cordage does require an investment of time. A viable alternative is to purchase the rope you need, and that’s perfectly acceptable. However, there’s something uniquely fulfilling about crafting your own cordage from scratch. This approach also eliminates waste by ensuring every resource on your property is utilized to its fullest potential.
For those striving for maximum self-sufficiency, mastering this skill is an essential addition to their toolkit.
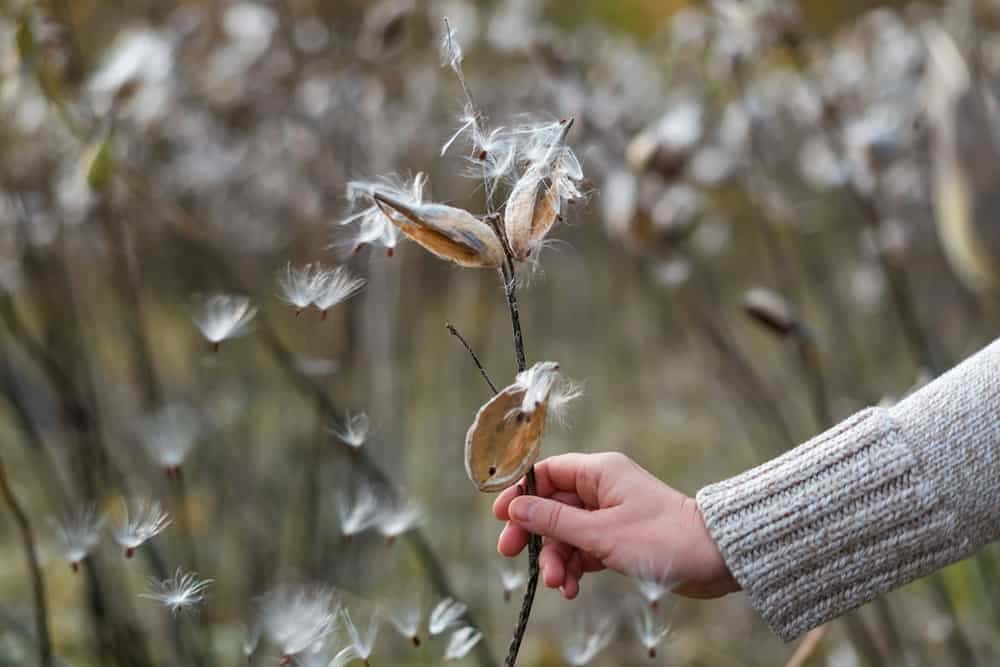
Step 1: Gather Your Plant Matter
When working with cordage plants, it’s essential to remember that not all species are created equal. As we explored in our previous article on rope-making from various plant sources, certain types of cordage can be more suitable for transformation into usable fibers. For instance, cattails and milkweed are two examples of my personal favorites, but you can utilize whatever is abundant in your immediate environment.
When gathering plants for this purpose, it’s crucial to have a sufficient quantity on hand. Aim to collect about three times the amount you think you’ll need, as this will provide a buffer against any unforeseen setbacks during processing. The ideal time for harvesting cordage plants is during autumn or early spring, when the stalk colors are more pronounced and easier to identify.
Old, grey, and crumbly stalks may not yield usable fibers, whereas newer, greener stalks can be a bit of a challenge to transform into fiber. This is where the ‘Goldilocks principle’ comes into play – one-year-old stems and long leaves (such as cattails) are ideally suited for this purpose.
When harvesting stems or stalks, it’s essential to use a sturdy knife to cut them off just above soil level, rather than pulling up any rhizomes.
The same applies when gathering cattail or yucca leaves; aim to cut as close to the stalk as possible to preserve the fiber lengths intact.
Step 2: Bash ‘Em
The fundamental structure of plant matter is comprised of two primary components: starch and fiber. To facilitate efficient extraction of fibers, it’s essential to submerge our plant material in water for a sufficient amount of time, allowing the starches to break down and become more easily accessible.
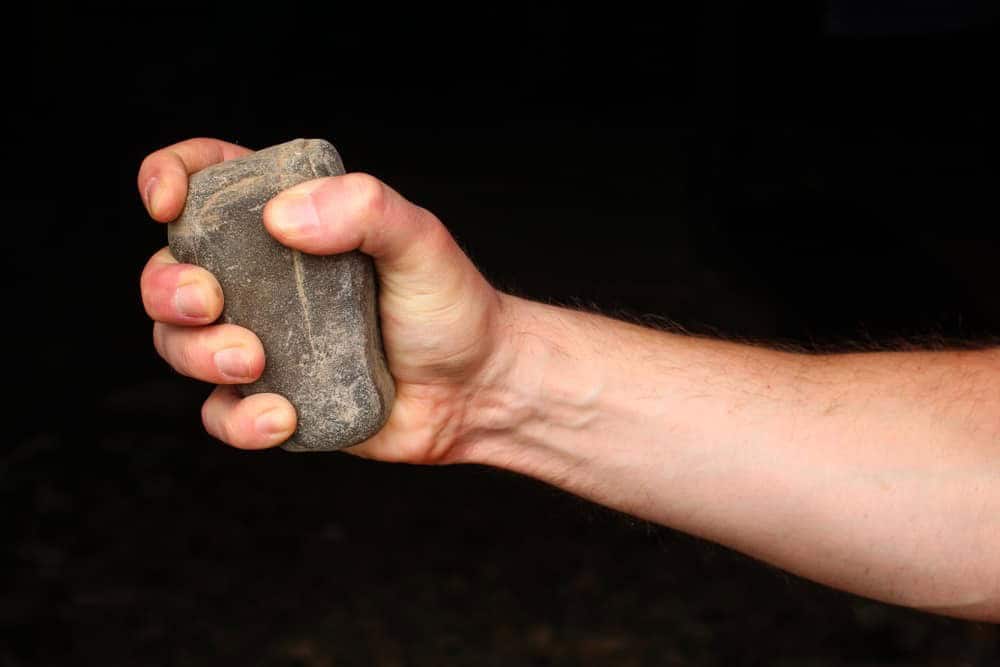
Gather your plant matter and secure a sturdy rock. This is where DIY rope making gets really engaging!
Place the stems on a flat surface and use the rock to gently crack along their length, working from one end to the other. By doing so, you’ll help loosen the tough outer bark, allowing water to penetrate deeper into the material during the subsequent soaking process. Channel your energy into this task, and let the rhythmic motion of bashing away be a therapeutic release.
Step 3: Soak ‘Em
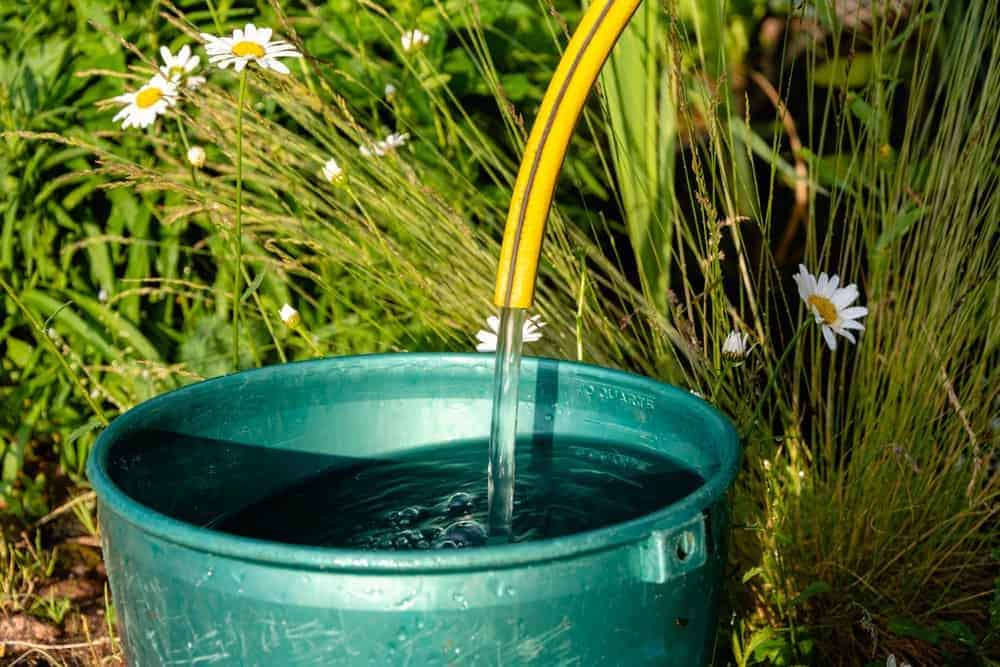
When it comes time to submerge your harvested stalks or leaves in water, the options are vast. Some folks prefer bogs, ponds, slow-moving streams, or creeks for their retted fibers. However, if these aren’t feasible, your bathtub or buckets can serve as a makeshift solution – just be prepared to sacrifice bathing for a week or two and give your tub a thorough cleaning afterwards. If you have the luxury of soaking outside, it’s definitely the recommended approach.
In our experience, when no nearby waterways are available, we’ve employed a ‘wet pit’ technique. This involves digging a shallow hole in the ground, lining it with tarps, placing the plant matter inside, adding water, and covering it with additional tarps – a makeshift solution that surprisingly worked well.
Allow your plant material to soak for anywhere from 8 to 21 days, checking on its progress daily. The fibers are ready to harvest when they easily separate from the stalks.
Be cautious not to under-ret, as this will cause them to cling tightly, making separation difficult. On the other hand, if you leave them in too long, the fibers may start decomposing.
For most plant species, we’ve found that 12-14 days seems to be the sweet spot. Nevertheless, some plant matter requires longer soaking times – a case-by-case basis.
For instance, Caesar weed (Urena lobata) is an example of tougher plant material requiring a longer retting process.
This image demonstrates how its fibers evolved over time during retting.
Step 4: Free the Fibers
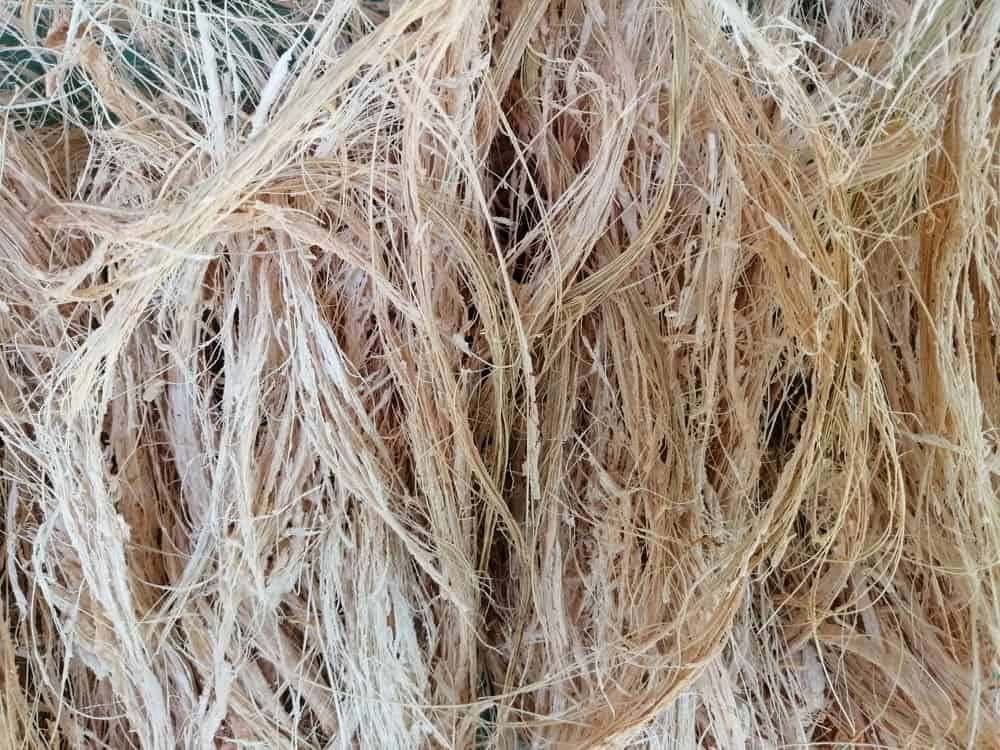
Once the plant matter has decomposed, the fibers can be easily removed and cleaned. Start by rinsing them under running water to remove any excess residue from their previous environment. This step is important not only for removing debris but also for preventing any unpleasant odors that may arise during processing.
Next, gently pull the fibers apart or use a large comb to separate them.
You’ll find that sturdy metal combs, typically used for processing animal fibers, work just as effectively with plant fibers.
Step 5: Rinse Again, and Hang to Dry
After separating the fibers and giving them a thorough rinse to remove any sticky residue, it’s time to dry them out completely. A well-ventilated area with minimal disturbance is ideal – I prefer my attic for this purpose. If you don’t have an attic, drying your fibers outside can work too, but make sure there aren’t any rain showers in the forecast.
To prevent your fibers from getting tangled or blowing away, hang them to dry on a sturdy branch, broomstick, or washing line that’s securely fastened. Drape the fibers evenly across the line, and if you’re concerned about them coming loose, use twist ties to keep them in place. The key is to aim for almost complete dryness before working with your fibers. Damp fibers can be tricky to manipulate, but completely dry ones can be stiff and uncooperative too.
A good compromise is to work with well-dried fibers, then lightly dampen your fingertips as you twist them – this allows for easy manipulation without compromising the integrity of the fibers.
Step 6: Get Twisty
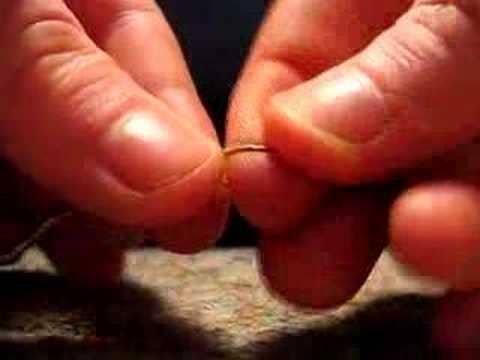
Once your fibers are prepared, it’s time to spin them into rope. The process is similar to creating knotted friendship bracelets – you need to secure one end while working. To do this, braid a small section (about an inch long) using two of your retted fiber strands and waste cord. Tie a knot to secure the end, then attach it to something stable like a tree or banister. Next, ply your two strands together.
This part requires some practice to get right, but the key to creating a strong rope that won’t unravel is to use a ‘reverse twist’ technique – twisting one strand in the opposite direction of the plying. A visual guide can be found in the linked video below. As you continue adding more plant matter, it’s essential to do so one piece at a time, ensuring each new addition overlaps with the previous one at alternating increments.
The diagram here illustrates this concept, showing how new fibers are spliced into the strongest point of the preceding one.
Step 7: Use As Is, or Ply/Braid into Heavier Rope
The versatility of cordage is dependent on its intended use. Thin cords, for instance, are ideal for securing tomatoes, whereas thicker ones would be better suited for tasks like pulling a canoe. If you’re planning to use your cordage for heavier applications, you’ll need to create a thicker rope by plying multiple cords together in the opposite direction of their original twist. This will prevent unraveling and yield a sturdy material that can be reused over time.
Alternatively, if you’re not comfortable with plying, you can opt for braiding or plaiting your cordage instead. This incremental process allows you to build thicker ropes by repeating the process multiple times. Simply start by braiding three cords together, then repeat this process to create even thicker cords. You can continue adding layers of braided or piled cordage as needed to achieve the desired rope thickness for your specific application.
Handy Ways to Use Your DIY Rope
As we’ve honed our cordage skills around the property, we’ve discovered a multitude of innovative ways to utilize this versatile tool. While this list isn’t exhaustive, I can share some of our most practical applications so far.
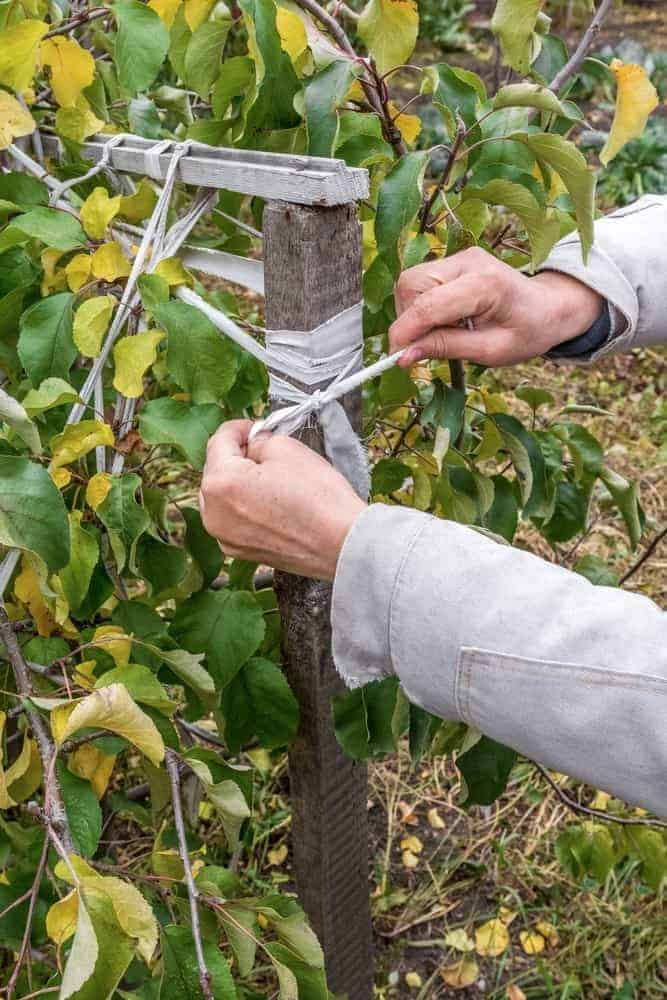
We’ve used it to temporarily stabilize structures during construction, expertly corralled a wayward goat off our porch and back to its relieved owner, cordoned off areas to prevent unwanted animal visits, secured ladders for safe household work, provided extra support for fruit-heavy plants, and even tethered fish traps to shoreline trees.
The possibilities are truly endless, but these experiences have made it clear that DIY rope making is a valuable skill to possess.
Whether you’re exploring this craft as part of a homeschooling curriculum or looking to expand your own self-sufficiency repertoire, I highly recommend giving it a try.
And if, for some reason, you find that cordage-making isn’t your cup of tea, rest assured there’s always the option to purchase pre-made jute rope at a local hardware store.
