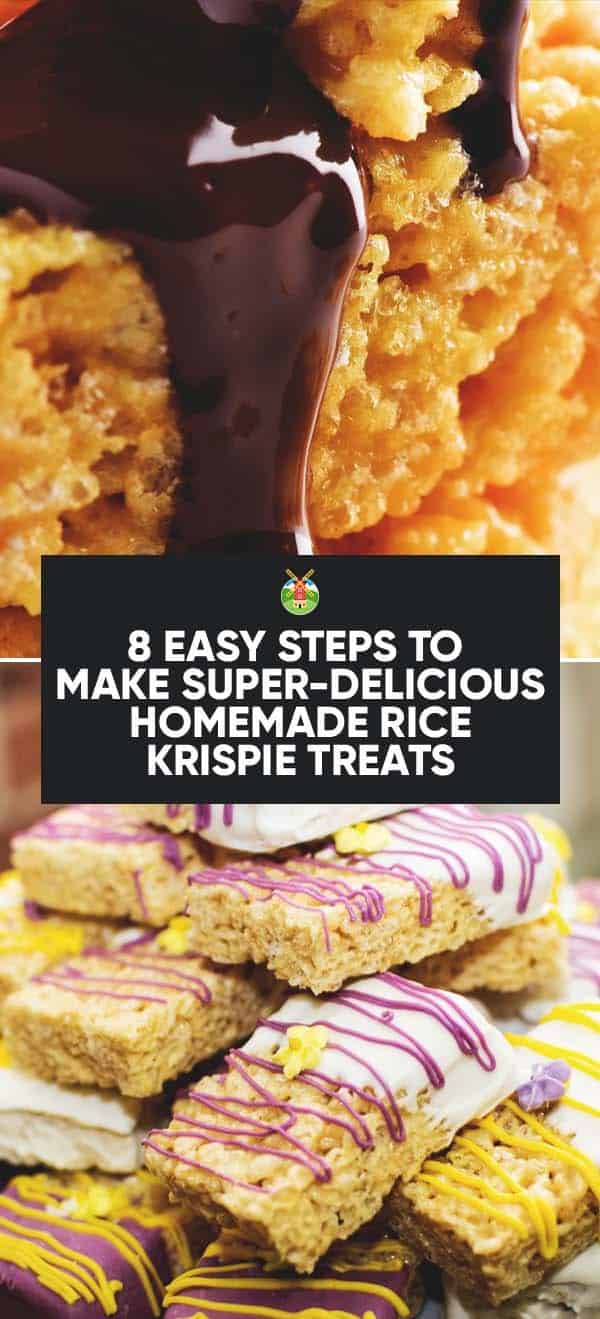
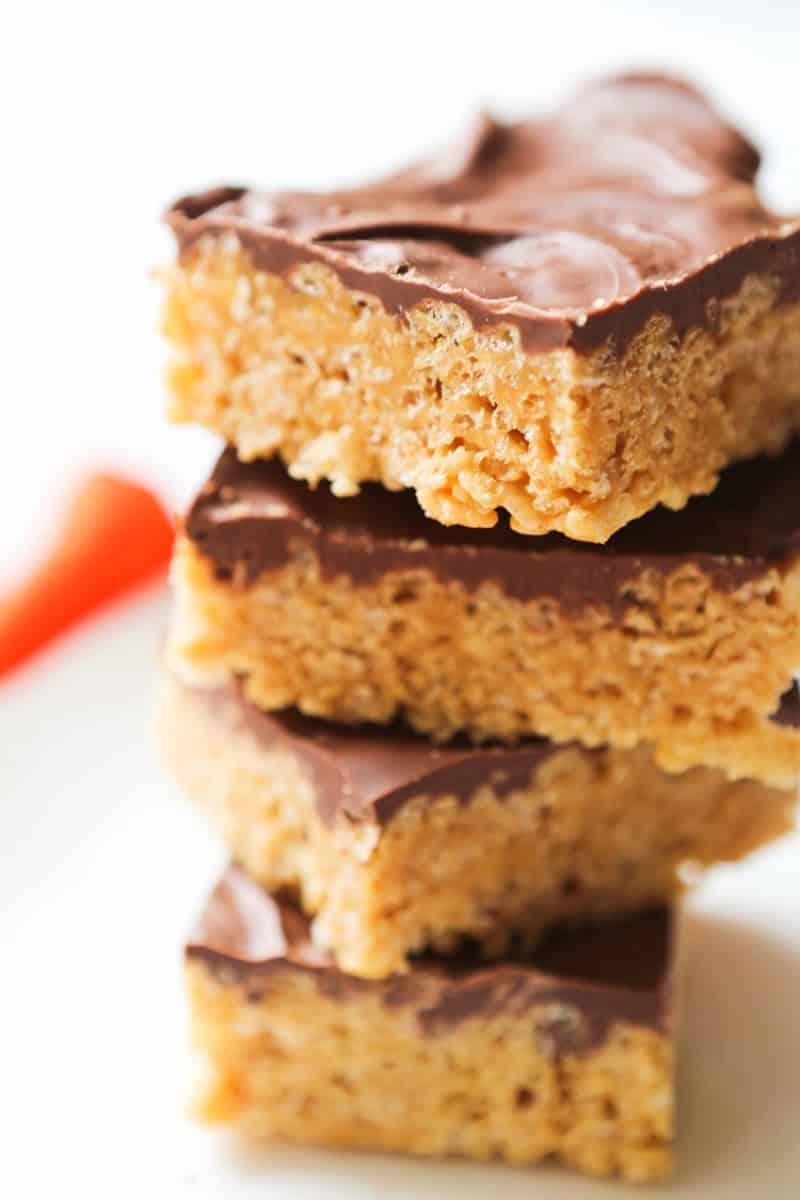
As a child, I always looked forward to the special treat my great grandmother would prepare in the kitchen – a tray of sweet Rice Krispie treats. To me, it was a complex process, but as an adult and mother myself, I discovered just how simple it really is. In fact, when my middle son celebrated his birthday last year, I made my own version of these classic treats. While not fancy, they were easy to make and budget-friendly.
I’m sharing this recipe in the hopes that other moms might find a new alternative to traditional birthday cakes that their kids will love just as much as mine do. Here’s how I did it:
How to make Rice Krispie Treats:
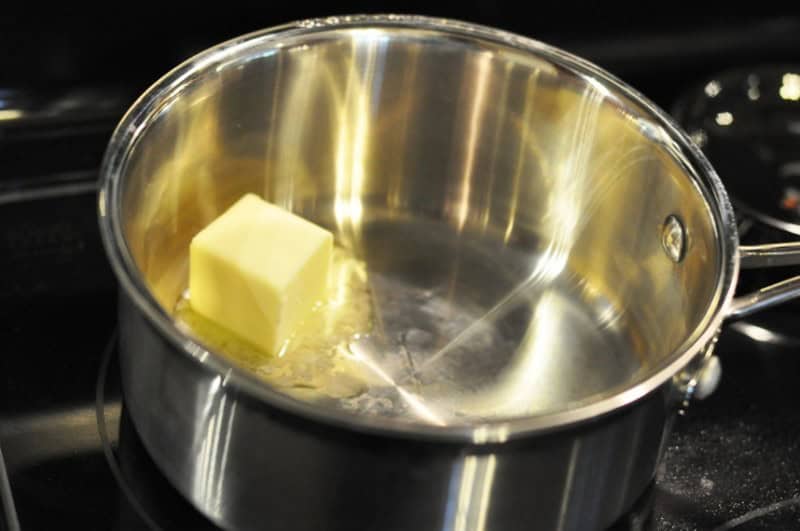
Melt Your Butter
To start making your delicious treat, place a saucepan over medium heat on your stove. Add the butter to the pot, and for every cup of marshmallow fluff, use about ¼ cup of butter. Depending on the batch size you’re aiming for, you may want to double or even triple the recipe. The choice is yours. I personally used leftover marshmallows from a previous cookout to create my unique concoction.
Since I didn’t want the marshmallows to go to waste, I added the marshmallow fluff and extra butter as needed, eyeballing the amount. You can customize your mixture based on what you have available and how much cereal you prefer. Just remember, if you add a little extra, you can always adjust with more cereal if needed. My batch turned out wonderfully coated thanks to my creative combination.
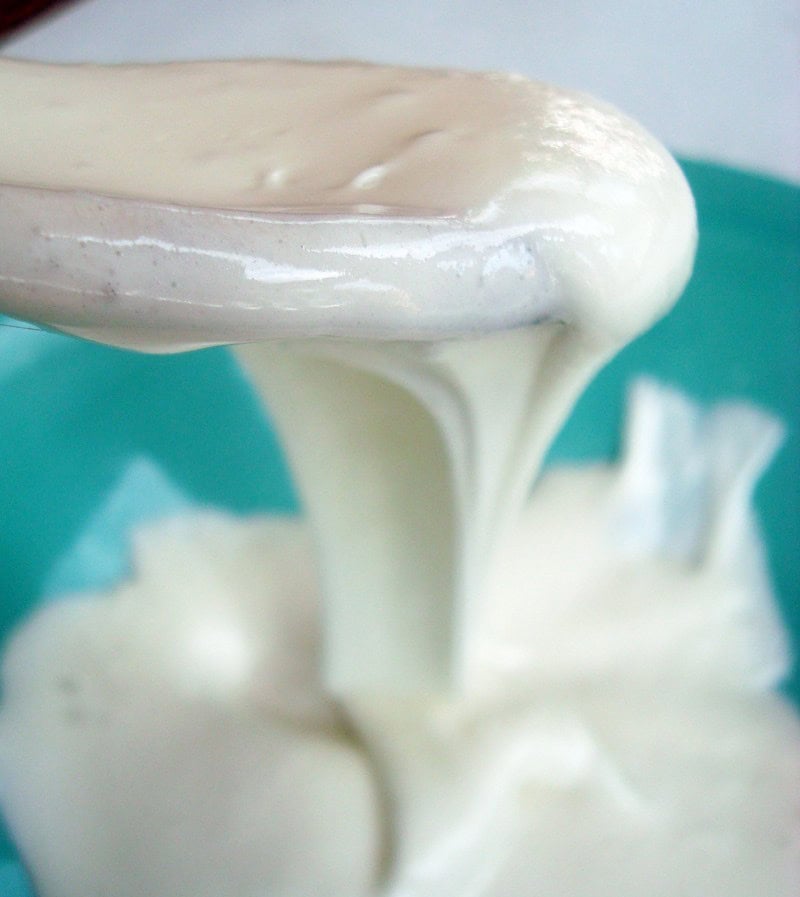
Add the Marshmallow Fluff or Marshmallows
As the butter melts, it’s time to introduce the marshmallows or marshmallow fluff into the mixture. This step can get a bit messy, so be prepared for things to get sticky! I found using a wooden spoon helpful in preventing the mixture from adhering to my utensil. Feel free to choose your own preferred stirring tool – just ensure you thoroughly combine the butter and marshmallows to create a smooth, creamy sauce.
Once the mixture has melted together to your satisfaction, it’s time to move forward. Rest assured that this recipe is forgiving; if you accidentally add too much or too little of an ingredient, it’s relatively easy to adjust as needed. So, don’t stress during this process – just let the marshmallowy magic unfold!
Pour the Cereal into Mixing Bowl and Combine
I’ve always found that pouring cereal into a saucepan can be a recipe for disaster – at least, in my experience! To avoid making a mess, I simply pour the cereal into a mixing bowl instead. This way, I can easily combine it with the marshmallow butter mixture and coat everything evenly. In my opinion, you can never have too much of that delicious buttery goodness, but if your cereal looks a bit dry, just whip up some more of the mixture until you’re happy with the coverage.
Once you’ve got your desired level of stickiness, it’s time to add some color and fun with sprinkles – as many or as few as you like! I actually made this treat for my son’s birthday, but the possibilities are endless. You could use red and green for Christmas, pastel colors for Easter, or even go all out with a St. Patrick’s Day-themed treat. The beauty of it is that it’s incredibly easy to make, too.
Prepare Your Pan
When preparing for a Rice Krispie cake, it’s essential to get your cake pan ready first. The great thing about this recipe is that it offers flexibility – you can choose to make a multi-layered masterpiece or a single solid layer. If you opt for the former, grab 2-3 round cake pans, and if you prefer the latter, use a single 13×9-inch cake pan. Regardless of your choice, you’ll need to take two crucial steps: lining the pan(s) with aluminum foil and spraying them with non-stick cooking spray.
The primary goal is to prevent the treats from sticking to the pan, allowing for smooth removal once it’s time to serve.
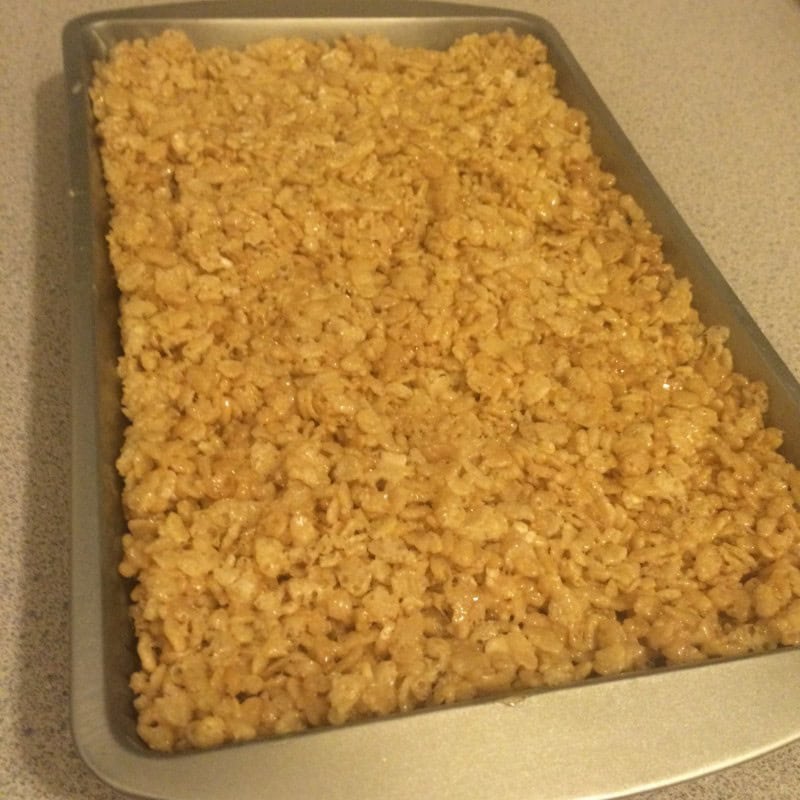
Spread the Rice Krispie Mixture Out
As you prepare to add the treat mixture to your prepared pans, it’s essential to ensure an even spread. Scoop the mixture into the pan(s) and take a moment to level it out, making sure there are no high or low spots. If using the 13×9 rectangular cake pan, you can proceed with the next step, just like I did for my son’s birthday celebration.
However, if you opted for round cake pans, a brief refrigeration period of around 30 minutes will help the mixture set and harden before moving forward to the next step.
Add Your Icing
When it comes time to add the final touches to your rectangular cake, you can get creative with your icing choice. While I opted for store-bought icing, you’re welcome to make your own using this recipe for butter-cream frosting. Alternatively, if you’ve chosen a circular layered cake, be sure to carefully remove each layer from its pan by cutting it loose and flipping it onto a serving plate. A knife or offset spatula works well for this task.
Once the layers are out of their pans, apply a generous amount of icing to each one, repeating this process until all the Rice Krispie treats are accounted for. Finally, complete the cake by applying a layer of icing to its exterior, following the same technique used in our tutorial on icing a layered cake.
Decorate
With the Rice Krispie treats freshly baked and iced, the fun part begins – decorating! I adore this recipe because it eliminates the need to splurge on a store-bought cake or stress over creating a homemade masterpiece that may not turn out as expected. This treat is ridiculously easy to customize with your little ones, making it an excellent activity for kids to take part in. Simply sprinkle the icing-covered treats with colorful decorations to your heart’s content – the more, the merrier!
It’s all about personal taste, so feel free to add a dash or go all out.
Enjoy
Once the sprinkle job is complete, it’s time to indulge in your freshly made rice treats. Just remember to prioritize oral hygiene by brushing your teeth before bed, and your dentist will be grateful for your good habits. The simplicity of this recipe is indeed a blessing, which inspired me to explore more creative options online. Here are some inspiring ideas I came across:
Delicious Rice Krispie Treats Recipes:
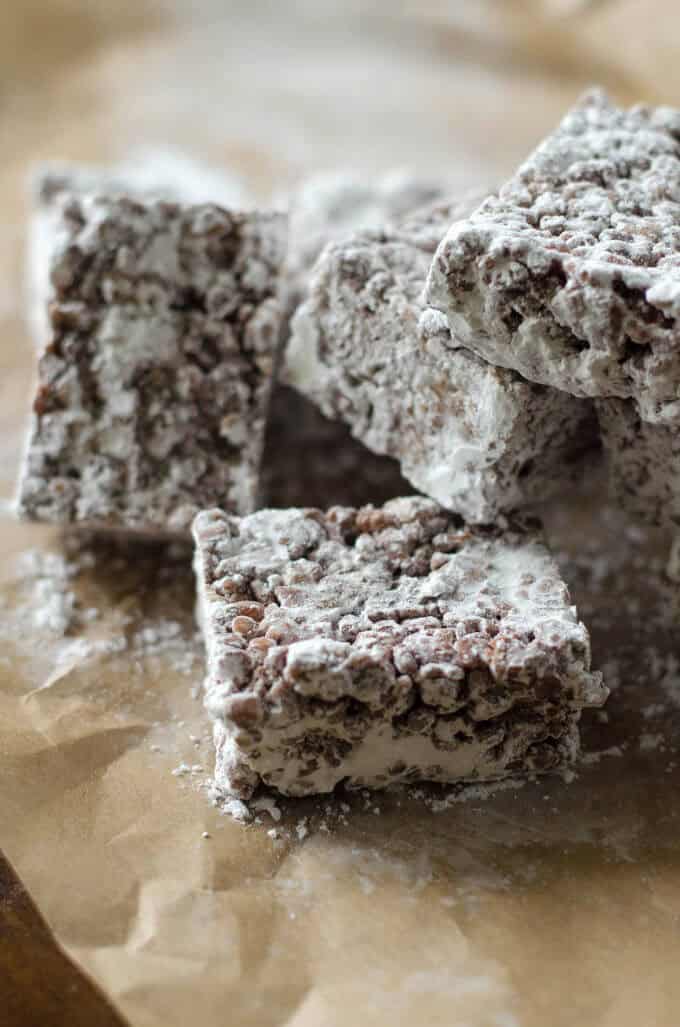
Puppy Chow Rice Krispie Treats
If puppy chow is a favorite snack of yours, you’re likely familiar with the classic Chex Mix version that combines chocolate, peanut butter, and powdered sugar. For those who crave this sweet and indulgent treat, making Rice Krispie treats infused with marshmallow, peanut butter, chocolate, and powdered sugar is an absolute must-try. The result is a delightful twist on traditional puppy chow that’s sure to satisfy your cravings.
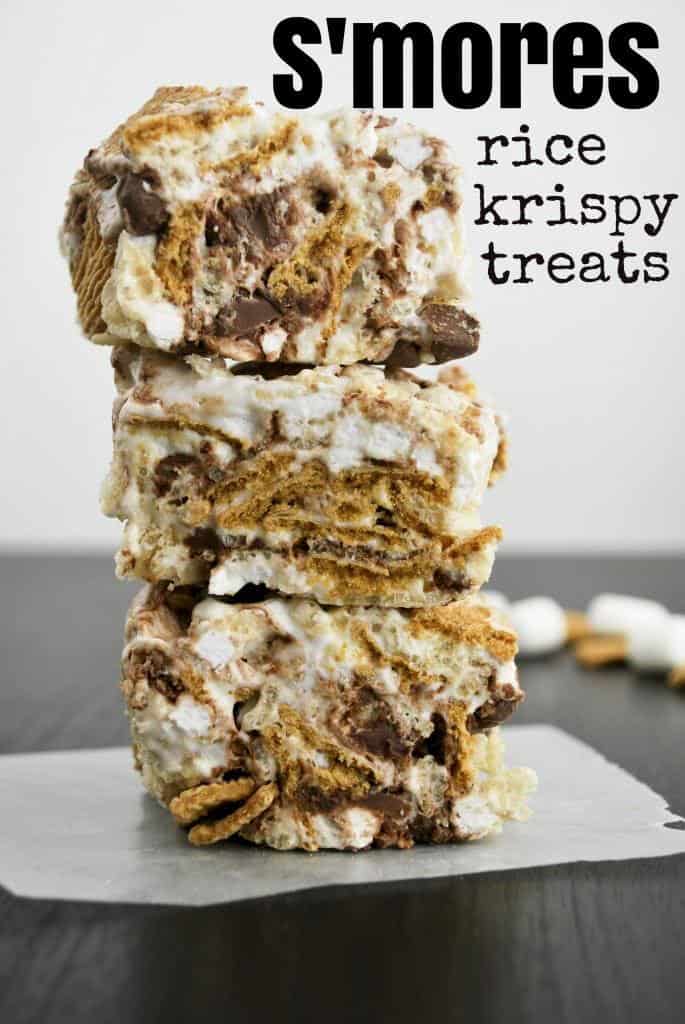
S’mores Rice Krispie Treats
While my kids can’t get enough of S’mores, I knew I had to try out this recipe that combines two beloved treats: Rice Krispie treats and the classic campfire favorite. It’s no surprise that most people love a good S’mores, so when I stumbled upon this dessert that merges the two, I just had to share it with others. The idea of combining the gooey marshmallow goodness with the crunchy, sweet Rice Krispies is a winning combination in my book.
And that’s why I decided to make these Rice Krispie treats.
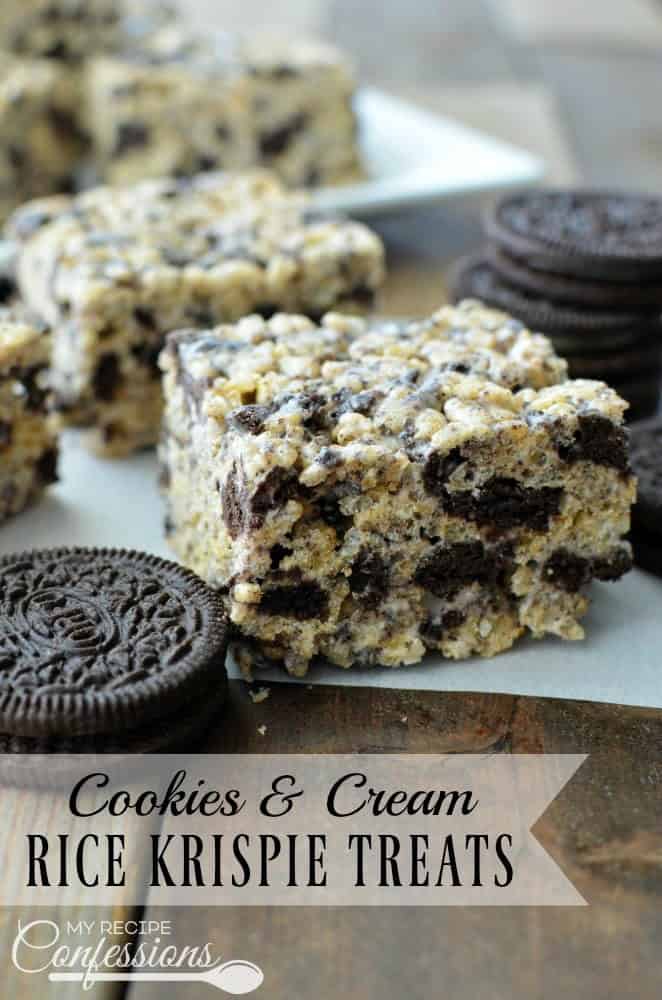
Cookies and Cream Rice Krispie Treats
As an avid enthusiast of the iconic cookies and cream flavor combination, I’ve always been drawn to creative ways to incorporate this beloved taste into my favorite treats. When I was expecting my youngest child, I found myself indulging in cookies and cream Hershey bars – a sweet escape during a time filled with excitement and anticipation. It’s only natural that I would turn to this recipe when looking for a unique way to share the magic of cookies and cream with all of you.
These scrumptious Rice Krispie treats are truly the epitome of this classic flavor combination. Who wouldn’t want to get their hands on these tasty morsels? The best part? It’s incredibly easy to make!
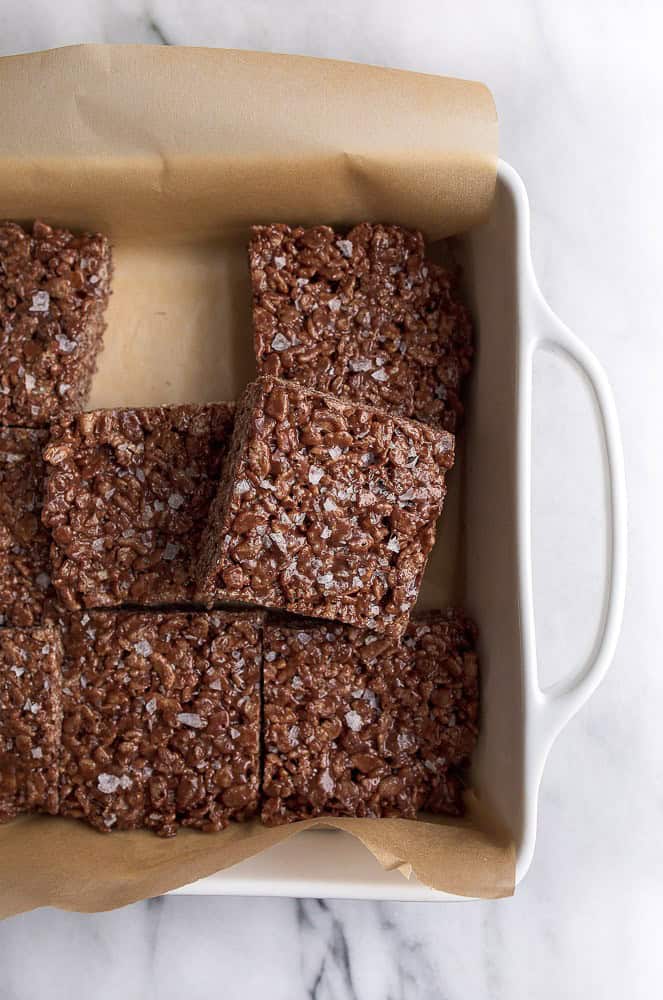
Chocolate Rice Krispy Treats
While I adore the classic Rice Krispie treat recipe, I must confess that my true affection lies with its chocolatey counterpart. It’s as if my love for chocolate is simply in my DNA (and mom, you know it’s true!). But I’ll spare the details and get straight to the point: if you’re a fellow chocoholic and Rice Krispie treat enthusiast like myself, then these special treats are an absolute must-try.
Chocolate Peanut Butter Rice Krispie Treats
As we conclude this delightful article, I’d like to leave you with an unforgettable combination – peanut butter, chocolate, and Rice Krispie treats. This trifecta of flavors is sure to satisfy any sweet tooth. To experience it for yourself, follow along as I guide you through the process of making these scrumptious treats. With five additional recipes at your disposal, you’re bound to find a new favorite.
However, be cautious not to overindulge – we wouldn’t want anyone to fall victim to cavities or a sugar rush. Now, it’s your turn! What’s your go-to method for crafting Rice Krispie treats? Do you have any cherished memories tied to this tasty treat? We’d love to hear all about them. Simply share your stories in the comment section below and let’s keep the conversation going!
