For five years now, I’ve been cultivating herbs and vegetables on my homestead. Alongside these staples, I’ve also nurtured a diverse array of perennial flowers and self-seeding annuals to support the local pollinator population. However, until recently, I’d never ventured into growing cut flowers specifically for bouquets. This newfound passion is a direct result of my current homestead’s unique environment, which allows me to devote time to activities that bring me joy and beauty.
Among these pursuits, cultivating cut flowers for arrangements takes top priority. When embarking on a new learning experience, I prefer to start small and avoid overwhelming myself. This year, I’ve decided to repurpose some of my vegetable garden space to accommodate this newfound hobby. If you’re considering making the switch to grow your own cut flowers within your veggie beds, continue reading for valuable insights on how to successfully adapt these spaces.
The Cut Flower Bed
I used to believe that dedicating an entire garden to cut flowers was necessary. However, I’ve since learned that many flowering plants can be encouraged to produce more blooms when their stems are trimmed regularly. Moreover, there are varieties that grow rapidly, allowing you to maximize space and create a thriving floral arrangement.
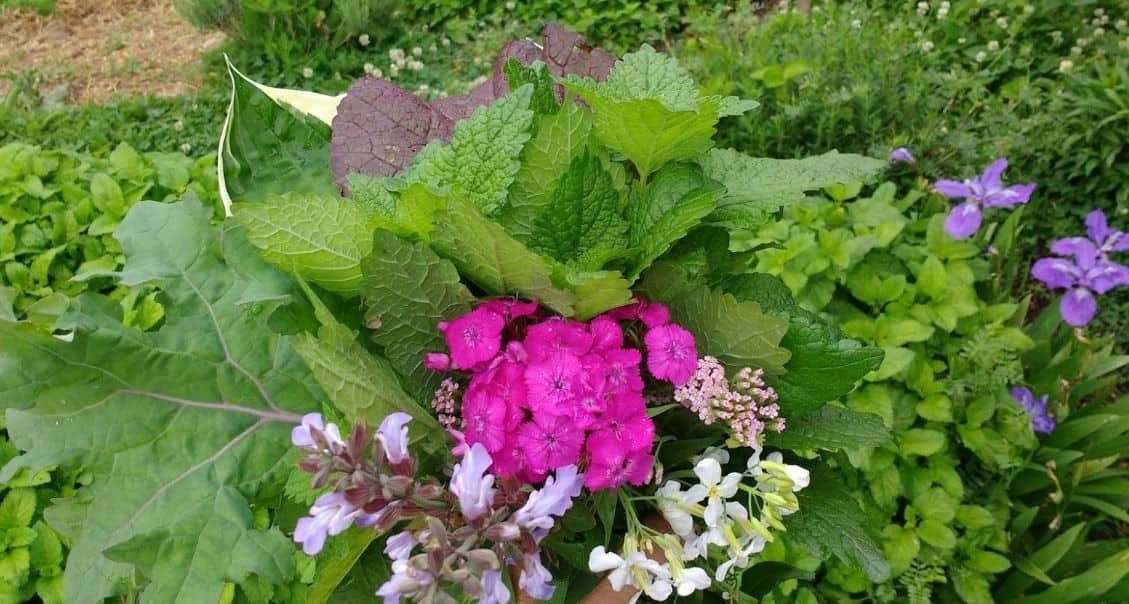
Surprisingly, you don’t need to sacrifice an entire plot of land for flowers; simply designating a small section in your vegetable garden for these colorful additions will suffice. By combining the blooms from this designated area with greenery from around your homestead and incorporating fruits and vegetables as unique embellishments, you’ll have ample materials to craft your own stunning bouquets.
Carefully Site Your Cut Flower Bed
When designing your cut flower bed, it’s essential to keep in mind its purpose: providing a constant supply of blooms for cutting. This may not necessarily result in the most visually stunning display, but that’s okay! You can tuck this bed between more attractive vegetables like indeterminate tomatoes or come-and-cut greens. Adding annual herbs along the edges can also enhance the visual appeal. As you plan your flower selection, be mindful of their growth habits and potential heights.
Some varieties, such as zinnias, can reach impressive heights of 4-5 feet, while calendula can stand tall at around 3-4 feet during the peak summer months. Sunflowers, which are often grown for their edible seeds rather than cut blooms, tend to be shorter, but branching varieties may require more space. To avoid shading other vegetable plants that require full sun, ensure your taller flowers don’t overpower them.
Conversely, you can use these tall flowers to create beneficial shade, such as providing a natural canopy for lettuce plots to slow down bolting and keep the leaves from turning bitter too quickly. When planning your bed’s dimensions, consider the mature size of each flower variety. Some cut flowers can become quite large and sprawling, especially if they produce branches. For smaller plants, you’ll need to plant more to achieve a substantial display.
If you garden in rows, think about merging some rows to create a wider bed (around 3-5 feet) that allows for grouping flowers in patches and cutting multiple blooms at once.
The Best Ways to Start Plants for Flowers
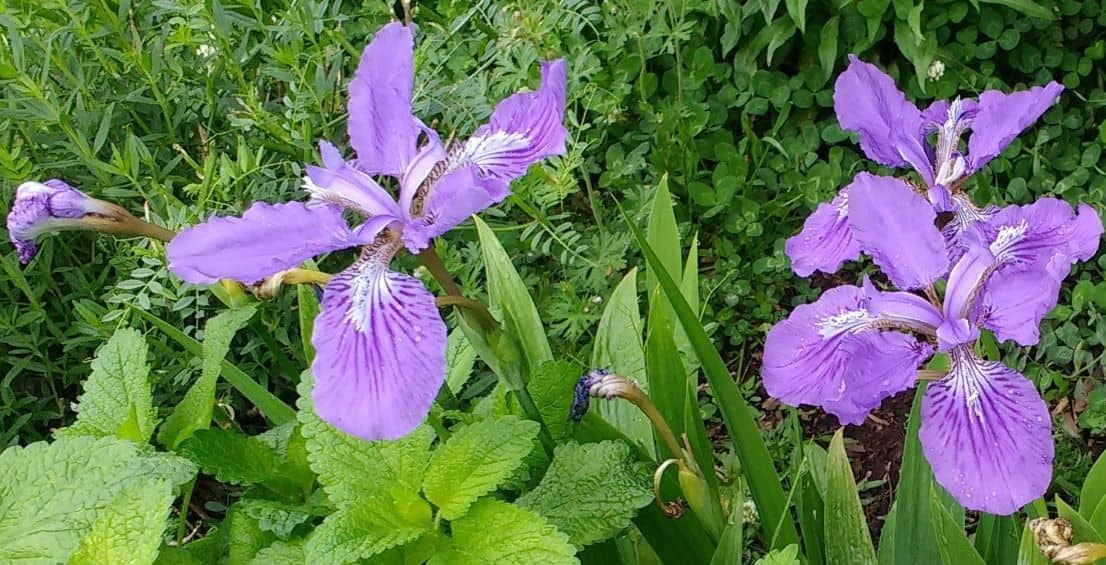
When it comes to starting iris flowers, one common method is by utilizing tubers or rhizomes. This approach may seem familiar to those who have experience with vegetables like beets and carrots, which are typically started through direct seeding. Alternatively, some vegetable gardeners learn that certain crops like cabbage, cauliflower, tomatoes, and peppers thrive when transplanted from seedlings.
Similarly, perennial edibles such as horseradish require root cuttings, while asparagus grows well from crowns. In the realm of flowers, there are various ways to get started. Some species can be grown from seeds, while others do better from bulbs, tubers, corms, rhizomes, cuttings, or divisions. For instance, dahlias and peonies are often easiest from tubers, tulips and daffodils come from bulbs, and certain iris varieties as well as all crocus species can be grown from corms.
The bearded iris, on the other hand, is typically started from rhizomes. In some cases, like with lavender, it’s best to start with cuttings taken from mature plants. On the other hand, zinnias, cosmos, snapdragons, foxglove, hollyhock, sweet pea, poppies, and sunflowers tend to be easiest when started from seed.
When it comes to fast-tracking perennial flower production, starting multiple perennials from seeds can result in a wait of up to two years before they establish root systems or experience stratification. However, by taking root divisions from fully grown plants, you can accelerate this process. This approach works particularly well for flowering perennials with fibrous root systems that don’t become woody with age.
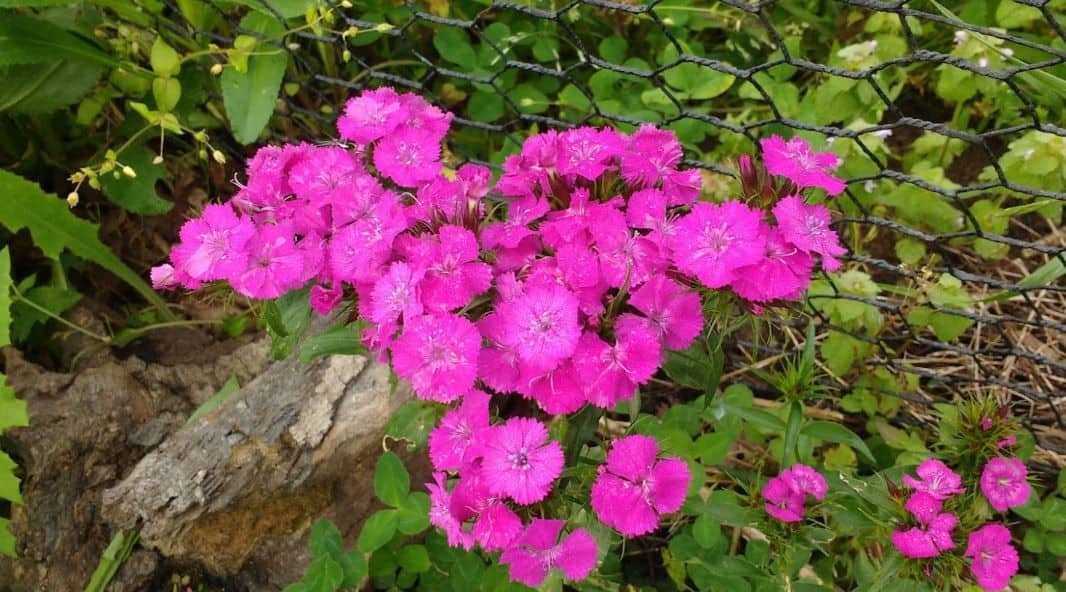
Coneflower, Black-eyed Susans, sweet williams, and Shasta or ox-eye daisies are some examples of suitable candidates for division. If you have friends who already grow these plants, be sure to ask nicely for some divisions to give your flower production a boost.
Starting Simple and Work Up
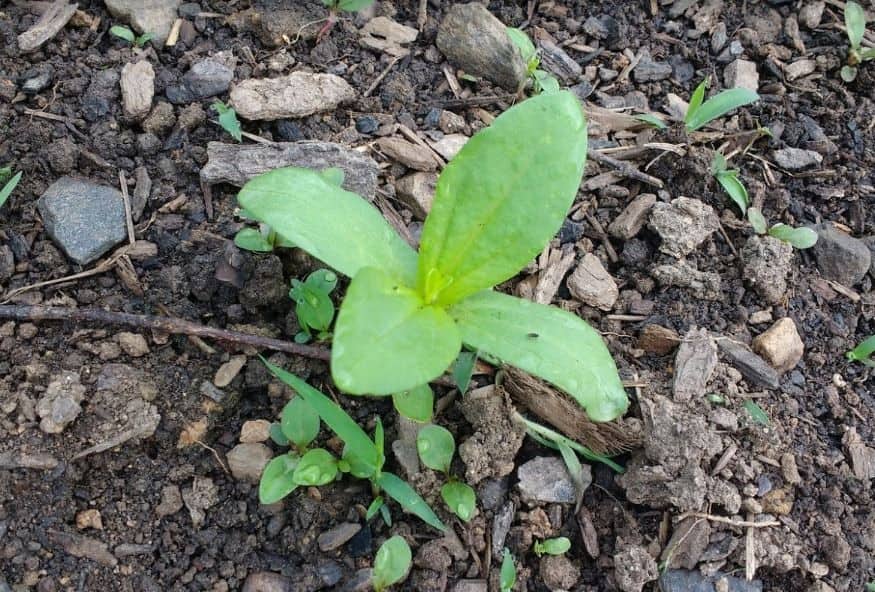
When it comes to growing cut flowers, starting from scratch is a great way to begin. You can start directly from seed or with a purchased transplant. As you gain experience, you can explore other methods to grow your favorite blooms for cutting. For beginners, direct seeding is a straightforward approach that works well for many varieties. In my garden, I’ve had success with sunflowers, zinnias, cosmos, calendula, and marigolds. These flowers sprout quickly when planted in warm soil.
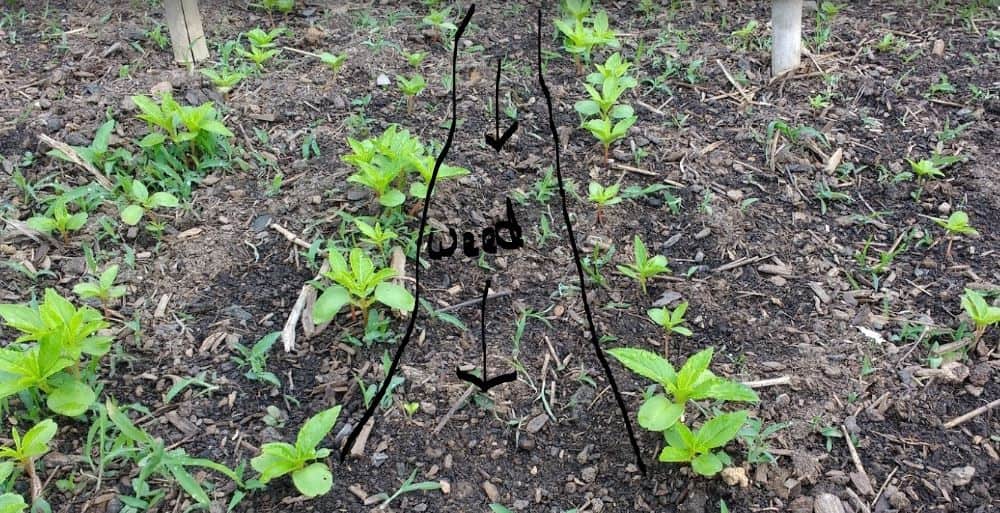
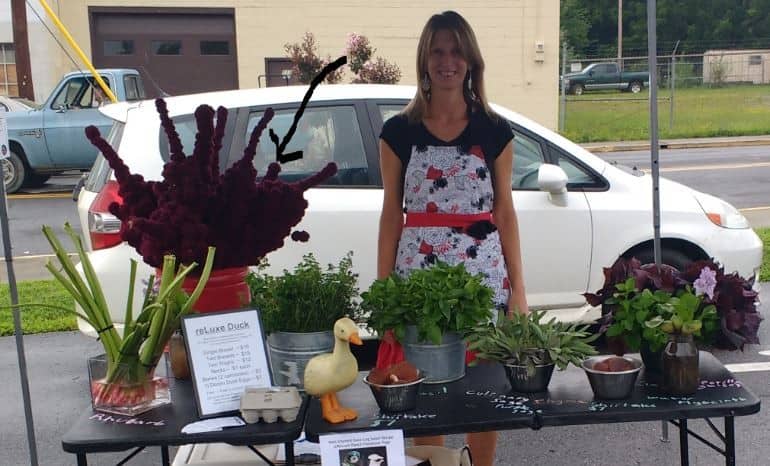
To ensure easy identification of seedlings from weeds, plant them in a straight line. This layout also makes it simple to remove weeds as your flowering plants grow and shade the soil beneath them. Amaranth is another easy-to-grow option that produces stunning blooms. However, beware of its prolific seeding habit – a single flower head can produce thousands of seeds! To minimize volunteer seedlings, cover the area with compost annually or pull the seedlings before they mature.
With these simple tips, you’ll be well on your way to growing a bounty of beautiful cut flowers.
How to Take Good Care of Your Plants
Floral enthusiasts know that the secret to thriving cut flowers lies in well-prepared garden soil. The same care and attention you devote to your vegetable patch will yield impressive results with your bloom-filled beds. Annual compost applications, consistent moisture levels, and a weeding schedule are essential for fostering a fertile foundation. To optimize flower production, apply an initial dose of balanced organic fertilizer (4-4-4) at planting time.
Later, as plants approach maturity, provide a phosphorus-heavy, moderate-potassium side dressing to encourage blooming. The art of pinching plays a crucial role in promoting bountiful blooms. By carefully removing the growing tips of young plants, you’ll stimulate branching and increase overall flower yield. This ancient practice is reminiscent of the mythical Hydra’s regenerative abilities – as one stem is removed, two new ones emerge.
To achieve this robust growth, simply pinch above the first set of nodes, allowing the plant to recover between sessions. Repeat this process until your plants reach the desired bushiness and size for optimal flower production. While pinching may seem counterintuitive, it actually strengthens your plants, much like a workout for your muscles.
Learn to Harvest Cut Flowers
When it’s time to add some color and beauty to your space, nothing beats the joy of crafting your own bouquets. To ensure those blooms stay fresh for a while, it’s essential to understand the unique harvesting guidelines for each flower variety. Some flowers require cutting just before they unfurl, allowing them to blossom in your vase, while others need to be harvested at the precise moment of opening.
Just as you would learn the optimal picking times for fruits like cantaloupes and tomatillos, it’s crucial to familiarize yourself with the specific harvesting requirements for each type of flower you’ve planted. By doing so, you’ll be able to coax those blooms to last as long as possible in their new surroundings.
Concluding Cultivating a Cut Flower Bed
Growing a cut flower bed shares similarities with cultivating vegetables. While there are fundamental principles to grasp, such as preparing the soil and caring for plants in general, applying these skills to different varieties requires minimal additional study and practice. As you refine your techniques, you’ll be rewarded with an abundance of stunning bouquets to adorn your homestead table alongside a bountiful harvest.
