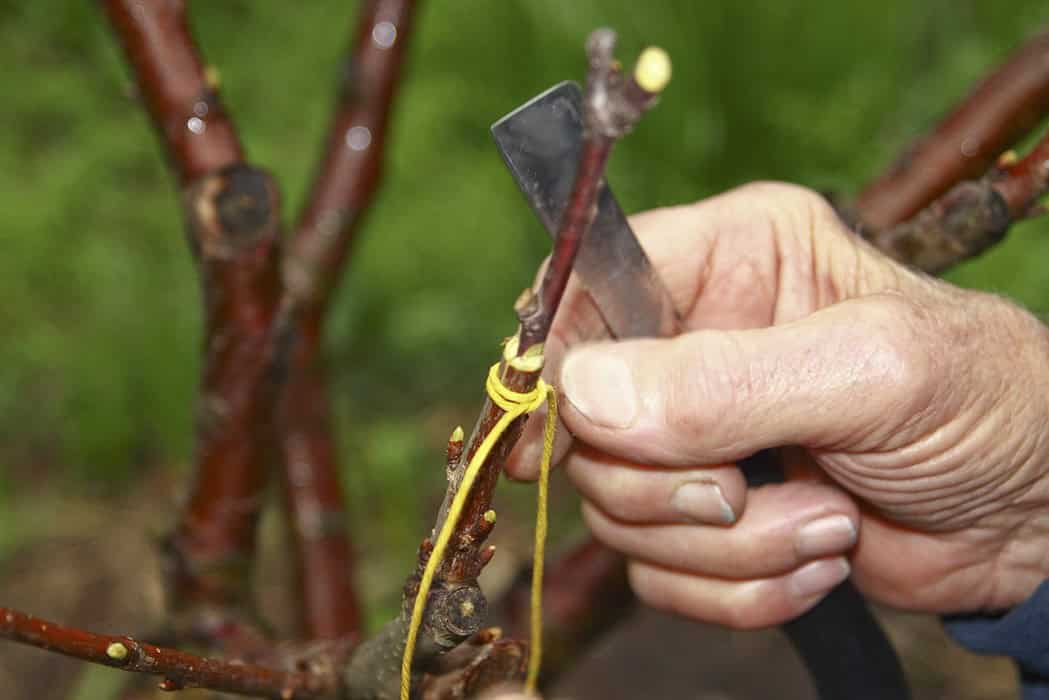
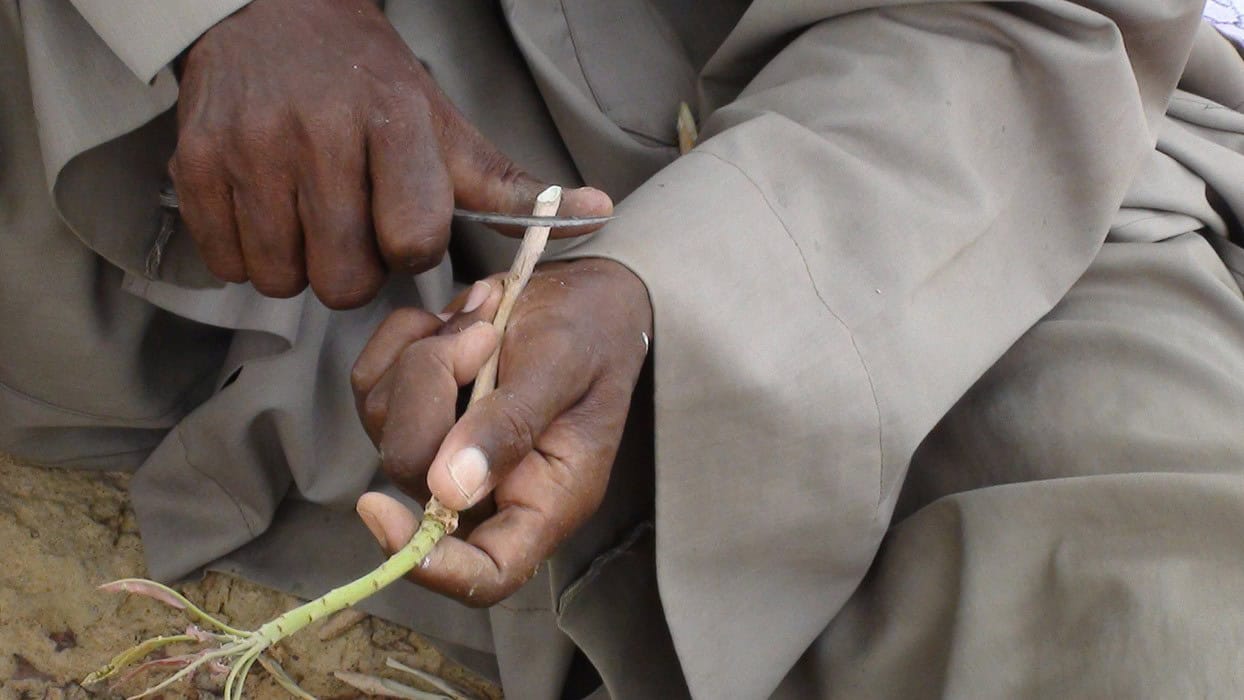
Grafting is an artful process of uniting two compatible plants, aiming to create a new hybrid with the most desirable traits from its parents. While commonly associated with fruit trees, this technique can be applied to various shrubs, vegetables, and trees. The advantages of grafting become apparent when faced with limited options for propagation. For instance, if you’re determined to preserve a prized apple tree that’s been damaged, grafting offers a solution.
By combining the strengths of two plants, you can develop more resilient flora by eliminating weaknesses and accentuating desirable characteristics. Additionally, grafting allows for the creation of bespoke plant varieties tailored to specific needs or preferences – from compact dwarf forms to weeping shapes. Moreover, this method proves faster than traditional seed-based propagation.
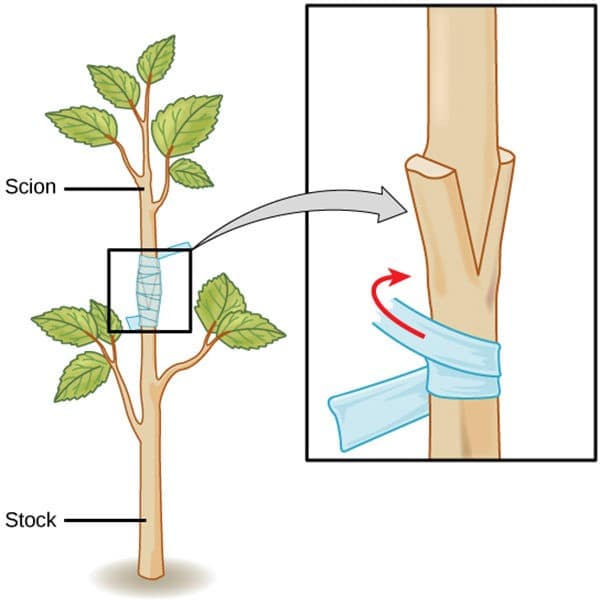
To achieve successful grafting, one must connect the rootstock (the lower portion) with the scion (the upper part). Although it may seem straightforward, there’s more to mastering grafting than just attaching the two parts; this article aims to provide a comprehensive guide for beginners and seasoned practitioners alike.
Terms To Know
Before we dive into the world of grafting, it’s essential to understand some fundamental terms that you’ll encounter along the way.
Firstly, let’s define the key components involved in this process. Scion wood refers to a shoot or twig from a plant, typically comprising the previous year’s growth and potentially bearing dormant buds. This scion will ultimately form the upper part of the graft.
In contrast, rootstock, also known as stock, consists of the roots and lower stem of a plant, serving as the foundation for the graft.
The graft itself is where these two components come together. It’s the union of the scion and rootstock that allows the plants to grow and thrive as a single entity. Cambium, an inner layer of cells situated between the wood and bark, plays a crucial role in this process. When you cut into a plant, you’ll expose the cambium.
As the cambium from two joined plants begins to divide and multiply, it forms a callus layer – essentially a bridge connecting the old and new plants. This callus layer is a vital step in the grafting process, allowing the grafted plants to heal and recover over time.
Tools For Grafting
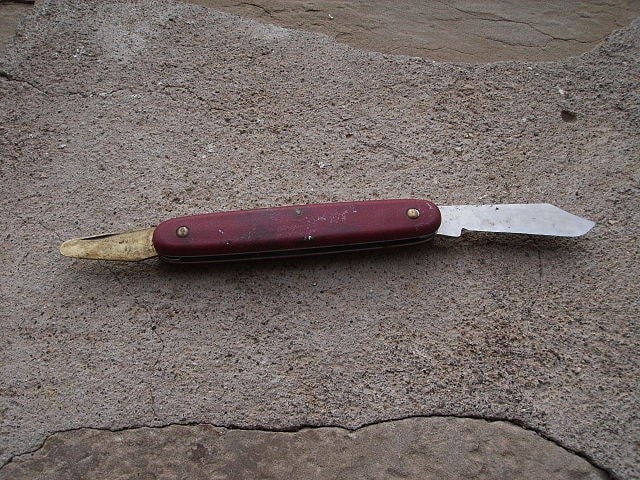
To embark on grafting, you’ll need a set of specialized tools and materials. First, you’ll require knives – specifically, budding and grafting knives that are approximately three to four inches in length. Alternatively, you can opt for an Exacto knife with removable blades. Pruners will also be necessary, with larger ones ideal for collecting scion from trees and smaller pairs suitable for making precise cuts. To protect your hands during the process, it’s crucial to wear sturdy leather gloves.
For binding sections securely together, you’ll need rubber bands, string or grafting tape. Hot wax is another essential component, as it helps prevent disease by keeping air out of the newly joined plant parts. Finally, a wedge or chisel will be necessary for wedge grafting – make sure these are clean and sharp to avoid any issues. It’s vital to maintain the cleanliness of your tools throughout the process to minimize the risk of pathogens infecting your plants.
To do this, regularly wipe down your tools with alcohol, wash your hands thoroughly with soap and water, and use fresh gloves. Additionally, keep your tools sharp by honing them frequently – a dull knife can lead to ragged edges that prevent callus cells from forming, ultimately impeding the successful union of the scion and rootstock.
Selecting Your Scion
When it comes to grafting, choosing the right scion is crucial. You’re aiming to make improvements, so you’ll want to select the best examples available. Look for scion wood from last year’s shoots, preferably with one or two unopened buds. However, not all plants produce buds in their first year’s growth. Ensure that your selected shoots are free from insect and disease damage.
Cut the scion wood from the tree or plant using a sharp knife or pruners.
Store the cut ends in a damp burlap bag or plastic bag to keep them moist. Aim for scions that are approximately 6-8 inches long and about a quarter-inch wide, roughly the size of a pencil.
Only harvest what you need for the day’s grafting session, as scion wood is best used fresh. If you’re working with multiple varieties, be sure to label your plants clearly.
Choosing Rootstock
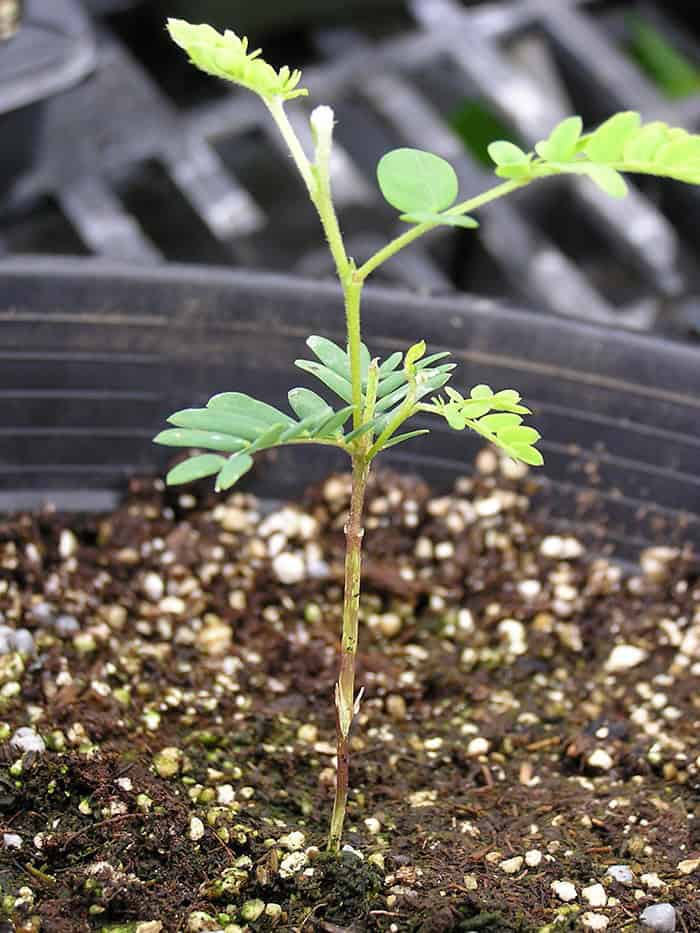
A robust rootstock is pivotal in enabling your plant to effectively respond to environmental fluctuations and resist disease. Moreover, it plays a crucial role in regulating the size of your plant. To acquire quality stock, you have several options at your disposal. For instance, you can cultivate your own rootstock from seed, take cuttings from an existing root, or employ layering techniques.
Additionally, you can purchase specially propagated stock from reputable suppliers like Fedco, which offers a diverse range of varieties. If you’re looking for a more unconventional approach, you could utilize an offshoot from an established tree or a sapling. Prior to grafting, it’s essential to expose the rootstock to cold temperatures for approximately six weeks to ensure that it’s in a state of dormancy.
Graft Union Types
While there is no one-size-fits-all approach to graft unions, the various types of connections all have their unique strengths and weaknesses. From a technical perspective, understanding these nuances can be crucial in selecting the most suitable solution for a particular project or application.
Wedge Graft
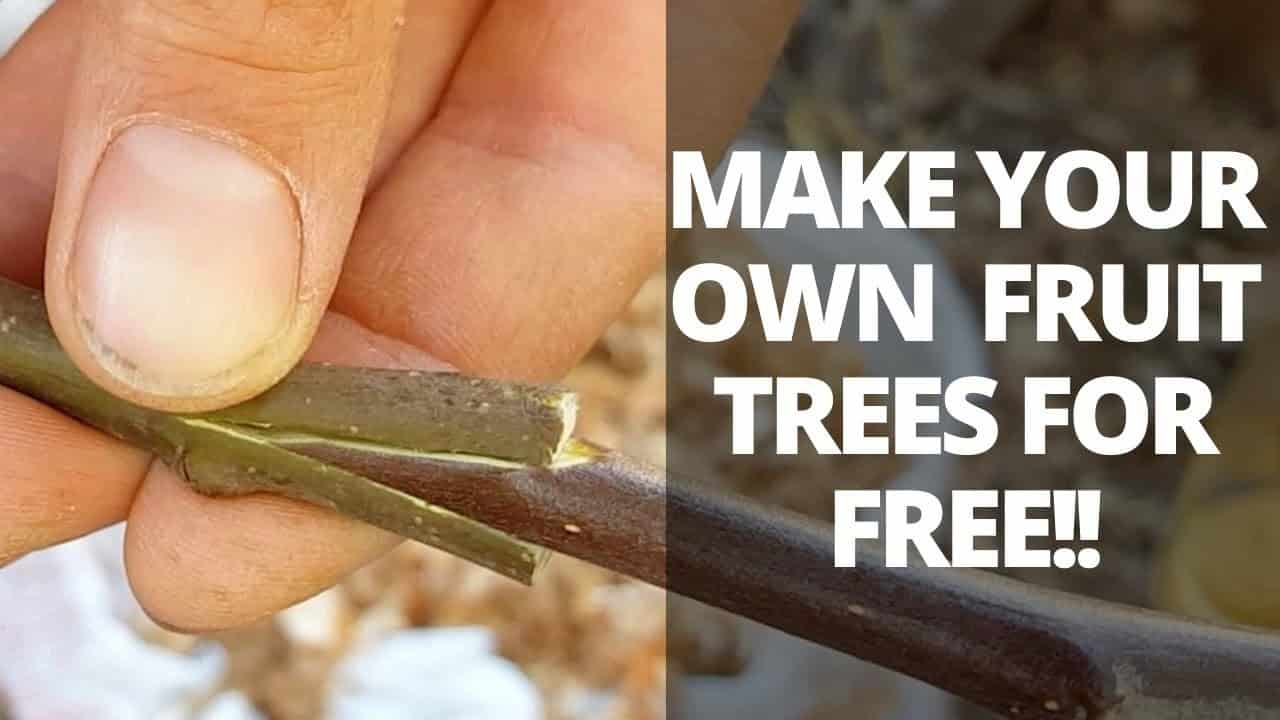
A wedge graft is a straightforward procedure that excels when the diameter of your scion wood is smaller than that of the stock. The process begins by creating a V-shaped incision at the end of the scion. Next, make a corresponding wedge cut in the rootstock, ensuring it’s slightly larger than the scion’s notch. Insert the scion into the prepared rootstock, taking care to align them properly. Secure the union using a combination of wrapping materials like rubber bands, tape, or string.
Finally, apply a sealant such as hot wax or tree wound dressing to protect the newly formed joint.
Whip Graft
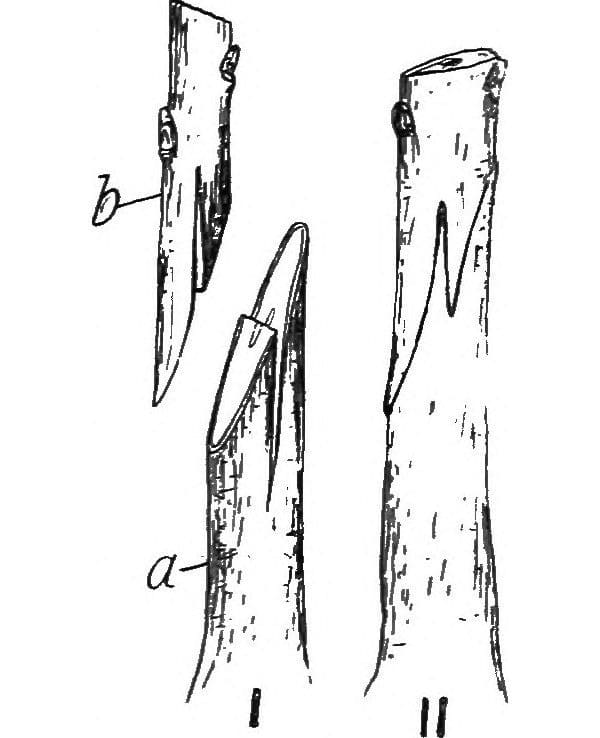
The most common grafting technique is the whip graft, also known as the whip-and-tongue or slice graft. This method involves cutting the rootstock and scion at opposite angles so they can be fitted together seamlessly. The key to success lies in ensuring the two ends are cut precisely to join on the flat sides, with the stock and scion having similar diameters.
While considered challenging to master due to the need for exact cuts, the whip graft boasts a high success rate when executed correctly. While it may seem daunting at first, I find that this technique is actually quite straightforward once you get the hang of it. When working alone, it can be helpful to use a vise or wrench to hold the scion and stock in place as you wrap them tightly together. However, be cautious not to clamp the parts too tightly, as this can cause damage.
To begin, compare the diameters of your scion and stock and find a spot where they are roughly equal. Cut the scion at an angle, leaving up to 2 inches of sloping wood intact. Conversely, cut the stock at an opposite angle to match the scion’s angle. If you’re looking for precision, you can use a vernier caliper or simply eyeball it from various angles. For added stability and surface area, consider making a ‘tongue’ cut on both the scion and stock.
To do this, slice straight down into the face of each piece about one-third of the way down from the original cut, leaving a tongue. This will provide additional contact area for the two pieces to bond together. Once the cuts are made, fit the scion onto the stock, ensuring they align properly. Secure the union by wrapping with a rubber band, string, or tape. Finally, apply hot wax or tree wound dressing to protect the newly formed graft and promote healthy healing.
Chip or Bud Grafting
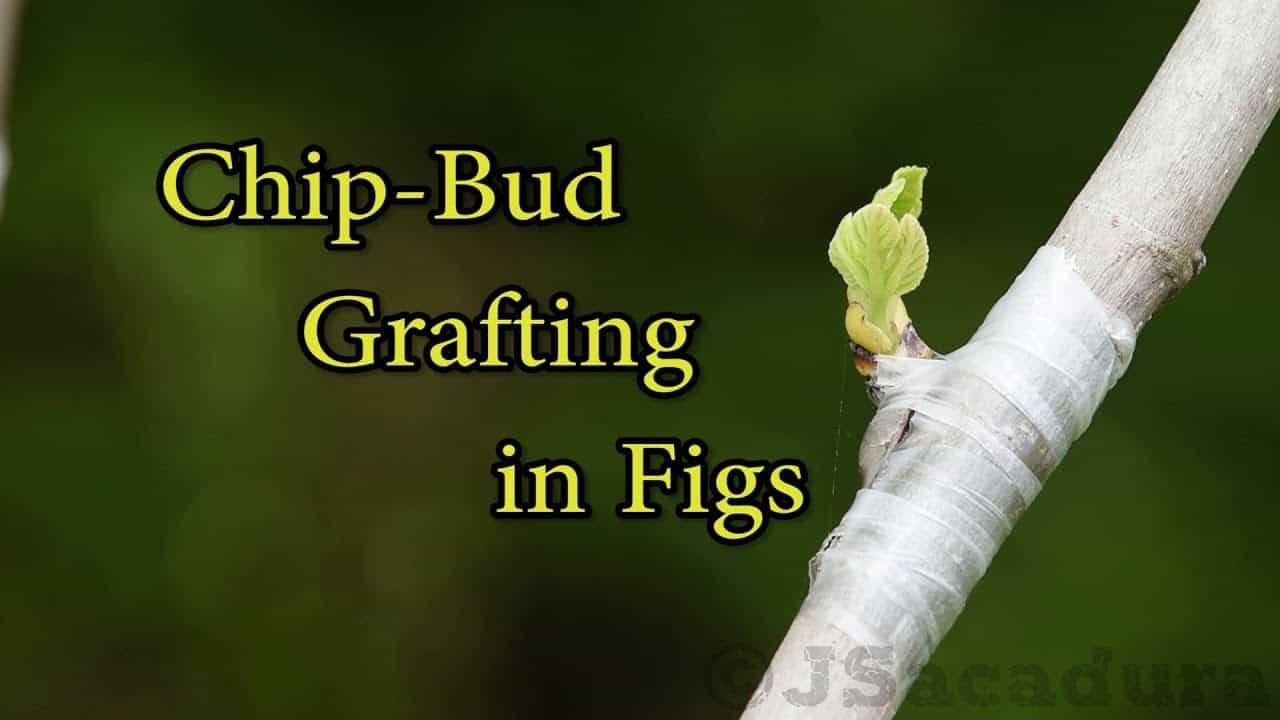
When working with budding plants like roses and deciduous trees, you’ll follow a similar process. The key difference is that you’re using individual buds rather than entire stems. This method allows for early-season grafting, which is a significant advantage.
To start, select top-quality rootstock with a diameter of roughly half an inch. Remove any leaves or branches where the bud will be grafted to ensure a clean connection.
Next, slice the bud from its parent plant, taking care not to damage it. You’ll then need to remove a corresponding section from the surface of the rootstock, creating a small slit.
Place the bud onto the prepared surface and secure it with a gentle touch using either a rubber band or parafilm tape. Be mindful not to cover the exposed bud during this process.
Caring For Your Graft
When introducing a newly grafted plant to its environment, it’s essential to handle it with care. The graft union is fragile during this period and may break if subjected to rough handling or sudden changes. To ensure a smooth transition, place the plant in a sheltered location with consistent temperatures between 65-75°F (18-24°C) and humidity levels of 50-60%. This could be an unheated garage, basement, or even a sunroom.
As the graft union heals, you can expect callus cells to begin forming within one week, followed by the development of xylem and phloem cells two weeks later. These cellular structures are crucial for the plant’s overall health, facilitating the transportation of nutrients, water, and sugars throughout its system. Once the threat of frost has passed, your newly grafted plant will be ready to be hardened off and transplanted into the garden.
Grafting Tips
While not all plants are suitable for grafting, many gardeners successfully combine different plant species and varieties to create unique and thriving specimens. One key factor is the presence of cambium, a layer of tissue responsible for cell growth. Plants like wheat and rice, which lack this layer, cannot be grafted and instead rely on other propagation methods. Before attempting a graft, ensure that your chosen plant has the necessary structure.
Typically, grafting occurs during the winter or early spring when plants are dormant, providing a conducive environment for the process. A suitable workspace, free from freezing temperatures, is also essential. To facilitate the process, interstock can be used as an intermediate plant part to bridge the gap between the stock and scion. The alignment of cambium is critical, requiring precise lining up to achieve a successful graft.
Despite initial apprehension, many gardeners find that grafting becomes easier with practice. For those new to grafting, hands-on classes offered by extension agencies provide an ideal opportunity to learn from experienced mentors. With confidence and skill gained, gardeners can then experiment with different rootstocks and scions, even creating ‘fruit salad’ trees that produce a variety of fruits.
