When it comes to gardening, having the right recipe is crucial for a bountiful harvest. Soil testing plays a vital role in this process by ensuring the soil is fertile and conducive to plant growth. Understanding what a soil test entails, how to conduct one, and how to interpret the results can make all the difference in your garden’s productivity.
A soil analysis provides a comprehensive look at your earth’s composition, revealing the levels of essential nutrients like nitrogen, phosphorus, and potassium. It also offers insights into micro-nutrients such as calcium, magnesium, and sulfur, as well as the pH level, which can impact plant growth. Furthermore, the test can analyze the percentage of organic matter and salts in your soil, both of which are crucial for optimal plant nutrition.
Soil testing is not just limited to vegetable gardens; it’s an essential tool for any gardener looking to improve their lawn, flower beds, or orchard. By understanding what’s happening beneath the surface, you can make informed decisions about how to adjust your garden’s conditions to promote healthy growth and maximize yields.
When To Test Soil
When it comes to soil testing, it’s generally recommended to perform at least one test per year, ideally in the fall. This is because autumn is an opportune time to add necessary fertilizers or lime to enrich the soil over the winter months. However, there’s no rule against testing your soil more frequently – doing so multiple times a year can help you establish a baseline and identify any changes or trends.
For newly established perennial gardens, it’s wise to test the soil a few months prior to planting to allow for any necessary amendments. In contrast, annual gardens tend to benefit from a single test in either the fall or winter. If your annual garden is particularly young or has been consistently healthy, you might even consider testing every few years instead of annually.
Reasons to Test Your Soil
In addition to annual testing, there are several scenarios where conducting a soil test becomes essential. These include:Acquiring a new property, as this provides an opportunity to assess the existing soil conditions and plan accordingly. When planning a new garden, understanding the soil composition is crucial for selecting the right plants and implementing effective irrigation strategies.
For certification purposes, documenting soil composition is vital, ensuring compliance with regulatory standards. If you suspect that your fertilization efforts are either under or overdoing it, a soil test can help identify any imbalances. Furthermore, if you notice unusual symptoms in your crops, such as yellow leaves with spindly stems, a soil test can quickly reveal the underlying cause. Yellow leaves, for instance, often indicate nitrogen deficiency.
Armed with this information, you can choose a sustainable fertilizer like fish emulsion to target affected plants. If the results show adequate nitrogen levels, you’ll know where to focus your attention to resolve the issue.
What Type of Soil Tests Are There?
When selecting a soil test, it’s essential to weigh the options carefully rather than opting for the most convenient or affordable solution. Your objectives, level of familiarity with the process, and budget should all factor into your decision-making. A thorough assessment will help ensure you choose the right tool for the job.
Lab Tests
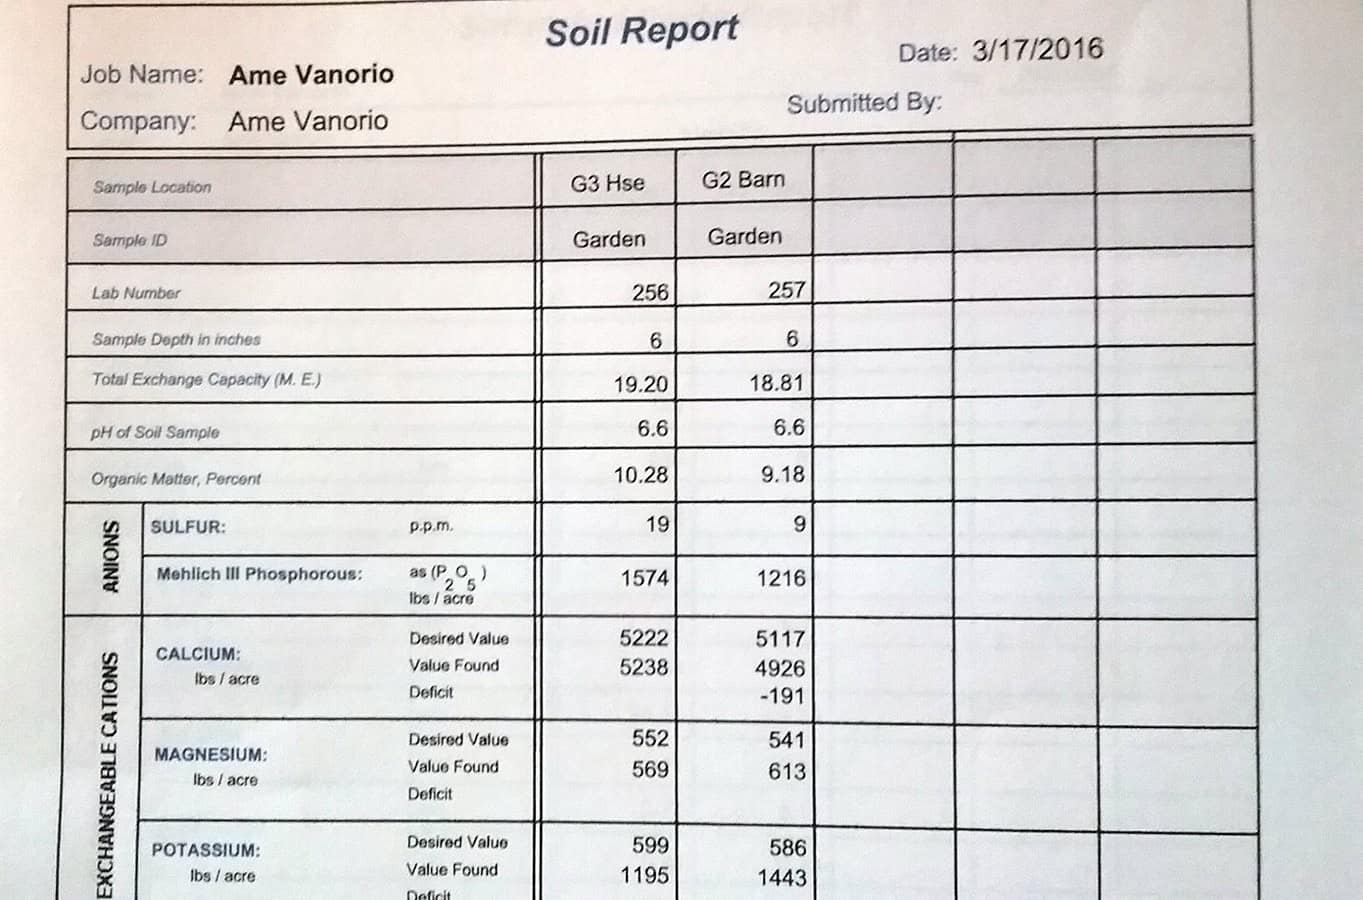
For those willing to invest in their soil’s health, mailing a sample to a laboratory company is the most thorough and accurate method available. The cost of this service ranges from $25 to $50, depending on the specific tests required. I’ve had my soil tested annually at Logan’s Lab, where they not only provide a detailed report but also offer willing assistance in answering any questions I may have.
The extensive report includes actual nutrient values, allowing me to make informed comparisons between years and fine-tune my soil as needed. To find a laboratory near you, simply search online for options in your area. Be sure to inquire about the turn-around time, as some laboratories may be overwhelmed with state or federal contracts, resulting in longer wait times for private samples. Alternatively, many county extension offices have testing affiliations with state land-based universities.
These tests typically range in cost from $5 to $20 and provide valuable insights into your soil’s nutrient levels. Keep in mind that the analysis may not be as comprehensive as what a private laboratory offers. In my experience, some extension tests are geared more towards commercial farmers, so it’s essential to find a lab that prioritizes sustainable solutions if you’re looking for eco-friendly advice.
DIY Kits
Home soil testing kits abound, but not all are created equal. When selecting a kit, thoroughly research its reputation for accuracy and ease of use by reading reviews. While DIY tests provide a general idea of your soil’s condition, they often lack the level of detail that professional-grade tests offer. Instead of getting a specific measurement of nutrient levels or pH, you’re left with a vague range.
This limited information can make it difficult to determine what adjustments need to be made to optimize your soil. Most DIY kits focus on testing for nitrogen, phosphorus, potassium, and pH, with some also including additional tests like moisture levels or microbial activity. If you’re looking to get more granular, you can opt for mini-tests that target specific aspects of your soil’s health. You can find a variety of kits online, at local feed stores, or big-box retailers.
These kits often come bundled with multiple tests and tend to be more affordable than buying individual tests. LaMotte Soil Tests are particularly well-regarded among DIY enthusiasts and professionals alike, offering a range of tests in each package. While they may carry a higher price tag, the included instructions and color chart make it easy to determine your soil’s measurements. Rapitest kits, on the other hand, are designed for simplicity and speed, providing results within minutes.
However, they do require some precision and can be tricky to interpret. If you’re looking for an even more straightforward solution, consider investing in a pH meter or probe. These devices allow you to simply insert them into your soil and read the measurement. Just be sure to research the specific device’s accuracy by reading reviews.
Soil Testing
When working with DIY kits, it’s essential to adhere to the manufacturer-specific guidelines provided in the instructions. On the other hand, lab soil testing follows a more general protocol. To ensure accurate results, take the following steps before collecting your sample: first, determine how much soil your laboratory requires and at what depth this should be taken from. Additionally, verify which containers are acceptable for submission.
Typically, labs require at least one cup of soil and prefer it to be stored in plastic bags.
What You Need
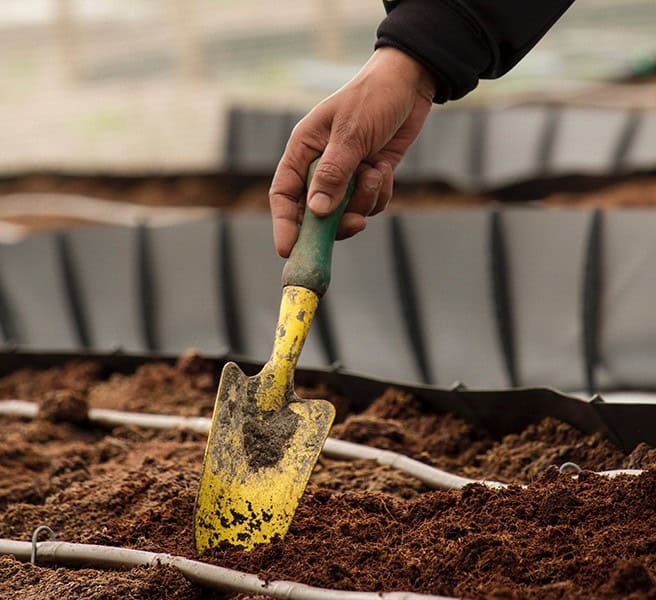
To collect a soil sample, you’ll need a few basic gardening tools. A specialized tool like a soil probe or auger can make the task easier, but a garden trowel and spade will also get the job done. It’s essential to take precautions when handling your sample to prevent contamination. Wear clean gloves and place your sample in a spotless plastic bucket or directly into a dedicated sample bag. This ensures that your soil test is accurate and unaffected by outside influences.
When selecting containers, avoid those made of galvanized metal, bronze, or brass, as they can compromise the integrity of your results. If you’re collecting multiple samples, be sure to label them carefully so you can track their origin. For instance, I have distinct garden areas that I’ve designated with names and numbers, such as G3 Hse and G2 Barn, which allowed me to easily identify the house garden and barn garden when I had them tested.
How To Take A Soil Sample
Before collecting a soil sample, start by removing any surface debris such as leaves or dead plants that may be covering the top of your soil. This will ensure that your sample remains uncontaminated throughout the testing process. Next, use a clean and suitable tool like a soil auger or trowel to collect the dirt from at least six inches deep into the soil.
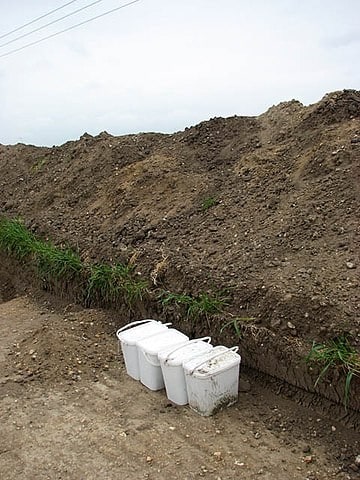
If you’re working with a larger garden, take multiple samples and combine them in your bucket using your trowel before placing the mixed sample in an airtight container for transport. It’s essential to label your sample accurately to ensure it can be properly identified later. To prevent degradation or spoilage, keep your soil sample cool and consider freezing it if you need to send it at a later time.
Areas Not To Sample
When it comes to collecting samples in your garden or homestead, there are certain areas that are better left untouched. These ‘off-limits’ zones include spaces that are prone to contamination from external sources. For instance, fence rows can be breeding grounds for unwanted pests and diseases, making them an unsuitable location for sampling.
Similarly, areas where you feed livestock can harbor pathogens and parasites that may not accurately represent the overall health of your garden or homestead. The same goes for spots under the compost pile, which can be teeming with microorganisms that are better suited to decomposition than providing a true picture of your ecosystem’s balance. Driveways, sidewalks, and streets are also areas to avoid, as they can introduce foreign substances into your sample.
Additionally, areas close to buildings like homes and barns may have been influenced by human activity or nearby agricultural practices, which could skew the results. Finally, spaces where water tends to pool can be harboring zones for aquatic organisms that may not reflect the overall biodiversity of your garden or homestead.
Soil Testing for Container and Raised Beds
It’s easy to overlook our container and raised bed plants, whether they’re indoors or outdoors. However, this neglect can be particularly detrimental for plants confined to small spaces. The limited root area of these plants restricts their ability to absorb essential nutrients from the soil, making them more susceptible to deficiencies. As a result, it’s crucial to test your soil when working with container and raised bed gardens.
Soil testing will provide results based on an ideal open garden scenario. To ensure accurate readings, you’ll need to factor in the size of your container or raised bed, taking into account its unique characteristics.
Understand Your Soil Test
Understanding soil test results is merely the starting point for a well-planned gardening strategy. Your test results should serve as a foundation to guide your next steps, rather than the end goal itself. A thorough analysis of the data will reveal valuable insights into the state of your soil, allowing you to make informed decisions about what actions to take.
For instance, if your test reveals a calcium deficiency in one of your gardens, such as my barn garden, you’ll need to consider adding this essential nutrient to support the growth of heavy calcium feeders like tomatoes. Some tests may also provide a range of values, indicating whether your soil falls within a normal or abnormal category. This can help you determine if you need to supplement with additional nutrients or avoid over-fertilizing with excesses.
It’s crucial to carefully read fertilizer labels and consider the long-term implications of your decisions. Soil testing is not a one-time task, but rather an ongoing process that requires patience and dedication. As you become more familiar with interpreting test results, you’ll develop a deeper understanding of your soil’s needs and be better equipped to make data-driven decisions that promote healthy, thriving plants.
