As the warmth of summer settles into your garden, the fruits of your labor begin to flourish. The tiny seeds you carefully planted earlier in the year have grown into robust plants, bearing fruit and producing seeds of their own. This is the perfect time to reflect on which varieties are thriving in your garden, and how you can replicate that success come next season.
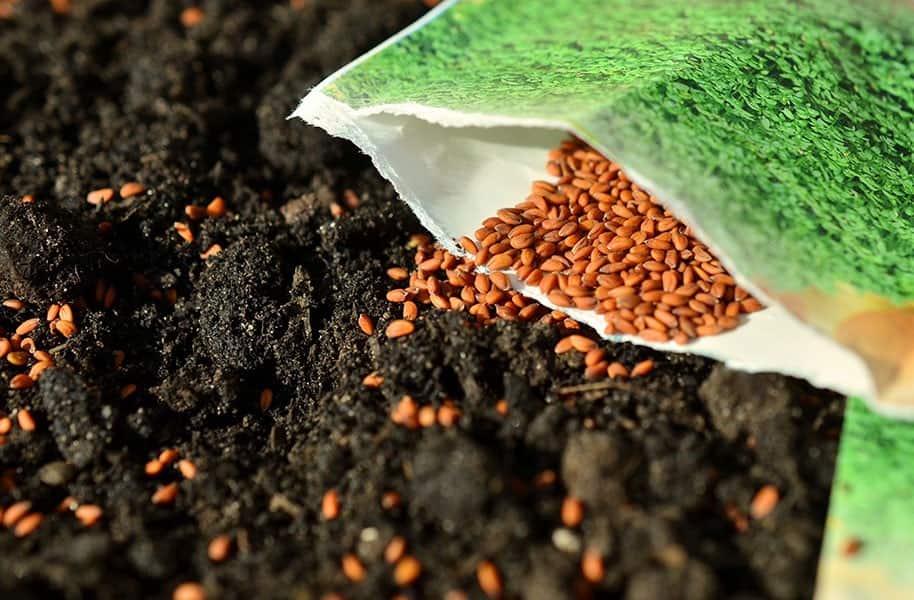
Saving seeds offers a unique opportunity to preserve the best traits of your favorite plant varieties, allowing you to reproduce identical results year after year. By doing so, you’ll not only ensure consistency but also gain the ability to refine your crops over time by selecting seeds from exceptional performers. And as an added bonus, you’ll save money on seed purchases.
In this article, I’ll guide you through the process of saving seeds from multiple plant varieties, providing you with the knowledge and skills necessary to carry out this rewarding practice.
Tips for Saving Seeds
When it comes to saving seeds, many people think it’s a complex process, but the truth is, there are some simple tips that can apply to all plants. To start, focus on growing heirloom or open-pollinated plants, as hybrid seeds won’t grow true to the parent plant. When selecting plants for seed saving, prioritize those that thrive, produce well, and have desirable traits like flavor. Avoid wasting time on struggling plants or those with undesirable characteristics.
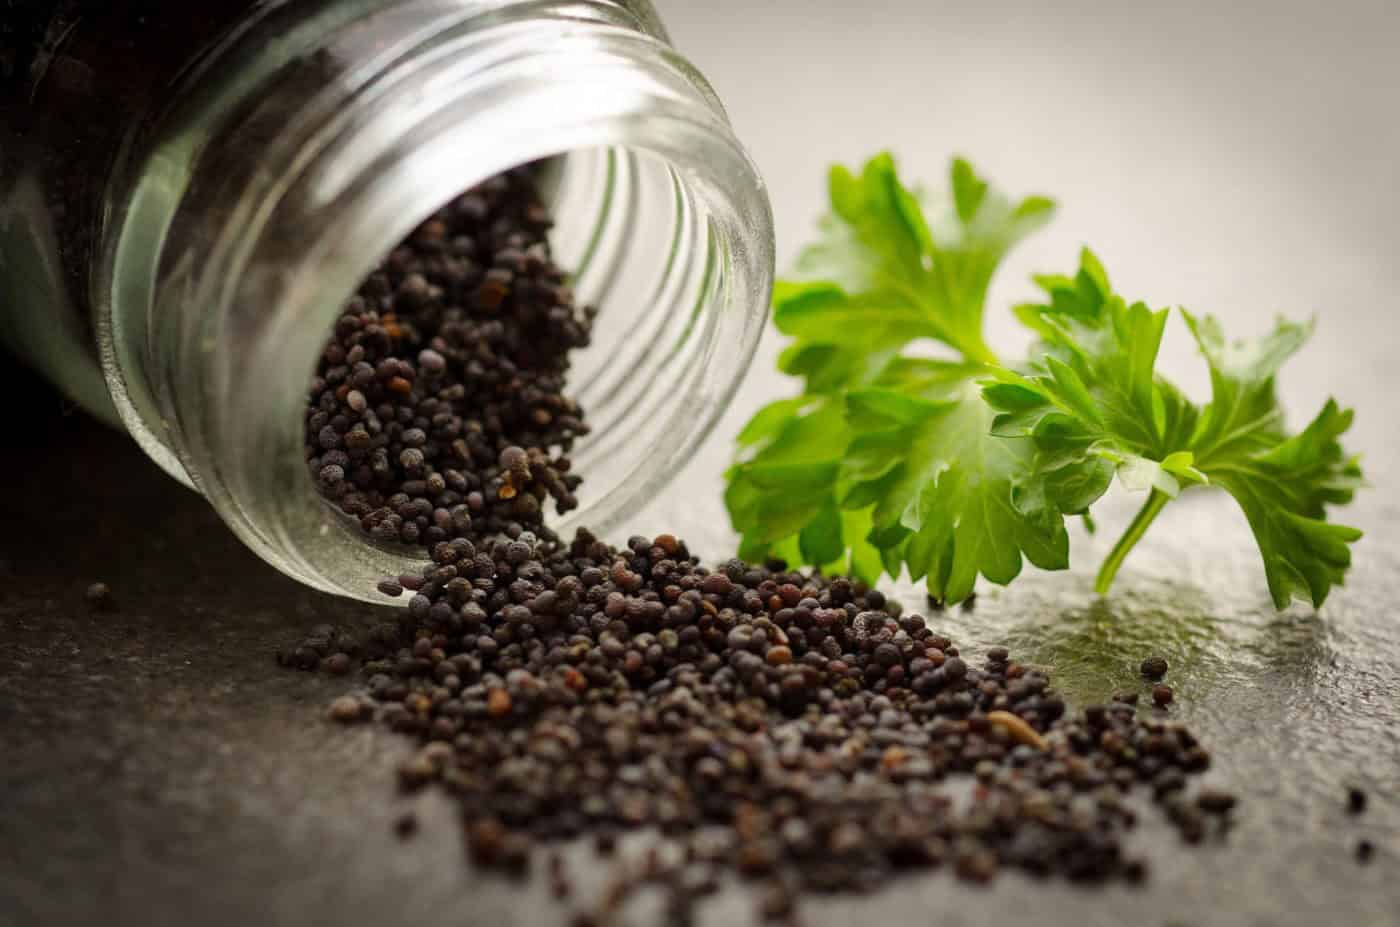
For successful seed saving, use fully ripe and ready-to-eat veggies as the source material. If you take seeds from unripe vegetables, germination rates will suffer. To ensure long-term viability, dry seeds thoroughly before storage to prevent mold and moisture buildup. Proper storage is also crucial, so make sure to label your seeds with the variety and date saved for easy tracking. This habit will pay off when it’s time to choose seeds for next year’s planting.
If you live in a humid climate, consider adding a silica packet to absorb excess moisture and prevent mold growth; just be aware that some silicas change color to indicate replacement needs. Legumes, however, should not be stored with silica.
Plant-by-Plant Guide To Saving Seeds
While seed saving may seem like a straightforward process, it’s important to note that different plants have unique requirements. At its core, seed saving involves harvesting a ripe seed, drying and storing it, and then replanting it the following year. However, there are various techniques involved in successfully preserving seeds from different types of plants. Let’s explore some of the most common examples.
Beans And Peas
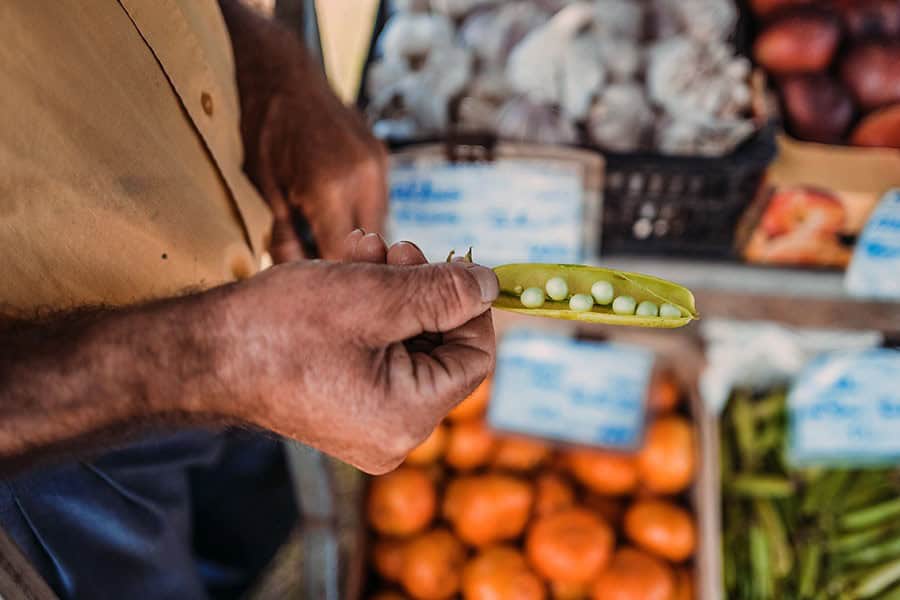
When exploring the world of seed saving, legumes like beans and peas are an excellent starting point. This is due to the ease of working with their seeds, as well as their ability to store well and maintain viability over a prolonged period. When planting legume varieties, it’s crucial to ensure distinct plants are at least 15 feet apart to prevent cross-pollination and preserve the true characteristics of each variety.
When saving legume seeds, patience is key – allow the pods to fully ripen by leaving them on the plant longer than their typical harvest time. Begin by selecting a healthy, thriving plant and marking it to avoid accidentally harvesting all its beans. Once the legumes have reached maturity, sample a few to ensure they meet your taste standards – you wouldn’t want to save seeds from subpar plants!
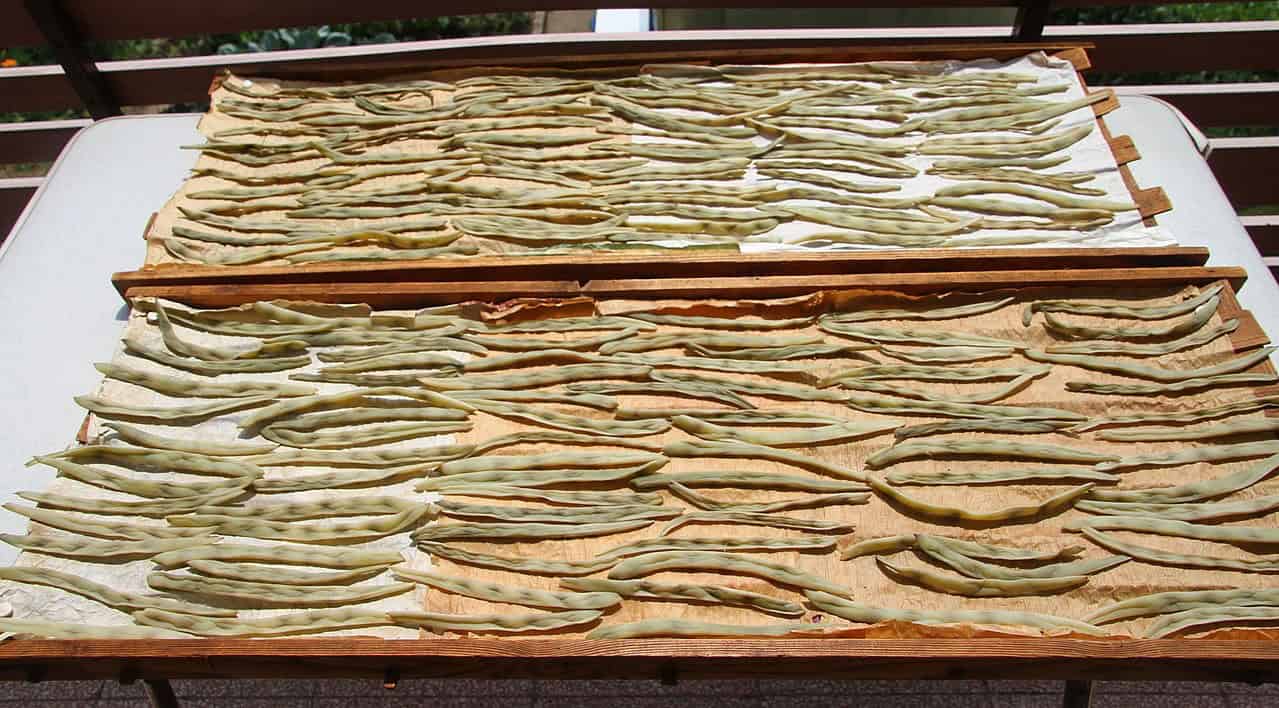
If all checks out, leave the pods on the mother plant until they turn brown and brittle, with the beans rattling when shaken. Then, remove the pods and lay them flat in a dry, cool spot, such as an old screen door or a designated drying area, shielding them from critters that might view them as a snack. After two weeks of drying, you can shell the pods and prepare the seeds for long-term storage. The seeds should be hard enough to resist fingernail impressions.
Store them in a glass jar or paper bags – I prefer the former for its airtight seal. Bean seeds typically remain viable for two to three years.
Carrots
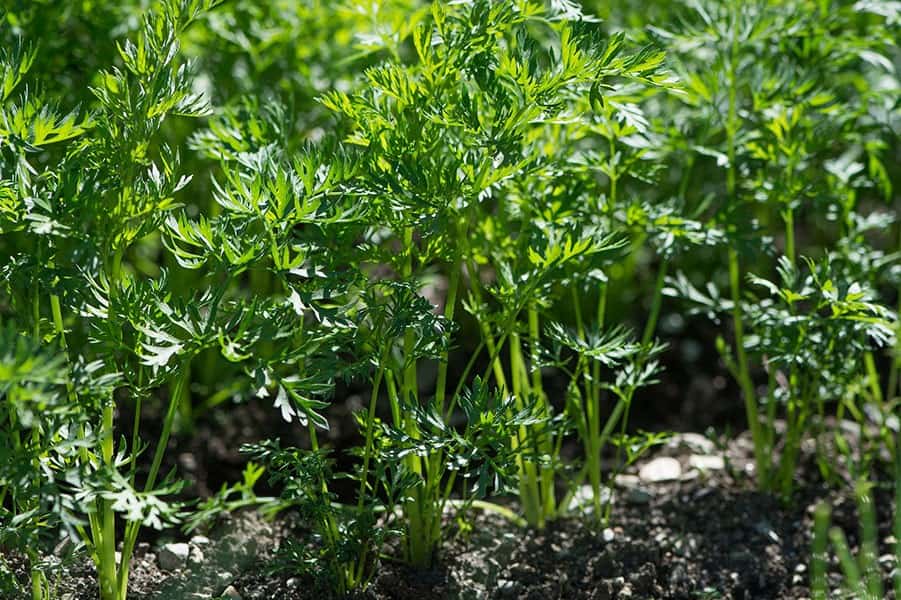
When cultivating carrots, it’s essential to consider their biennial nature. Unlike annual plants that complete their life cycle within a year, carrots grow and produce fruit in the first season before making seeds in the second. This means you’ll need to exercise patience and refrain from harvesting your crop until they’ve had time to mature fully. To prepare your carrot plants for their winter slumber, mulch them with straw during the fall season.
This protective barrier will shield the roots from rotting due to excessive rainfall or snowmelt. As spring arrives, your carrots will begin to produce flowers. Wait until these blooms have dried and turned a deep brown before harvesting. Carefully cut off the flower heads and place them in paper bags to prevent seed loss. Allow the seeds to dry out for two weeks before shaking out any remaining flowers.
This process can be applied not only to carrot varieties but also to other plants within the same family, such as parsley, parsnip, fennel, coriander, celery, and dill. Store your harvested carrot seeds in paper packets in a cool, dry environment. With proper storage, they remain viable for up to six years.
Lettuce
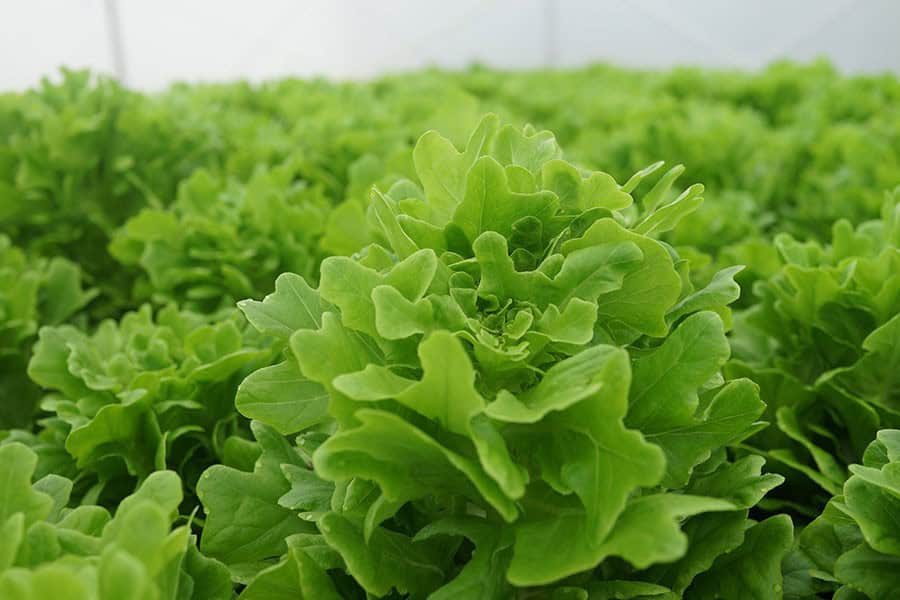
As I eagerly anticipate sowing my first lettuce seeds later this winter, I’m reminded that these tiny seeds require gentle handling to ensure a successful harvest. Typically, we strive to prevent lettuce seeds from bolting, but in the case of spring lettuce, it’s actually a desirable outcome. As the plants bolt, they produce a flower on top, which eventually dries and forms a white fluff similar to a dandelion. This marks the approach of seed maturity.
Some lettuce varieties will explosively release their seeds if not caught promptly; to mitigate this, I use blossom bags or simply pinch off the flowers and collect them in a bowl. Once the flower pods are open, I let the seeds fall out and separate any chaff that remains. After two weeks of drying, I store the seeds in packets, noting that they can remain viable for up to six years.
Squash
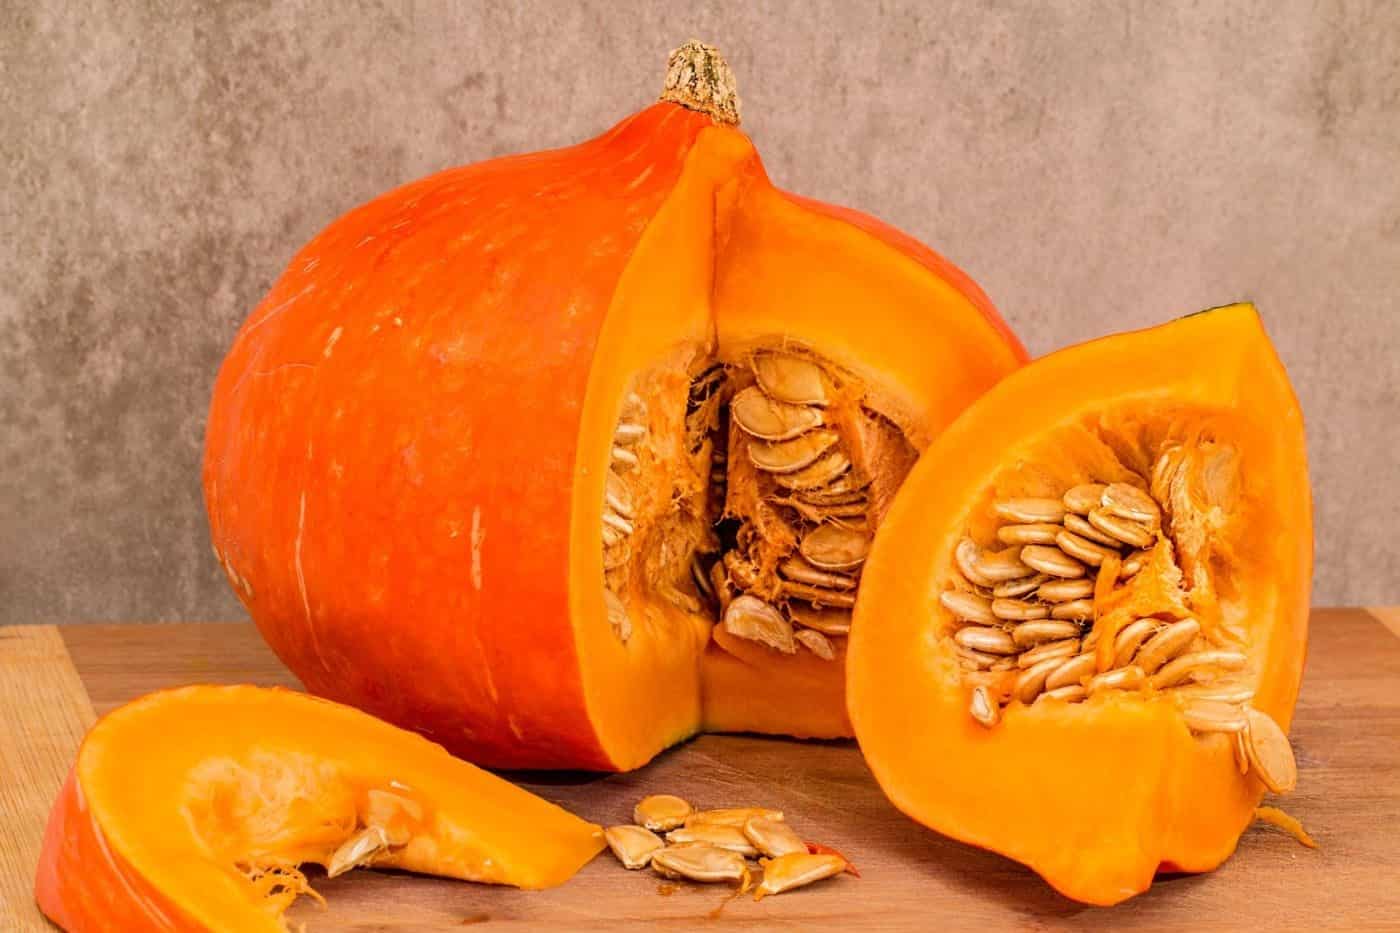
When it comes to saving squash seeds, careful planning is crucial at the planting stage. This is because squashes from different families can cross-pollinate readily. There are four main families of squashes: winter squash, pumpkin, summer squash, and gourds. The basic rule for seed saving is that you can grow one variety per family. If you’re growing multiple varieties within a family, you’ll need to ensure they’re spaced far apart.
For instance, if you want to grow and save seeds from different pumpkin varieties, such as Baby Pam and Tom Fool, you’ll need to plant them at least 800 feet apart. Alternatively, you can space their flowering times to prevent cross-pollination. When harvesting squash for seeds, look for fruit that has grown too large to eat and is turning brown on the bottom. This stage often occurs when plants are left to mature naturally. The stems should be dry and the outer skin hard.
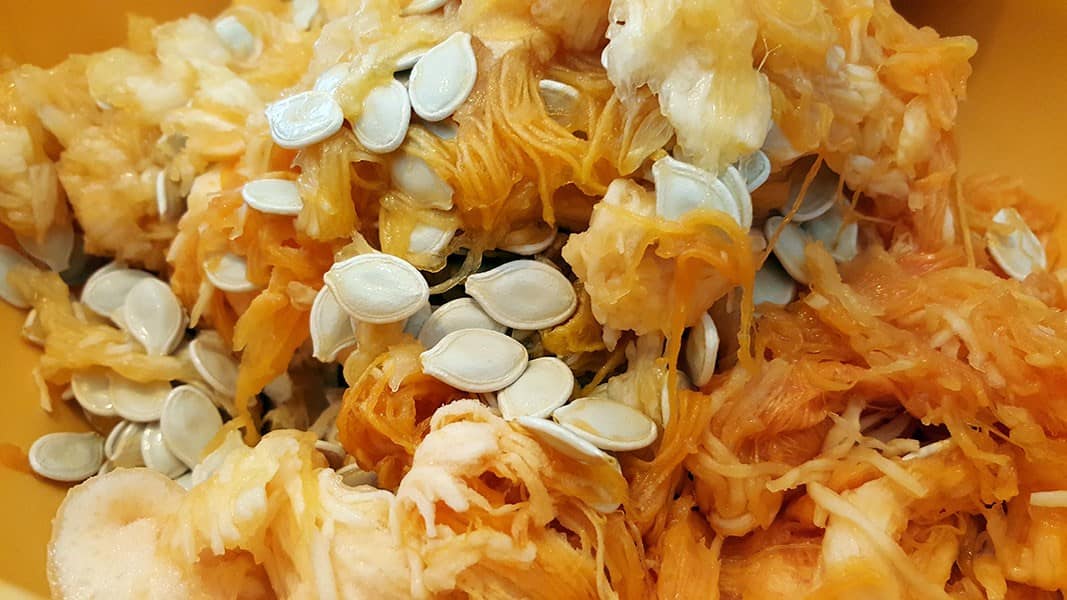
For winter squashes, the plants may start changing colors as they ripen. Allowing your squashes to ripen after harvest can also benefit their seed quality. Place the seed-bearing fruits in a cool, dry place for three weeks before extracting the seeds. Cut open the fruits, remove any remaining pulp, and rinse the seeds under cool water to separate any remaining pulp. Then, spread them out on a screen for further drying before storing them in glass jars or paper packets.
This general process can also be applied to melons. With proper storage, squash seeds can remain viable for up to six years.
Tomatoes
Tomatoes, often considered the most widely cultivated fruit, owe their popularity to their delectable taste. Saving tomato seeds is a relatively straightforward process, albeit one that requires some patience and attention to detail. To ensure successful germination, it’s essential to separate different varieties of tomatoes by at least 15 feet to prevent cross-pollination when planting. Once the tomato has ripened, the seeds are ready for harvesting.
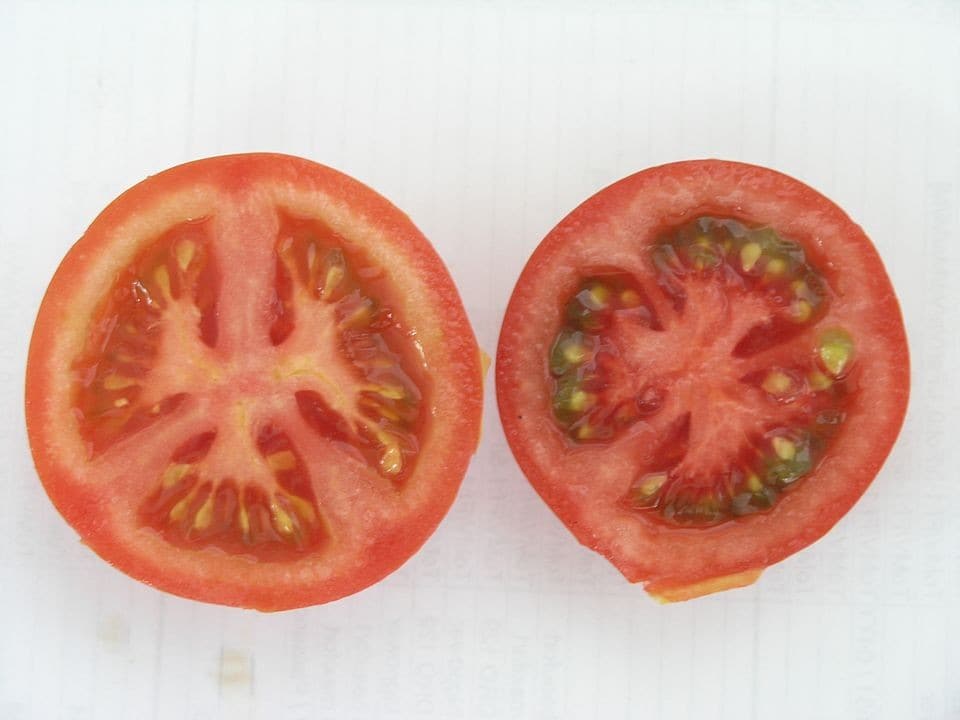
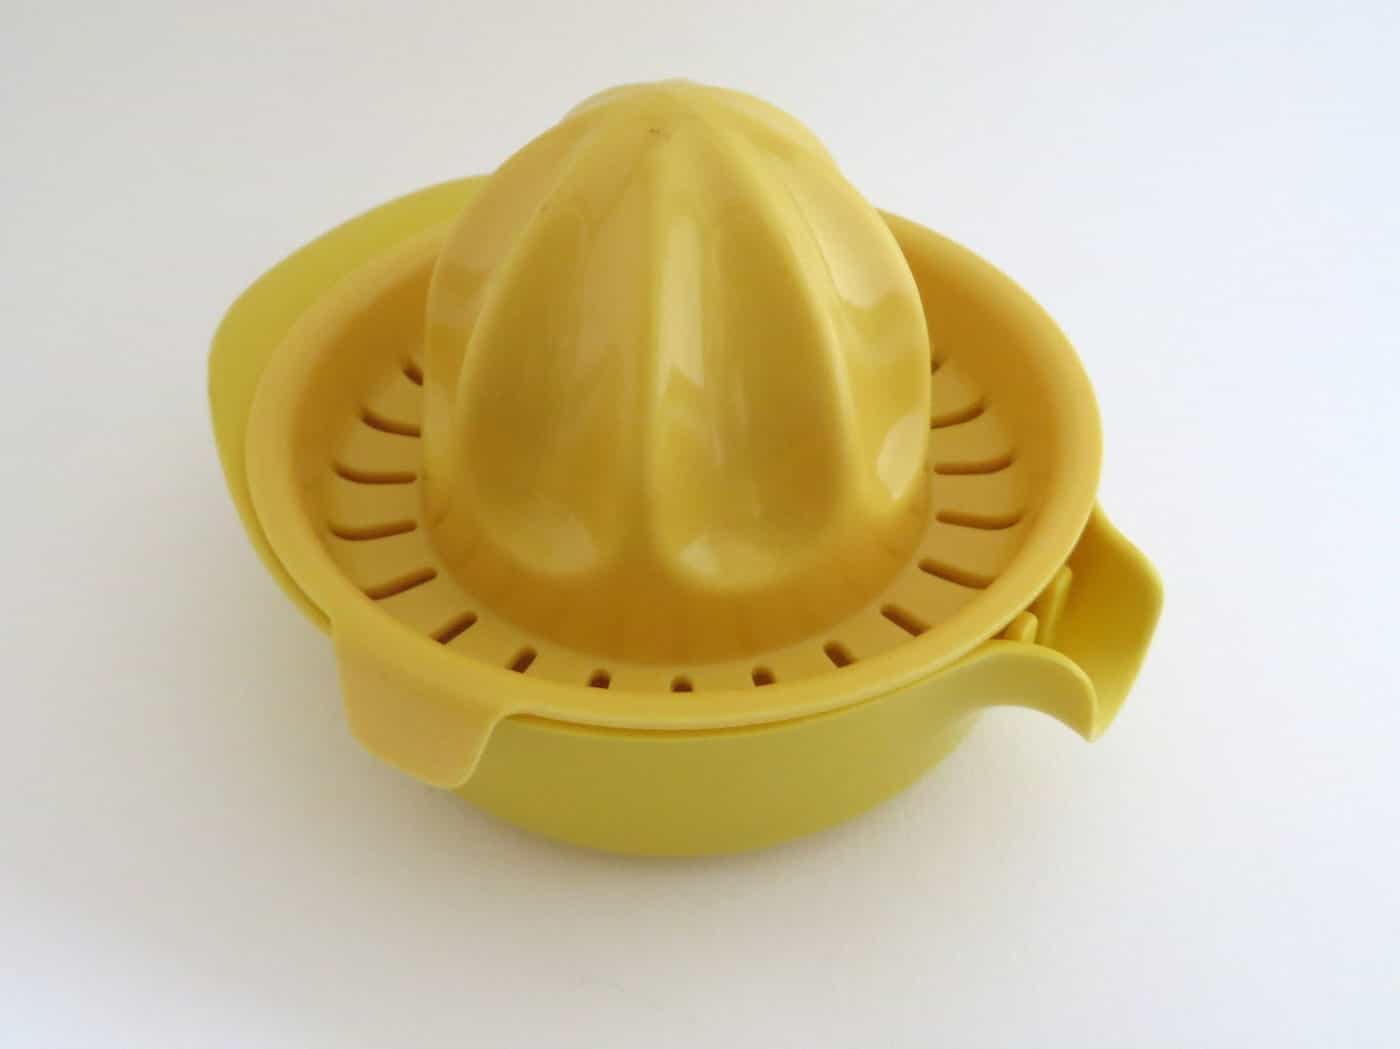
Start by slicing the fruit in half and extracting the seeds and pulp into a bowl. For ease, I recommend using a traditional reamer-type juicer to simplify the process. Allow the mixture to sit in warm summer air, out of direct sunlight, to initiate fermentation. As the mixture begins to ferment, the viable seeds will naturally separate from the rest. When mold starts to form on the surface, it’s time to rinse off the top layer using a fine-mesh strainer.
The remaining seeds at the bottom are the ones you’ll be saving for future plantings. Place the seeds in a coffee filter or sturdy paper towels and allow them to dry for approximately seven days. Finally, store the dried seeds in a glass canning jar or paper seed packet in a cool, dry environment. Properly stored, tomato seeds can remain viable for up to ten years.
Seed Savers Exchange
Looking to dive deeper into the world of seed saving or connect with like-minded individuals who share your passion for preserving heirloom varieties? The Seed Savers Exchange is an excellent resource to explore, offering a wealth of valuable information alongside practical tools to aid in your endeavors. With their comprehensive collection of seed packets and blossom bags, you’ll be well-equipped to successfully save and share seeds within your community.
Take Away
If you’re a gardening enthusiast, saving seeds from your harvest is a great way to preserve the fruits of your labor for future seasons. As you delve into the world of plant genetics, you’ll likely find yourself driven to continually improve and refine your plants, striving to cultivate strong, resilient, and pest-resistant varieties that thrive with minimal maintenance.
