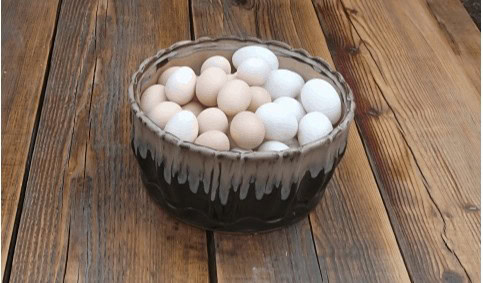
The first time I hatched chicken eggs, I was under the impression that it would be a breeze. Twenty-one days passed quickly, and while some specialized equipment and basic instructions were necessary, the process seemed surprisingly straightforward – almost like nature was doing all the heavy lifting. In hindsight, this initial experience might have contributed to my sense of complacency when attempting to incubate my first batch of duck eggs.
However, I soon discovered that there are distinct differences between incubating chicken and duck eggs, despite some superficial similarities in equipment and fundamental principles. To achieve reasonable hatch rates with duck eggs, one must make subtle adjustments that take into account the unique characteristics of these eggs. Having said this, the process is still relatively simple once you grasp the basics of how duck eggs are naturally incubated.
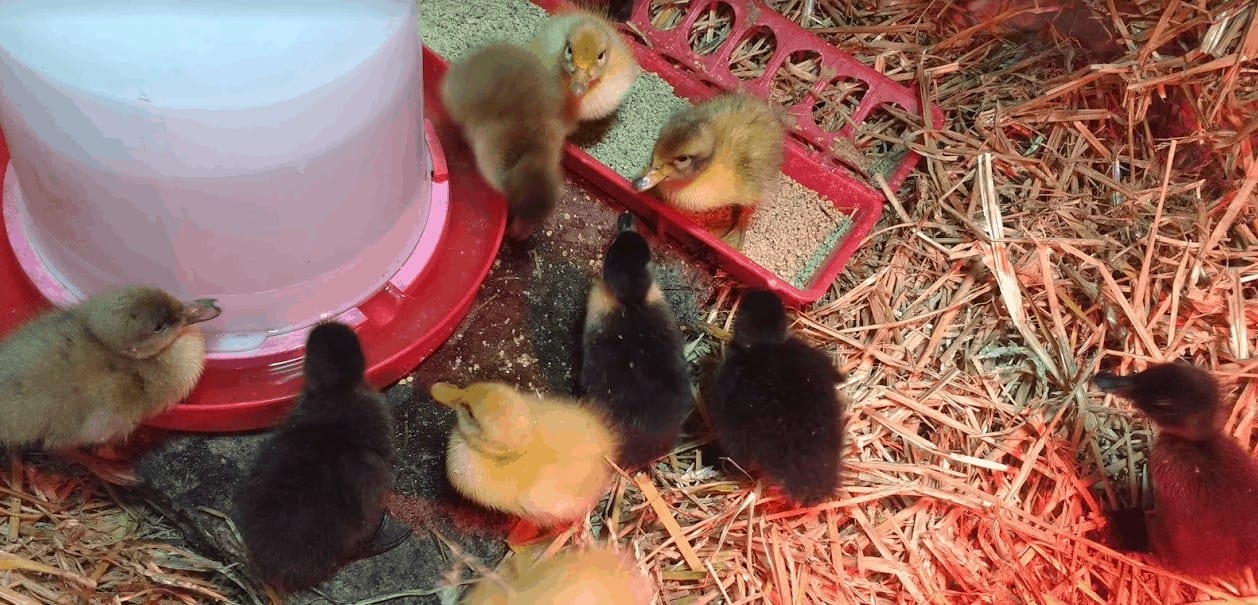
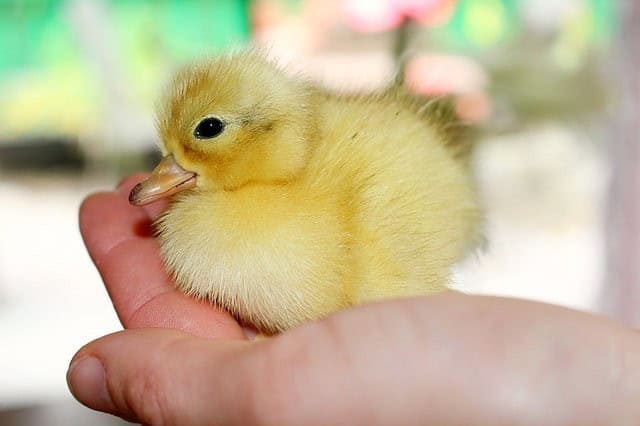
And let’s be honest – there’s nothing quite as heartwarming as witnessing a newly hatched duckling emerge into the world for the first time.
Duck Egg and Chicken Egg Differences
When seeking insight from poultry enthusiasts on the disparity between duck eggs and chicken eggs, you might expect responses highlighting the size difference, noting that duck eggshells are notoriously harder to crack, or pointing out the enhanced nutritional profile of duck eggs, which indeed boasts higher levels of vitamins, cholesterol, and protein.
While these distinctions are all verifiable facts, the crucial consideration when it comes to incubating duck eggs lies in understanding the underlying reasons for these differences.
Features of Natural Incubation
Duck eggs serve as a self-contained unit, providing both shelter and sustenance for the transformation from embryo to duckling. This unique design is tailored to meet the specific needs of waterfowl in their natural habitats. As we delve into the intricacies of the incubation process, it’s essential to understand how these features play out in nature and how we can apply this knowledge when hatching our own duck eggs.
Ground Nesters
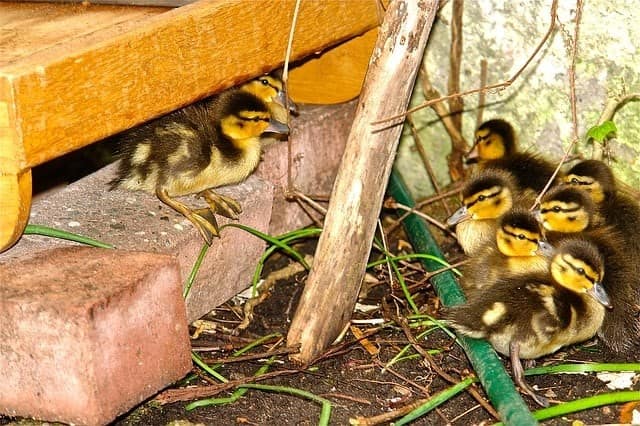
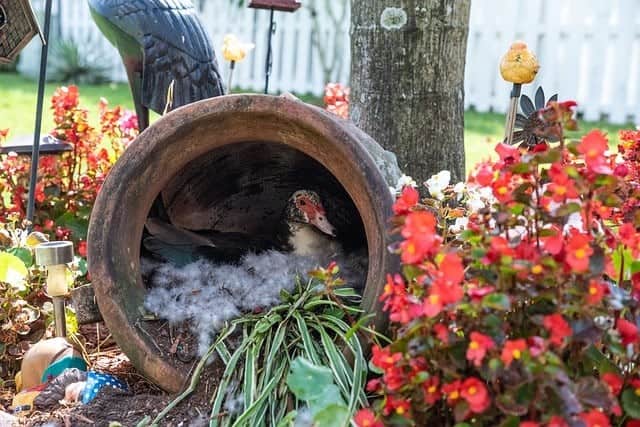
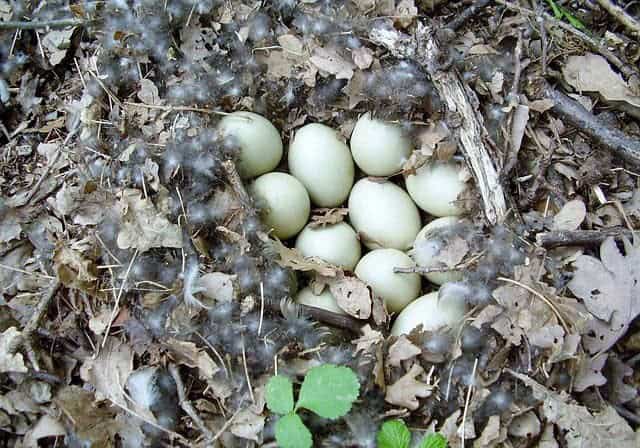
While ducks often burrow into the earth to construct their nests, some breeds opt for more unique locations, such as beneath the sprawling roots of a fallen tree or within the hollowed-out remains of a decaying trunk. A few wild species take it further still, opting for boggy terrain or even floating nests that provide the perfect blend of moisture and seclusion.
What these diverse nesting sites share in common is a high level of humidity, which sets ducks apart from their chicken counterparts who prefer dry, elevated perches made of brittle materials like straw. In contrast, ducks seek out damp, decaying environments to create a cozy nest bowl that cradles their young.
To achieve this perfect balance of warmth and moisture, ducks typically excavate depressions in the soil or decomposing plant matter, allowing them to trap heat in their nests using their downy feathers from beneath their bodies, just as chickens do.
Feather Wetters
When broody ducks depart the nest, they take a brief moment to groom themselves in a nearby water source. While they may perform some light preening, it’s not enough to thoroughly dry their feathers. As a result, they return to their nests partially damp and inadvertently transfer this moisture to their eggs, potentially affecting incubation and hatching processes.
The Porous Shell
The remarkable hardness of duck eggshells can be attributed, in part, to their unique nesting habits. The shells’ extraordinary porosity, which allows them to absorb water like a sponge, is also responsible for their greater resistance to cracking. In fact, research has shown that duck eggs possess an impressive 22% higher moisture-absorbency than chicken eggs, even when the inner membrane is removed and the shells are subjected to extreme heat and drying.
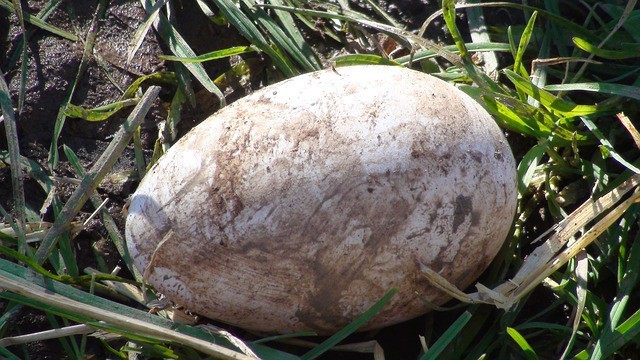
This inherent porosity of duck eggshells suggests a fundamental difference in their structural composition compared to those of chickens. Observing my own ducks’ nesting behavior has also shed light on this phenomenon. When I allow them to lay eggs in their natural nests, the resulting eggs often display a striking ‘stained’ appearance due to the absorption of water-soluble pigments from the surrounding soil.
Notably, these ‘dirty’ eggs have been known to hatch at higher rates than their cleaner counterparts. While it’s possible that mama duck’s more frequent nesting behavior contributes to this effect, I believe that the stained eggs’ increased porosity and moisture retention during incubation may be the primary factor influencing their improved hatch rates.
Features Ducklings Develop During Incubation
Chicken eggs take 21 days to hatch, while most domesticated duck breeds require around 28 days. Muscovy eggs, on the other hand, have a much longer incubation period of 35 days. Some wild duck breeds fall within the range of 27-31 days. The additional time it takes for these breeds to hatch may not seem like a significant difference in human terms, but for the dedicated mothers sitting those nests, it’s a substantial extension.
This translates to 1-2 weeks longer for them to be at risk from predators and limited to brief, infrequent breaks for food and water. Each trip away from the nest increases the chances of something preying on the developing embryos. Despite these challenges, there are crucial reasons why a longer incubation period is essential for ducklings.
Getting Water Ready
In order to thrive in their natural environment, ducklings must leave their shells equipped with the skills necessary to navigate aquatic habitats. This notion is often at odds with the prevailing notion that a duck’s oil gland plays a crucial role in rendering them waterproof. However, it is essential nutrition that truly holds the key to their survival.
During the incubation period of duck eggs, the nutrients within the egg are absorbed by the developing embryo and utilized for the formation of bones, blood vessels, organs, skin, and feathers. This process is not unique to ducklings, as chicks also rely on these same nutrients during their development.
However, a crucial difference exists between the two: while chicks require only a light covering of downy fluff to shield them from cold air temperatures, allowing their mothers to take over the rest, ducks necessitate structurally sound downy feathers capable of withstanding the harsh conditions of cold water.
The development of these heavy-duty downy feathers demands additional time, as well as a more substantial intake of protein and vitamins.
This highlights the distinct requirements for each species and underscores the importance of proper nutrition in laying the groundwork for their future success.
Prepare for Mating and Migration
While ducks may seem to have it easy, with their natural mating season occurring in early spring, they actually face unique challenges due to the unpredictable temperature fluctuations of this time. Despite the apparent advantage of nesting later when temperatures are warmer, ducklings require a specific diet rich in protein to develop flight feathers and store fat for their winter migration.
Nature has perfectly timed the births of ducklings with the ramping up of food supplies in early spring, giving them several months to mature before embarking on this journey. Although domesticated ducks don’t migrate, they’ve inherited these traits from their wild ancestors. In contrast, chickens are non-migratory birds by nature, and their chicks will typically fledge when temperatures are consistently warm, later in the spring or early summer.
While both ducklings and chicks must harden up for winter, the differences in their life cycles mean that ducklings must emerge from their shells more mature and prepared for life than chicks. The longer incubation period and richer nutritional profile of duck eggs enable this level of maturity.
Tips for Artificial Incubation
While there’s a plethora of fascinating insights surrounding the unique requirements for incubating duck eggs, I’ll resist the urge to reveal all the details just yet. Instead, I’ll provide some valuable guidance for those who plan to incubate their own duck eggs independently, without relying on a broody duck. By following these tips, you’ll be well on your way to achieving successful hatches and making the most of this rewarding experience.
Tip 1: Aim for Nature Inspired Incubation
As I observed my ducks carefully balancing their brooding duties with personal needs, I gained valuable insights on how to enhance hatching success. For instance, I used to stress about opening the incubator, fearing temperature and humidity fluctuations. However, motherly instincts kicked in when I noticed that even duck mamas occasionally leave the nest. They need to eat, drink, groom, and sometimes step aside to let their eggs cool down or stay warm depending on the weather.
Emulating a mama duck’s approach can be beneficial for incubator management. Your device is designed to maintain optimal conditions, but each time you open it, you expose the eggs to external factors. When opening your incubator, think like a motherly figure – anticipate and prepare for any temperature or humidity changes outside. Warm up the area around your brooder before opening it to simulate ideal conditions for egg exposure. Conversely, avoid opening it during cold or drafty conditions.
Given our homes’ dry environments, I recommend brewing a soothing herbal tea and placing it next to your incubator while you work. This will humidify the air slightly and keep you calm too!
Tip 2: Rotate Like a Duck
As I’ve observed my ducks, I’ve noticed they don’t simply roll their eggs back and forth like an egg turner would. Instead, they rotate the eggs from the outside of the nest to the inside, allowing for uniform distribution of their mother’s body heat and humidity across all the eggs. This process also helps maintain a consistent environment within the incubator.
Even with a forced-air fan model, the incubator will naturally experience variations in temperature and humidity – being cooler and drier towards the edges and more humid and warmer towards the center. As such, it’s essential to rotate the eggs outside-in while turning, rather than simply rolling them back and forth. I’ve found that my ducks aren’t particularly methodical with their egg-turning frequency, but they do tend to turn eggs more frequently early on in the incubation cycle.
They slow down significantly as they approach hatching. Breeders recommend rotating eggs as often as possible for the first week, before scaling back to a few turns per day after that.
Tip 3: Collect Your Clutch Like a Duck
Ducks are notoriously slow egg-layers, typically producing at most one egg per day. Before they start incubating, they’ll often collect 8-12 eggs and store them in the nest, protected by their feathers. When it’s time to start hatching, make sure to gather your duck eggs daily, keeping them within a temperature range of 55-75°F (13-24°C) and away from direct sunlight. Aim to begin incubation within two weeks of collecting the first egg, or sooner if possible.
Interestingly, my own experiences have shown that both clean and dirty eggs can be successfully hatched. However, I’ve found that eggs laid randomly on the ground without being placed in a nest tend to have lower success rates. As such, while cleanliness isn’t a deal-breaker for me, using only eggs deemed worthy of being placed in a nest by my ducks has been a consistent indicator of successful hatches.
Tip 4: Let the Shell Tell
In my experience, ducks have never exhibited the behavior of pushing eggs out of their nests like chickens do. However, I’ve noticed that when ducks are presented with perfectly formed eggs in their nests, it may trigger their brooding instinct. This raises an important consideration when selecting eggs for hatching: the quality and shape of the egg itself. Ideally, you want to choose eggs with a symmetrical shape, slightly wider at one end and narrower at the other.
Avoid overly large eggs that could potentially contain double yolks, as well as those with cracks or visible calcium deposits.
Tip 5: Humidity is Key
Maintaining optimal humidity levels during incubation is crucial for successful hatching. For chicken eggs, aim for a relative humidity of 50-55% for the first 17 days, gradually increasing it to 70% in the final days before hatching. In contrast, duck eggs require a slightly higher initial humidity of 55-60%, which can be boosted to 80% in the last 2-3 days of incubation.
To achieve these levels in a non-commercial incubator, consider adding saturated sponges to your humidity tray or running a humidifier adjacent to the incubator to ensure the air entering is humid. Another technique to improve hatch rates is to lightly mist the eggs with cool water once a day, starting around 10-14 days into incubation and ceasing when you increase the humidity in preparation for hatching.
How to Incubate Duck Eggs
While we’ve covered the basics of natural duck egg incubation and the key differences between chicken and duck eggs, as well as their hatchlings, it’s helpful to have a comprehensive guide to the artificial incubation process. With this in mind, let’s take a step back and review the entire process from start to finish.
Incubator Set Up
To initiate the incubation process, first set up your incubator by adding water and ensuring a precise temperature of 99.5℉ is reached. Additionally, maintain a humidity level within the range of 55-60%. Once these settings are stable, carefully place your eggs into the incubator. To accurately forecast the hatch date, utilize our comprehensive all-purpose incubation calculator and note the predicted outcome on your calendar for future reference.
Daily Maintenance
For the first week of incubation, rotate your duck eggs approximately seven times a day. To keep track of which side is up, place a small mark on one side. Ensure that you turn them an odd number of times each day to distribute the weight evenly and prevent any side from becoming stuck. After this initial period, reduce the frequency of turning to about three times per day.
When using an automated egg turner, make sure it is specifically designed for duck eggs as they can be too large and heavy for some models built for smaller chicken eggs. When placing your eggs in the turner, position them pointy side down to ensure the air sac in the wider end remains facing upwards.
In addition to turning your eggs, regularly check the temperature and humidity levels within your incubator to guarantee its optimal performance.
As needed, add water to your humidity trays to maintain a high level of moisture.
Around 10-14 days into incubation, start spraying your eggs with water once daily before closing the incubator lid after turning.
Hatch Preparation
As the hatch time approaches within 2-3 days, it’s essential to adjust the humidity in your incubator to around 80%. At this point, you should also reduce the temperature to a comfortable 98.5℉. Remove any egg turners or similar devices and place the eggs directly on the incubator floor. From now on, refrain from spraying and turning the eggs, but maintain the ideal temperature and humidity levels.
Avoid opening the incubator unless absolutely necessary for adding water to your humidity tray; when you do, make sure it’s a quick process.
Start paying attention to the sounds within the incubator as well. As the ducklings prepare to emerge, they will begin clicking and peeping, signaling the start of the hatching process. This unique sound is believed to be a form of communication among ducks, helping them coordinate their emergence.
As you observe this phenomenon, you can also try responding with gentle peeps or sounds yourself. While its effectiveness is uncertain, this behavior mirrors that of mama ducks, who use vocalizations to imprint and recognize their ducklings. As the surrogate ‘mama,’ it’s worth attempting to connect with your ducklings on a primal level.
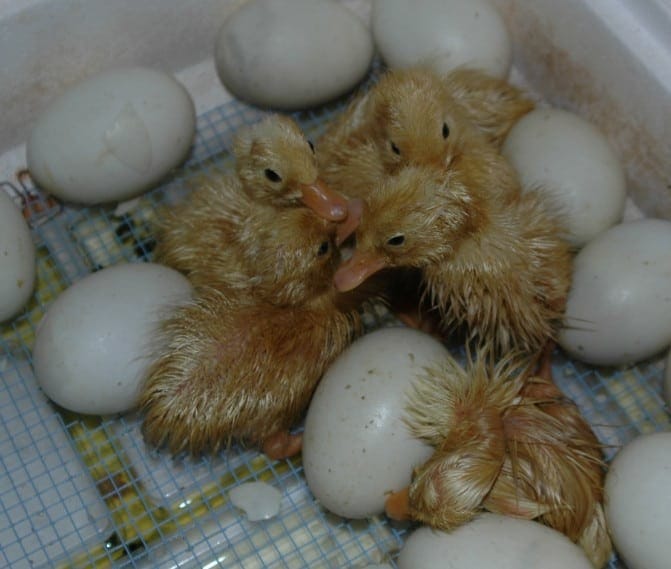
The next phase of hatching involves pipping, where the ducklings will start using their egg tooth to break free from the eggshell.
You’ll hear the sound of tapping and cracking as they work their way out. Following pipping, there might be a brief delay as the ducks reposition themselves within the shells before finally emerging.
/n
Once the ducklings have fully emerged, they may initially appear scrawny and bedraggled. However, after a few minutes of rest, they will begin to find their footing and regain their composure.
Post-Hatch
When it’s time to leave your newly hatched ducklings in the incubator, be patient and wait until all of the hatchlings are completely dry. This process can take up to 30 hours, but it may take longer if there were issues with the incubator, such as humidity problems or low temperatures. It’s crucial not to open the incubator prematurely, as this could put the late-developing ducklings at risk.
Instead, once the ducklings are dry and ready, transfer them to a brooder where you can begin providing proper care and nurturing.
Helping with Hatches
The age-old debate about whether to intervene during duck hatches remains a puzzling one for many backyard farmers. Despite my own experiences and research, I’m still uncertain about the right approach. Once I refined my incubation techniques, my ducklings emerged successfully on their own, but I’ve witnessed numerous instances where humidity issues led to underdeveloped young ducks struggling to break free from their shells.
These vulnerable ducklings often grow slowly, making them more susceptible to being trampled by stronger siblings and increasing the risk of hypothermia due to inadequate waterproofing and cold hardiness at birth. While it’s true that some ducks may require assistance during hatching, I’ve also seen cases where helpful intervention led to a positive outcome. The challenge lies in weighing the risks and rewards.
If you do choose to help with a hatch, be prepared to provide extra care until the ducklings reach full health, acknowledging that even your best efforts might not guarantee success for an underdeveloped young duck.
Conclusion
Incubating one’s own duck eggs or entrusting a broody mother to do so is an captivating experience, despite the challenges that may arise. Not every hatch will be flawless, yet the process itself remains a remarkable and delightful phenomenon to participate in. Furthermore, when purchasing ducklings from breeders, it’s often possible to specify sex. At home, however, the surprise of discovering what nature has in store is all part of the adventure.
Just remember, don’t get ahead of yourself by counting your laying ducks before they’re even hatched! A cautionary tale: I once hatched 21 males and only nine females.
