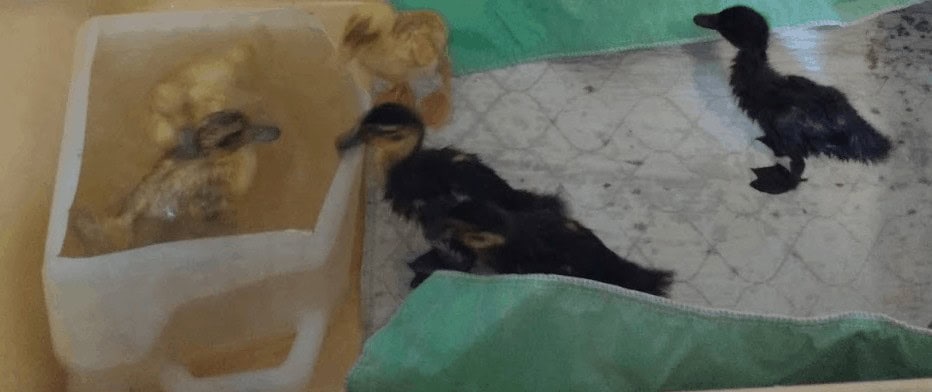
Raising ducklings is a delightful experience that can bring immense joy to your homestead. Whether you choose to care for them personally or let a mother duck do the honors, watching these feathered friends grow and thrive is a treat that’s hard to match. As you embark on this journey, it’s essential to consider some crucial factors that ensure the health and well-being of your ducklings.
By understanding the basics and incorporating a few clever tips, you’ll be able to minimize the effort required while maximizing the rewards.
5 Facts You Need to Know About Ducklings
Beyond their endearing appearance, baby ducklings possess remarkable resilience and adaptability. However, despite their seemingly hardy nature, they require specialized care for optimal growth and survival. Here are some intriguing facts about ducklings that will help you provide the best possible start for them.
For a deeper understanding of this topic, I recommend reading our previous article on incubating duck eggs.
Fact 1: Born Fed
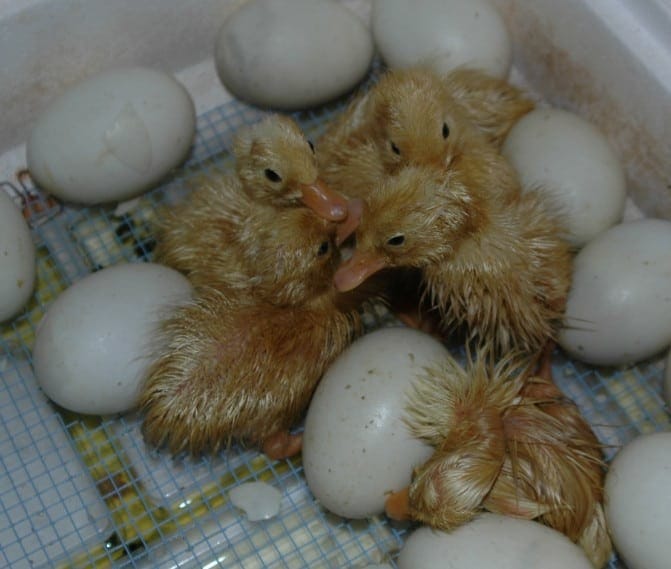
As the moment of hatching approaches, the developing ducklings undergo a remarkable transformation. They absorb any remaining nutrients from the eggshell through their umbilical cord, stockpiling energy reserves that will sustain them during their initial growth spurt. This stored sustenance also allows the young birds to continue growing at an impressive rate, even before they’ve discovered their first morsels of food.
In fact, when raising ducklings at home, it’s not uncommon for them to seem unfazed by the prospect of eating in the early days, only for their voracious appetites to kick in a few days later.
Fact 2: Already Waterproof
Ducklings emerge from eggs with soft, downy feathers that may appear far from waterproof at first glance. Nevertheless, when these young birds have received adequate nutrition during development, their fluffy coats can surprisingly withstand moisture. In fact, healthy ducklings are often ready to take the plunge and dive into water just 1-2 days after hatching, a testament to the remarkable adaptability of nature.
As they grow and mature, ducklings will eventually develop structured outer feathers and an oil gland on their tail area. This natural oil is then applied to their plumage for protection against the elements, serving as a vital line of defense against harsh weather conditions and intense sunlight. While the oil gland plays a crucial role in this process, it’s not essential for waterproofing purposes, which is already handled by the duckling’s innate ability to adapt to its environment.
Fact 3: Water Access Is Critical
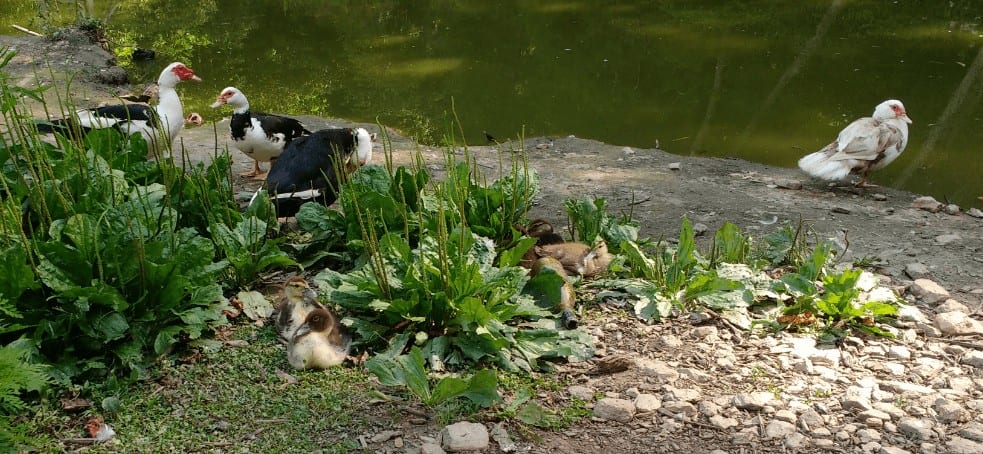
In nature, mama ducks play a crucial role in educating their ducklings on how to navigate water safely. Once they’ve completed the essential task of preening and drying their feathers, motherly instincts kick in, and she teaches her little ones where to find water and how to avoid drowning. This vital education includes identifying shallow points for easy entry and exit into a pond or lake.
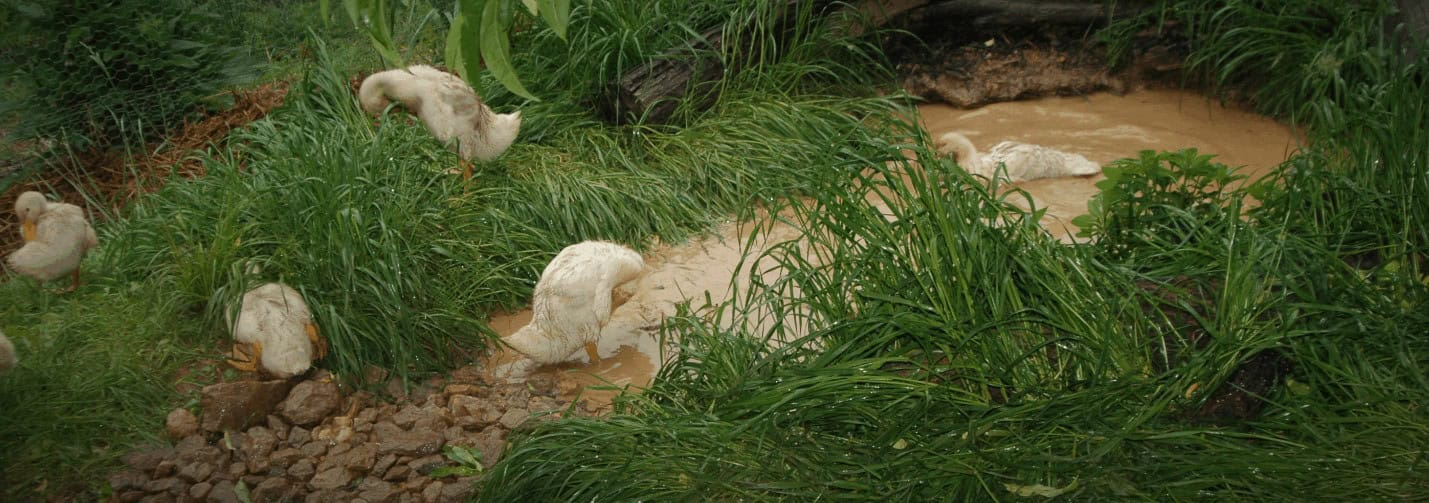
On my homestead, I’ve created a similar environment by designing a rocky runway that leads directly into a shallow starter pond, allowing ducklings to safely get in and out of the water within the first 24-48 hours of life. While mama ducks do allow their tiny offspring to swim under close supervision for short periods, they also ensure these new swimmers have plenty of time to dry off and preen their feathers in a warm, safe spot, protected from drafts.
As a precautionary measure, mamas often keep their newly hatched ducklings out of the water for several hours between swims on cold days, taking them foraging instead to minimize the temptation to swim. Eventually, after a week or two, mama ducks give their growing ducklings more independence, letting them decide when to enter and exit the water.
Fact 4: Ducklings Are Weather Ready
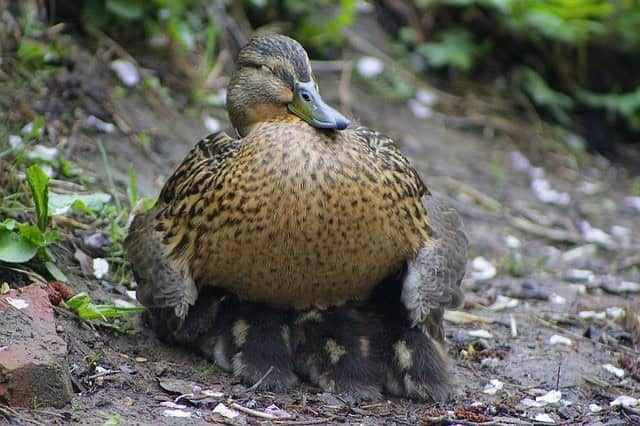
In frigid temperatures, I’ve witnessed mama ducks enveloping her brood under her own body, shielding them from the chill for brief moments. Similarly, she’ll summon her ducklings to huddle closer when potential threats arise, such as our curious cats or humans attempting to catch a glimpse of the youngsters. Typically, however, tiny ducklings take matters into their own beaks, clustering together for warmth and comfort.
While they often remain nearby but not necessarily under mama’s watchful eye, it’s as if they’re rekindling the sense of security and cohesion they experienced during their time in the nest. Moreover, they periodically rotate inwards to allow those on the cooler periphery a chance to bask in the warmth, much like they did while nestled in their eggs.
Fact 5: Ducklings Grow in Good Weather
As the days pass, young ducklings become inseparable, content to lounge together while their mother spends quiet time by the pond. As they begin to eat more regularly, a noticeable transformation takes place on warm days – they grow larger and more robust. In contrast, cold days see minimal growth, as if their energy is focused on staying warm rather than developing.
To confirm my observations, I’ve taken to weighing my ducklings morning and night, reassuring myself that the change in size is indeed linked to temperature. It’s a logical conclusion, really – when a duck must expend energy to stay warm, it can’t devote as much attention to growth. On warmer days, however, they’re free to absorb more calories than needed, allowing them to flourish at an astonishing rate.
Within a couple of weeks, the ducklings have transformed from adorable bundles of fluff to bold and aloof adolescents, seeking distance from their mother even as they demand treats from me as I go about my daily tasks.
Brooding Terminology
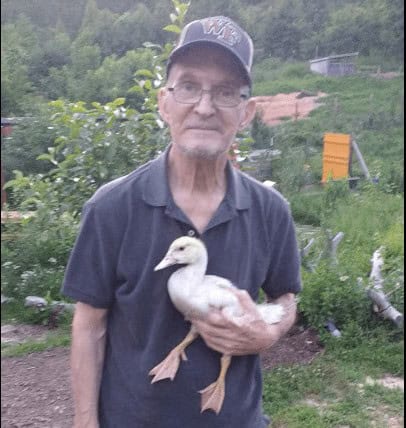
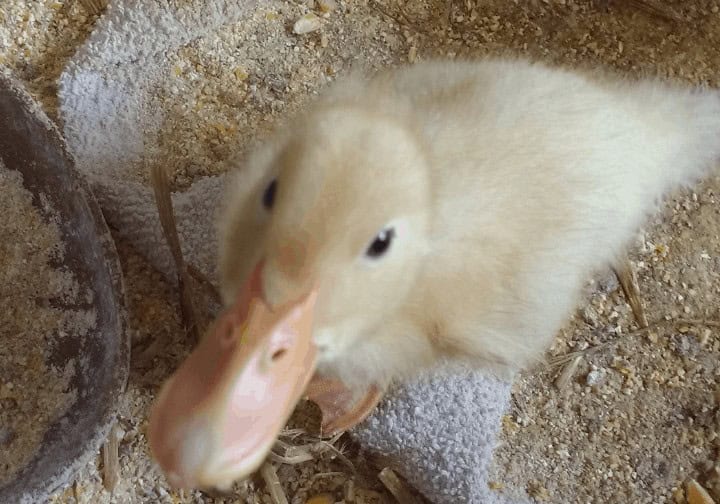
The heartwarming bond between my 79-year-old father and his adopted duckling is a testament to the therapeutic powers of companionship. After being abandoned by her mother, the duckling brought solace to my father’s post-stroke struggles. This unlikely duo’s ability to heal and comfort each other serves as a reminder that even in times of adversity, we can find support in the most unexpected places.
With this poignant backdrop in mind, let’s delve into the specifics of raising brooding ducks for optimal results.
Broody Duck Descriptions
When it comes to duck behavior, the term ‘broody’ refers to the female’s instinctual drive to incubate eggs, characterized by intense nesting behavior. This process is often followed by a period of dedicated care for her young, commonly referred to as ‘mothering’. It’s not uncommon to come across breed descriptions that rate a duck’s broodiness and mothering abilities. Some breeds excel at inducing the broody state frequently, but may fall short when it comes to providing proper post-hatch care.
Conversely, there are breeds that master the art of mothering, yet struggle with initiating the brooding process. To successfully raise healthy ducklings, it’s essential to consider a breed’s overall ability to balance both aspects, ensuring a harmonious and nurturing environment for their offspring.
Incubating and Brooding
In many ways, the process of raising ducklings is akin to human parenting. When we first introduce ourselves as caregivers to these little ones, we refer to this initial period as incubation – ensuring the eggs hatch successfully. But once they’ve emerged, the responsibilities don’t stop there. The post-hatching care, often labelled as ‘brooding’, can be better described as a form of ‘mothering’ or ‘parenting’.
It’s a time-consuming yet rewarding process that involves feeding, bathing, and cleaning up after our feathered friends for several weeks. And let’s not forget the countless moments of joy we experience as they grow, explore their surroundings, and accomplish small milestones – much like human parents do with their own little ones.
Getting Started with Raising Ducklings in a Brooder
For young ducks, a small, shallow pond with a rock ramp provides an ideal environment for growth and development. If you’re eager to take on the challenge of raising ducklings, there are two primary options available. Firstly, you can incubate and hatch eggs at home, providing a hands-on experience from start to finish. Alternatively, you can opt for convenience by purchasing ducklings from a reputable breeder or hatchery.
Regardless of which path you choose, once your new feathered friends have hatched or arrived, it’s crucial to provide them with a safe and nurturing space to grow and thrive.
The Importance of a Brooder
Raising ducklings is a delicate process that requires careful consideration of their growth and development. One crucial aspect is providing them with a warm, safe, and predator-proof space, commonly referred to as a brooder. This enclosed environment not only maintains a consistent temperature but also protects the young ducks from harsh elements and potential predators. The use of heat in the early stages of duckling development is essential for expediting their growth rates.
By confining them within a small area, we minimize the energy they expend on staying warm or searching for food, allowing them to focus on body development instead. This, in turn, increases their chances of thriving and reaching maturity. Moreover, the brooder plays a significant role in minimizing losses. In the wild, slower-developing ducklings may struggle to survive due to harsh conditions or accidents.
However, within the confines of a well-maintained brooder, most or all ducklings can be expected to thrive. Some homesteaders opt for a combination approach, utilizing both a mama duck and a brooder. In this scenario, the ducklings and their mother are confined to a safe space with supplementary heat. While I have not personally adopted this method, other experienced farmers have reported successful outcomes.
Ultimately, the key to raising healthy and robust ducklings lies in providing them with a nurturing environment that fosters their growth and development.
Brooder Requirements
When raising ducklings in a brooder or providing a safe environment for mama ducks to care for their young, several essential factors come into play. One crucial aspect is maintaining an optimal temperature. To achieve this, you can use a heat lamp or brooder heating plates strategically placed at the opposite end of the enclosure from food and water.
This setup will encourage ducklings to gravitate towards the warmth while still allowing them to enjoy more moderate conditions for eating and drinking. As ducks tend to sleep near the heater when their metabolism is low, this feature also serves as a cozy spot for them to dry off after getting wet. Another vital consideration is airflow. Given that ducks are adapted to living outdoors, it’s crucial to provide adequate fresh air for lung development.
To achieve this, position the brooder near a window or in an outbuilding that allows access to fresh air while being protected from drafts. When it comes to light, natural daylight is ideal for ducklings to acclimate to outdoor conditions. If this isn’t possible, utilize a daylight-rated lamp to mimic outdoor lighting conditions. If you’re brooding ducklings during the fall season, consider leaving the light on for a few extra hours to ensure they have ample time to eat.
However, about a week or two before transitioning them to an outdoor environment, gradually reduce the light’s duration until it matches actual outdoor conditions.
Access to Water
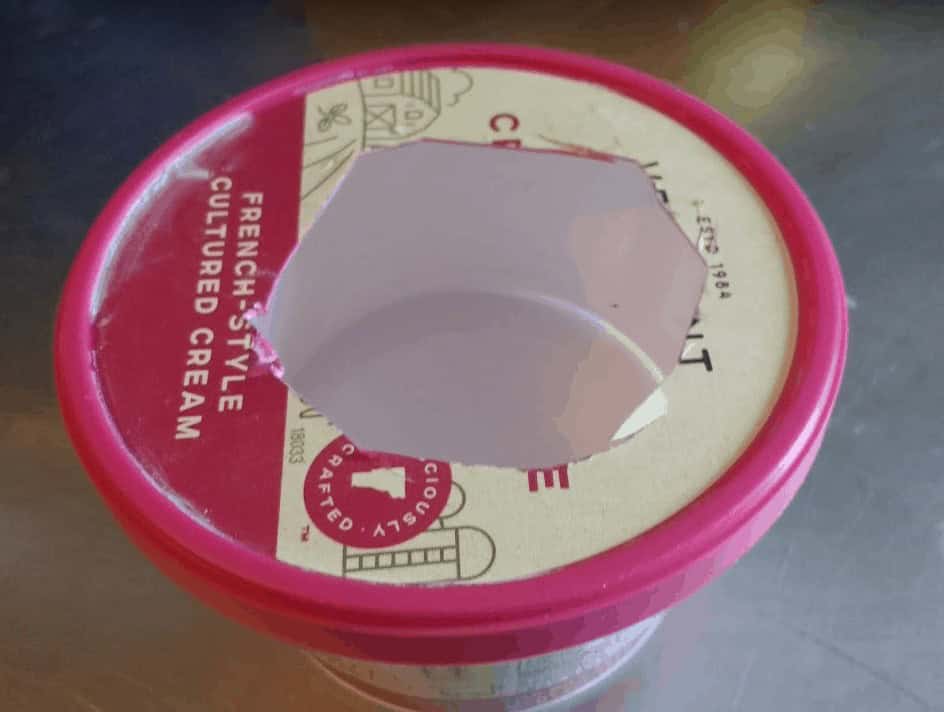
When it comes to providing water for your new ducklings, a crucial consideration is ensuring access without encouraging swimming. Initially, restrict access to prevent unwanted splashing. However, as you want to offer water shortly after hatching, a more thoughtful approach is necessary. To strike the right balance, use containers with protective rims that discourage swimming while still allowing your young charges to drink and bathe.
Small, individual-sized containers like sour cream or smoothie containers are ideal for brand new ducklings. Simply cut a window-like opening in the container, nestle it into their bedding to ensure stability, and fill with lukewarm water. As they grow taller, you can transition to larger containers like half-gallon milk boxes or family-sized juice cartons, always ensuring that the water remains within reach of their feet.
Feed
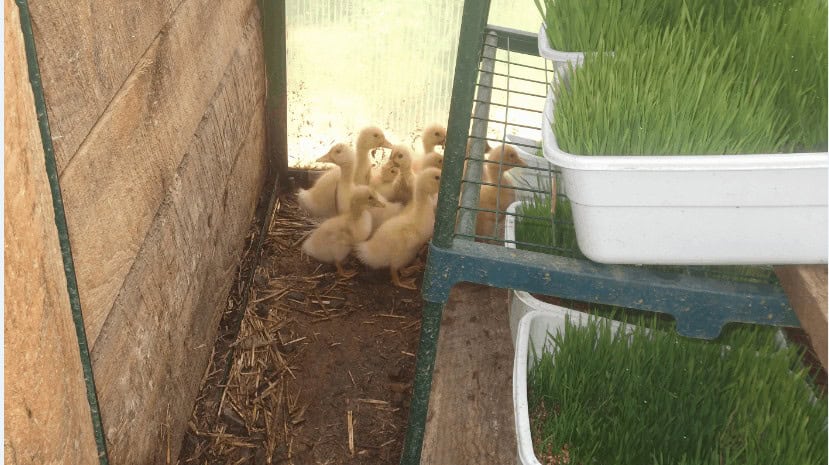
When raising ducklings, I provide them with nutritious greens from my shelves by the brooder to ensure they have a steady supply of healthy food options until they’re old enough for pasture. Initially, young ducks won’t eat much due to their developing digestive systems, but it’s crucial they have access to food 24/7. A gentle transition from egg nutrients to self-feeding can be achieved by feeding small amounts at a time.
In the brooder, I opt for duck starter or game bird starter feed, which typically boasts a protein level of 24-28%. The fine crumb texture makes it easy for the ducklings to consume in small quantities. As they mature, the protein content can be reduced to 20-22% after around eight weeks. While some breeders advocate against medicated feeds, I’ve found that feeds only treating coccidiosis are no longer a concern.
However, if the feed is medicated for other purposes, I do more research before incorporating it into their diet. On lush pastures with mama duck guidance, chick starter can be sufficient as feed. Nevertheless, in a brooder setting, chick starter may not provide ideal protein levels for duck development. Ducklings can survive on it, but they tend to grow slowly and sometimes develop preventable health issues.
If you only have access to chick starter, consider supplementing with protein-rich treats like ground-up insects, scrambled eggs, or even mashed kitten food. Finally, when providing treats from your garden or kitchen, ensure the pieces are small and offer grit as a precautionary measure. In cases where ducklings only receive crumbled feed, they don’t require grit. But if you’re planning to give them treats, provide chick-sized grit alongside.
Niacin
When it comes to the development of ducklings, niacin plays a crucial role. Fortunately, many commercial feeds designed for ducks and gamebirds already contain sufficient amounts of this essential vitamin. However, chick feed may not provide enough, and if you’re receiving ducklings through the mail, they may arrive with insufficient niacin levels due to transportation time. To address this issue, some duck hatcheries offer vitamin packets that can be added to the water or feed upon arrival.
Alternatively, you can purchase niacin pills from a pet store or online retailer. I personally grind 500mg tablets into a fine powder using a mortar and pestle, then dissolve a small amount in the ducklings’ water each time it’s changed. This approach ensures the young ducks receive some niacin early on, as they tend to drink more than they eat initially. Once they start consuming their feed regularly, I switch to mixing the niacin powder into their food.
It’s far easier to prevent a niacin deficiency than to treat one, so supplementing mail-order ducklings or adding niacin to chick starter is an essential practice for me when raising ducks.
Bedding
By utilizing worm beds or ground contact methods, duck brooders can be managed in an eco-friendly manner. In the former approach, building a vermicompost bed beneath the ducklings’ enclosure and covering it with two inches of straw helps keep them from consuming all the worms. The wet manure seeps into the worm beds, where it’s consumed by the worms along with the straw and any spilled food.
To maintain the worm bed’s health, rake the surface occasionally to prevent a manure crust from forming, and add a light layer of bedding to cover excess waste.
Alternatively, a hardware cloth-lined brooder can be placed directly on loamy soil. This setup prevents unwanted critters like rats from accessing the ducklings while allowing the worms and microorganisms in the soil to utilize the wet manure. The microorganisms also help to dissipate excess water.
In many cases, minimal bedding is required to keep down odors and prevent waste buildup.
If the brooder floor becomes too muddy, a light dusting of leaf mulch, micro pine shavings, or finished compost can be used to absorb moisture. Alternatively, simply move the brooder to new soil. Once the brooding process is complete, the space can be converted into a green manure cover crop, which can then be used as a ready-to-plant garden bed.
Cleaning
To avoid frequent cleaning, consider using a worm bed or ground contact brooder for your ducks. However, if you don’t have one, you can still implement a side-to-side cleaning method that’s efficient and minimizes odors. This approach requires an extra-large brooder with a divider to separate the two sides.
Start by placing the ducks in one half of the brooder and add layers of bedding as needed to keep the area clean and comfortable for their feet.
Once the bedding becomes too thick, move the ducks to the other unused side of the brooder. Clean out the first half of the brooder and add it directly to your compost pile.
Next, apply new bedding to the cleaned-out side and let the ducks inhabit it until the bedding starts to get ripe again. Then, move them back to the original side, clean out the second half, and repeat the process as necessary.
This method ensures that you’re only dealing with a limited amount of bedding at any given time.
In the final weeks of their brooding period, you may need to provide your ducks with more space in the entire brooder to accommodate their growth. While this requires more effort upfront, it ultimately means less time and work spent on cleaning as you’ll only have a two-week window of bedding to manage.
Brooder Pond Fun
When it’s time for ducklings to get their first baths, I find a paint roller tray to be the perfect tool. The clear shallow end and slight deep-end allow the little ones to get clean without feeling overwhelmed. As they grow bigger, I switch to rectangular plastic containers turned on their side with a window cut out. This setup allows them to stand comfortably and use the container’s edge to push off and exit. In fact, these same containers later become ideal for growing duckweed.
To make cleanup easier, I place the container or paint tray inside a trash bag, which allows me to remove most of the water by simply closing the bag and dumping it outside. Alternatively, using a washable bed pad can absorb excess water and keep the brooder dry. It’s also important to ensure the heat source is on after swimming until the ducklings are completely dry, and never leave them unsupervised during swim time.
Finally, always remove the makeshift ponds when not in use to prevent messes.
Transitioning from the Brooder
As the days pass, our little duckling is now prepared to venture out into a larger enclosure or run under the watchful eye of her adoptive parent. The transition window for ducks can vary significantly depending on breed and environmental factors. Some breeds like Pekins mature quickly, often outgrowing their brooder in just a few weeks, while others such as Welsh Harlequins, Cayugas, and Runners may require more extended brooding periods.
Once you feel the time is right to grant them access to their new surroundings, it’s essential to provide close supervision until they’ve become confident and secure in their new environment.
