There’s no scent quite like the sweet aroma of fresh, baked apples wafting through your kitchen. The unmistakable signal that a day is about to get deliciously better! As an orchardist myself, I have the privilege of watching my apple trees flourish and knowing that soon, the fruits of my labor will be transformed into mouthwatering treats like pies and preserves.
While those are certainly wonderful uses for my harvest, there’s another way to appreciate the apples that never fails to excite me: dehydrating them. This simple process not only saves time but also unlocks a whole new world of possibilities in terms of storage and shelf life. In this post, I’ll be sharing the step-by-step guide on how to successfully dehydrate apples, from start to finish.
How Do I Get Cheaper (but Good) Apples?
While I haven’t always lived on a farm with an orchard at my fingertips, I’ve learned to appreciate the benefits of preserving fresh produce. For those who don’t have direct access to their own orchards or farmers’ markets, there are still ways to obtain the fruits you want to store for later. One simple solution is to shop around for apples at a discounted rate, making it possible to stock up and preserve your favorites.
With a little creativity and resourcefulness, anyone can enjoy the fruits of their labor year-round.
Buy Them on Sale
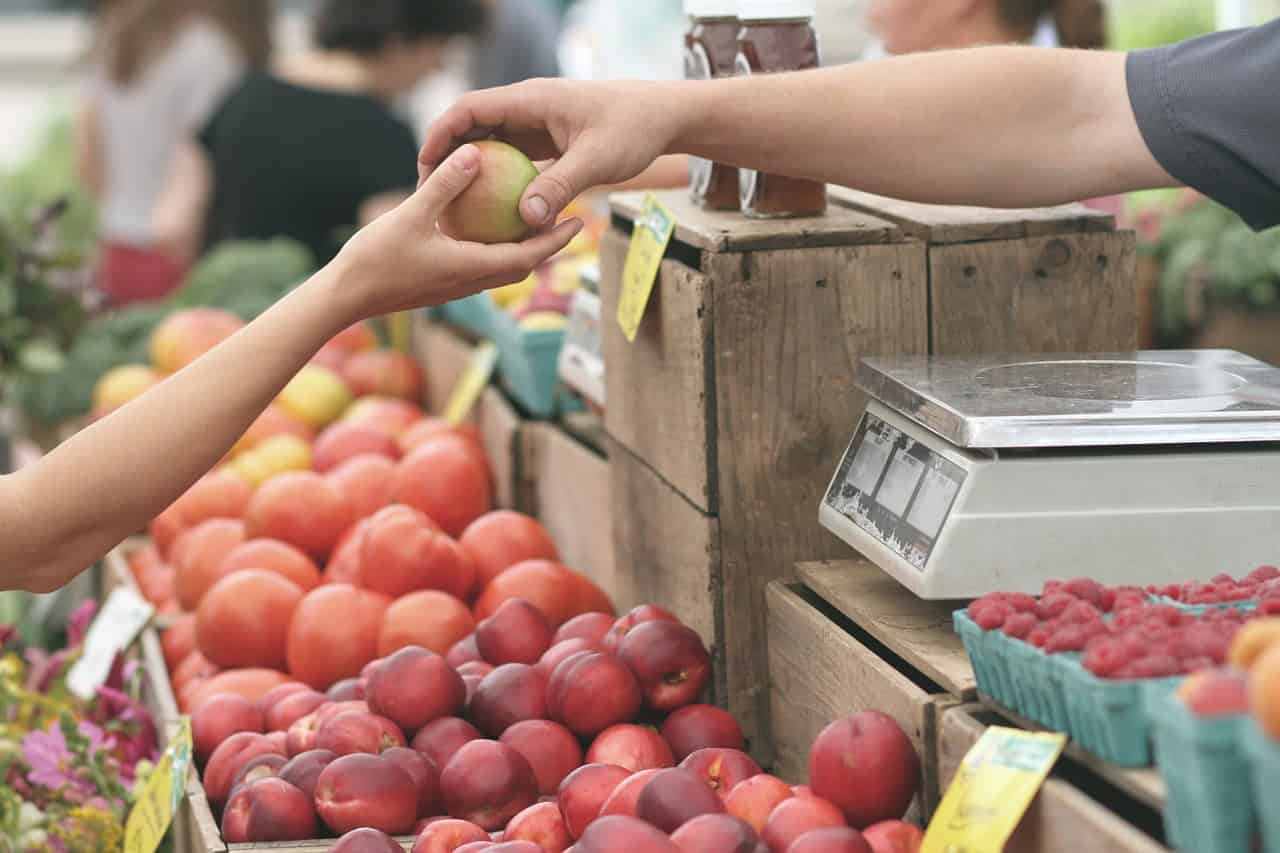
When apples go on sale, take advantage of the opportunity to stock up. Consider buying in bulk, as many stores allow customers to purchase a certain quantity during promotional periods. By doing so, you can significantly reduce your overall cost and accumulate enough apples to meet your preservation or storage needs.
Buy from a Local Orchard
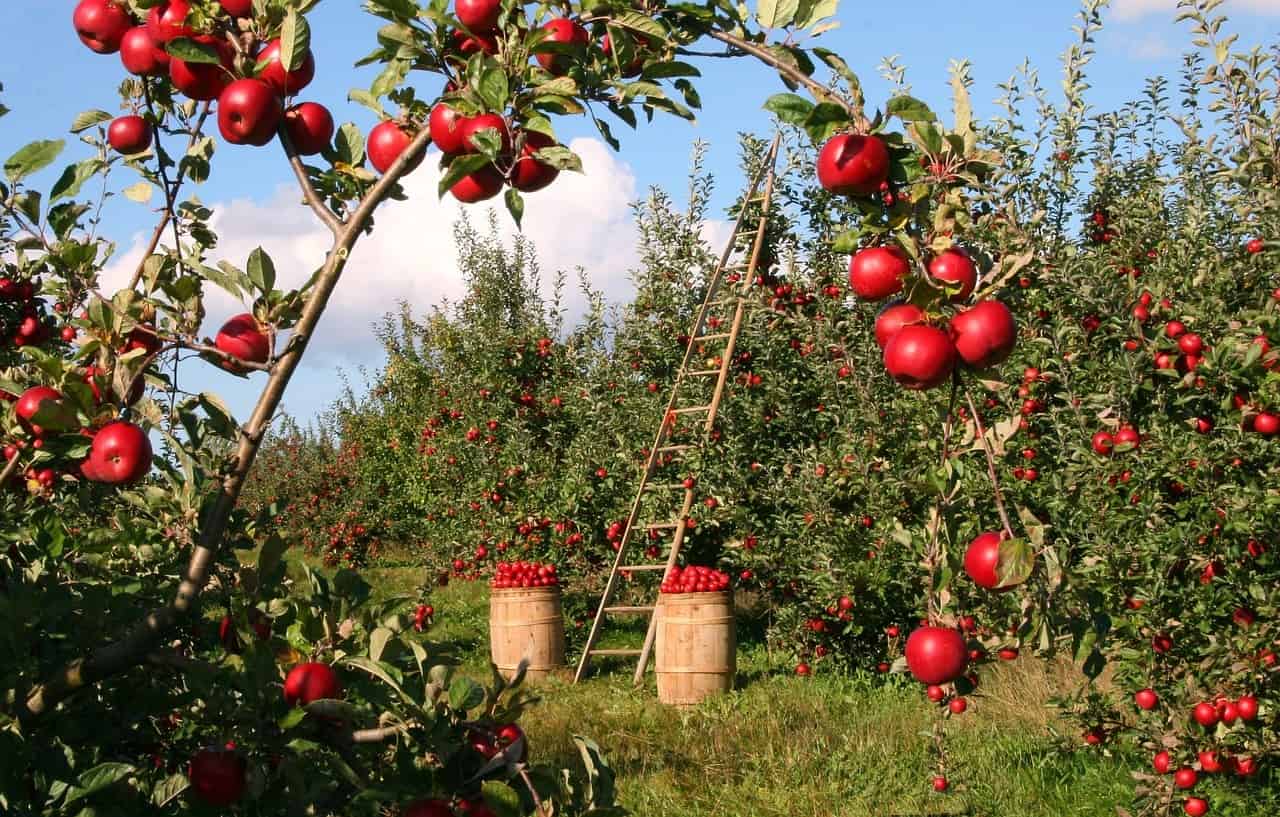
If you have a local orchard nearby, take advantage of the opportunity to purchase fresh apples directly from them. Before I established my own miniature orchard, I would often travel less than an hour up the mountain where apple orchards are abundant. Not only did I get access to fresh produce at a lower cost due to the competitive market, but I also enjoyed quality time with family and friends.
Shopping at local, family-owned orchards can be a wonderful experience for the whole family, with many owners offering free samples to children and allowing you to browse until you find the perfect apples. When selecting apples for preserving or cooking, don’t overlook their ‘seconds’ or canning apples, which may not be the most visually appealing but are still suitable for these purposes.
Trade for Them
As the bounty of your apple trees grows, consider leveraging your social network to supplement your haul. Reach out to friends and family members with their own apple trees and propose a mutually beneficial trade – offer to provide something they need in exchange for a portion of their fresh produce. For instance, if you’re an avid gardener or cook, share your expertise or a favorite recipe in return for the apples.
You never know which neighbor might be willing to part with some of their harvest, and it’s always more enjoyable to share the fruits of your labor with those around you.
Grow Them
For those eager to enjoy their own homegrown apples, consider planting a few trees – just keep in mind that it may take a few years for them to start producing. If space is an issue, don’t worry; dwarf apple tree varieties can thrive in containers. Just be aware that you’ll need to bring the tree indoors during the winter months. This approach allows for greater control over the harvest schedule and ensures a steady supply of fresh apples at your fingertips.
The Dehydrating Process
With ease, anyone can master the art of dehydrating apples. The process is straightforward, requiring minimal equipment and basic knowledge. By following these uncomplicated steps, you’ll not only develop a new skill but also unlock the door to a world of crunchy, flavorful snacks.
Pick the Apples
When it comes to dehydrating apples, securing a steady supply is crucial. You can obtain them through various means, including local grocery stores, farmer’s markets, direct purchases from farmers or commercial orchards, or even by harvesting fresh ones from your own backyard.
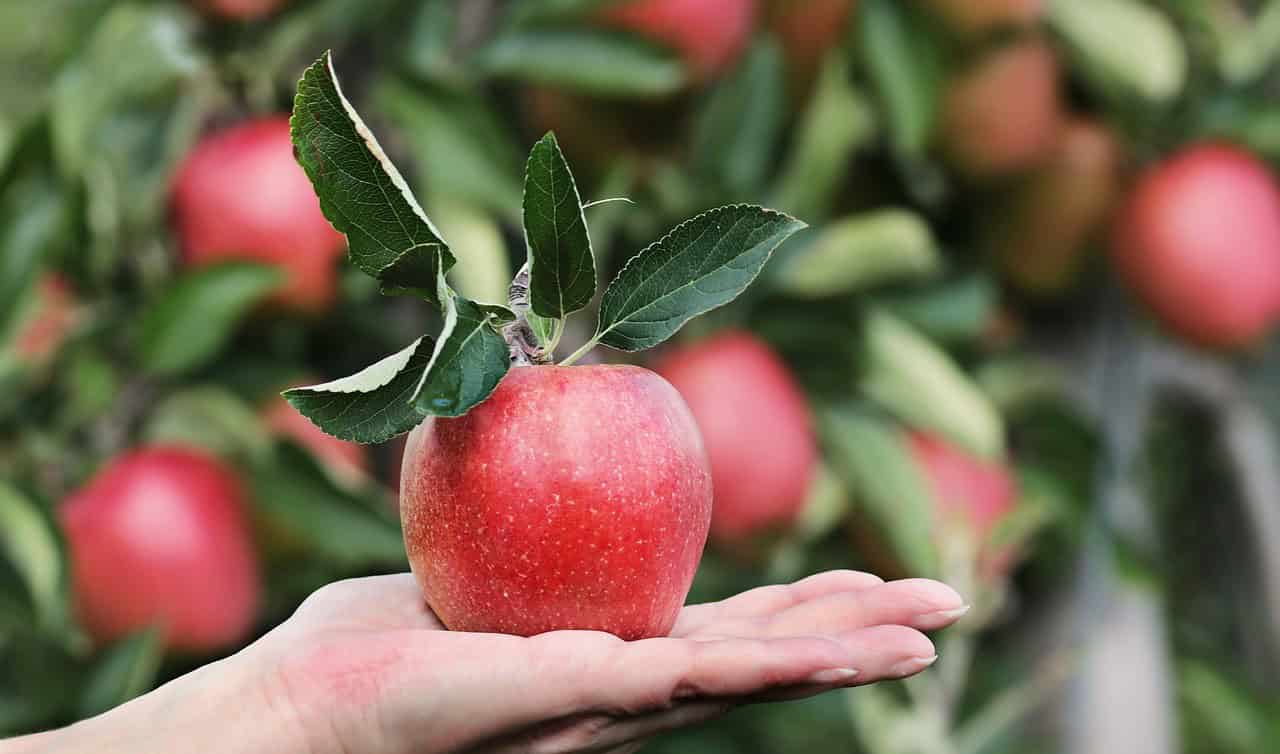
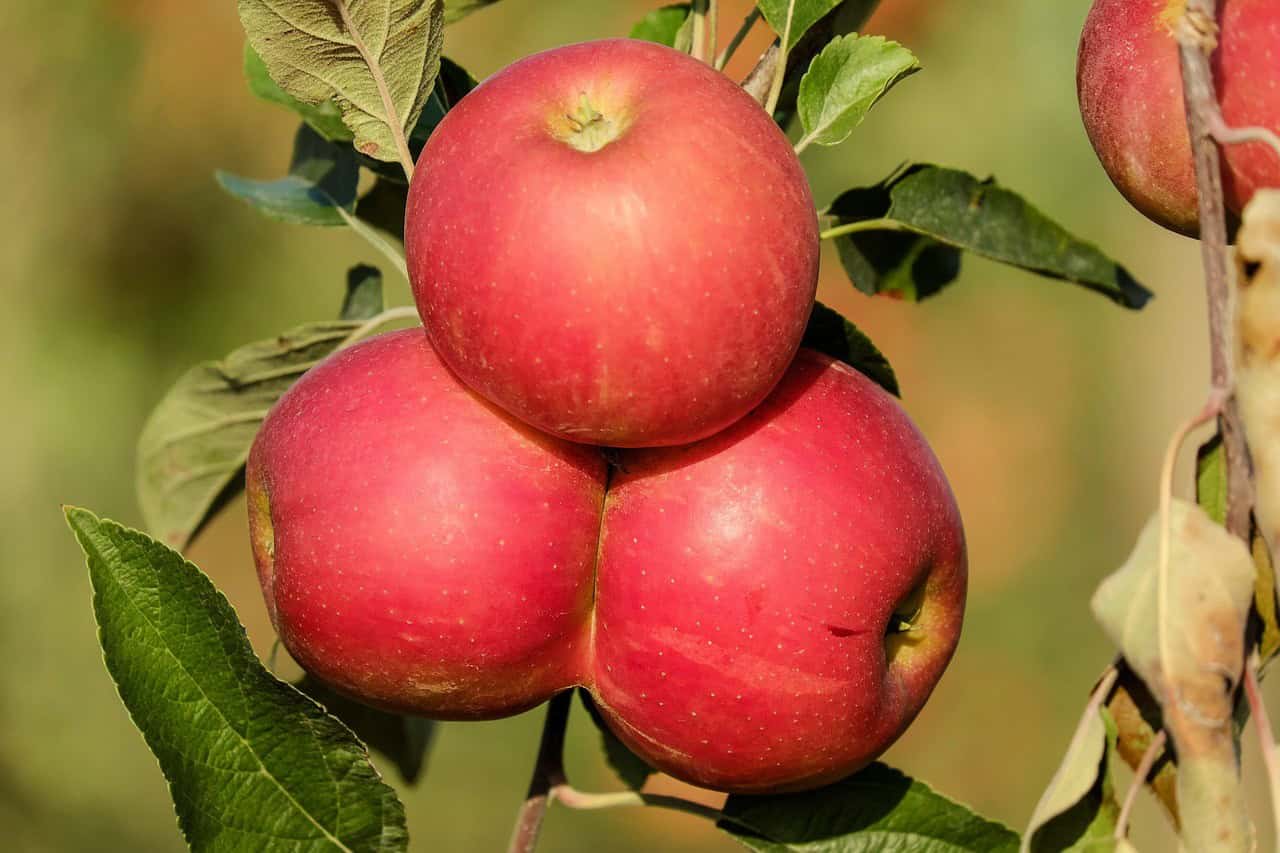
If you’re picking fresh apples, make sure to choose those that are fully ripe and ready for the picking. A gentle twist should be enough to dislodge them from the tree without damaging the fruit.
To streamline the process, it’s recommended to use a bushel basket to collect your apples during the picking session. Once your basket is full or you’ve gathered all the ripe apples, you can proceed with the dehydrating process.
Clean Them Up
Before diving into preserving or cooking your apples, it’s crucial to give them a thorough cleaning. Apples can harbor dirt, dust, and even worms on the inside, making cleanliness a vital part of the process. To start, fill your kitchen sink or a large container with cold water. Submerge as many apples as possible in the water, taking care not to bruise them. Gently agitate the apples by tossing them around or using your hands to create gentle abrasion, loosening any stubborn dirt and debris.
You may need to change the water multiple times, especially if you’re working with a large quantity of apples. Working in batches can be necessary to ensure each apple is thoroughly cleaned. Once all the apples are clean, you can move forward with preserving or cooking them.
Core and Peel
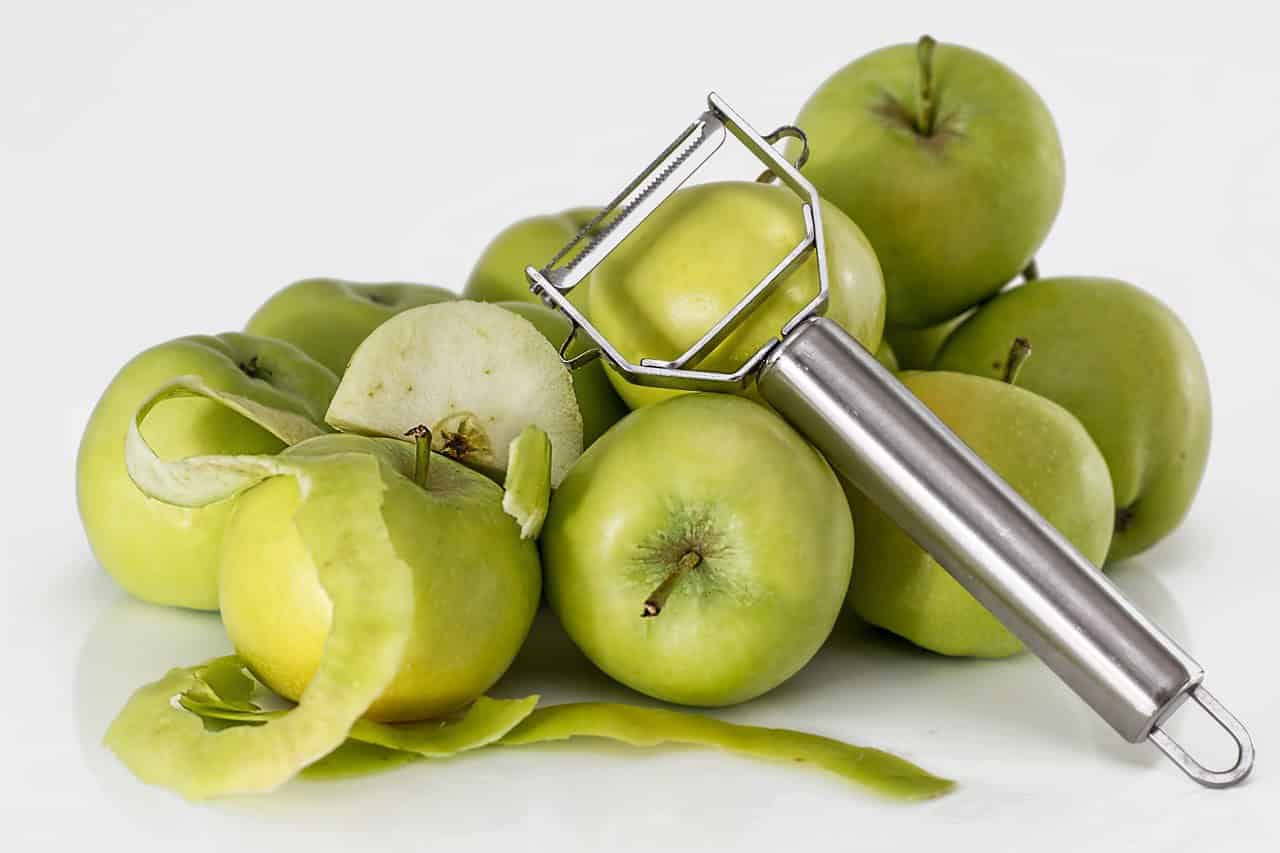
The process of preparing apples for dehydrating involves two primary steps: peeling and coring. One approach is to perform both tasks manually using a knife or apple peeler to remove the skin and core. This method does require some physical effort, especially when handling large quantities of apples. However, there is an alternative that can significantly reduce the workload. Consider investing in an apple peeler that also cores and slices the fruit.
This tool has been a game-changer for me, saving both time and energy. With your apples prepared, you’ll be ready to move on to slicing and proceed with the dehydrating process.
Thin is the Key
In this pivotal step, precision is key. Apple slices that are too thick can hinder the drying process, resulting in a longer and potentially less effective outcome. To achieve optimal results, aim for slices that are approximately ½ inch to an inch in thickness. Utilizing an apple peeler that cores and slices simultaneously streamlines the process, making it more manageable.
As you slice each apple, place them in a bowl of cold water and add a squeeze of lemon juice – about one teaspoon will suffice. This simple trick helps prevent browning while allowing you to focus on slicing the remaining apples. Once all the apple slices are prepared, you’ll be ready to proceed with the dehydrating process.
Dehydrate and Wait
When it comes to preserving the flavor and nutrients of fresh apples, dehydration is a popular method that offers versatility. From simple techniques that don’t require any special gear to more complex approaches that utilize specific equipment, there’s an option for every apple enthusiast. Here are three distinct methods for dehydrating your apples:
Three Dehydrating Methods
Use a Dehydrator
Once you’ve got your hands on a dehydrator (or are considering investing in one), it’s time to put those juicy slices of apple to good use. Start by arranging the sliced apples in a single layer on the tray, making sure not to overcrowd it. Next, fire up the dehydrator and let it do its magic.
If you’re unsure about the ideal dehydration time for your apples, consult your instruction manual or simply keep an eye on them for the next hour until they’ve shrunk noticeably and developed a slightly wrinkled texture. When you’re satisfied that the moisture has been effectively removed from the apple, turn off the dehydrator, carefully remove the apples, and store them in an airtight bag or container to maintain their crispy freshness.
Create Dehydration Screens
When it comes to dehydrating apples, I’m fortunate to have a friend who lends me her dehydration screens – large trays with a wooden frame and mesh in the center. These versatile trays can be customized to accommodate any quantity of apples you’re working with. My friend’s screens, for instance, are designed to fit the width of her truck camper, allowing her to dry multiple batches at once by placing them inside the vehicle with a fan circulating air.
Since my own truck doesn’t have a camper top, I’ve adapted the process to suit my needs. I prop the trays up on two bar stools in the middle of my living room, where they’re easily accessible under the gentle circulation of a ceiling fan. This setup allows me to dry large quantities of apples efficiently and with minimal fuss. It’s an effective method that works well for anyone looking to dry multiple batches at once.
Put Them in the Sun
If you’re not dehydrating large quantities of apples and don’t have a dehydrator at your disposal, there’s still a way to achieve successful drying. One alternative method is to utilize cookie cooling racks, placing the sliced or diced apples on them in a well-ventilated area. Ideally, this spot should receive direct sunlight, gentle breezes, and be shielded from insect infestations.
When selecting the perfect location, ensure the trays are elevated to allow for optimal airflow around the apple slices. This process may take longer compared to other methods, but once the apples are dry, you can store them in an airtight container for future use.
How to Use Dehydrated Apples
Having successfully dehydrated your apples, the next step is to consider the numerous possibilities for utilizing these dried fruits. The following suggestions will get you started:
Eat Them as ‘Chips’
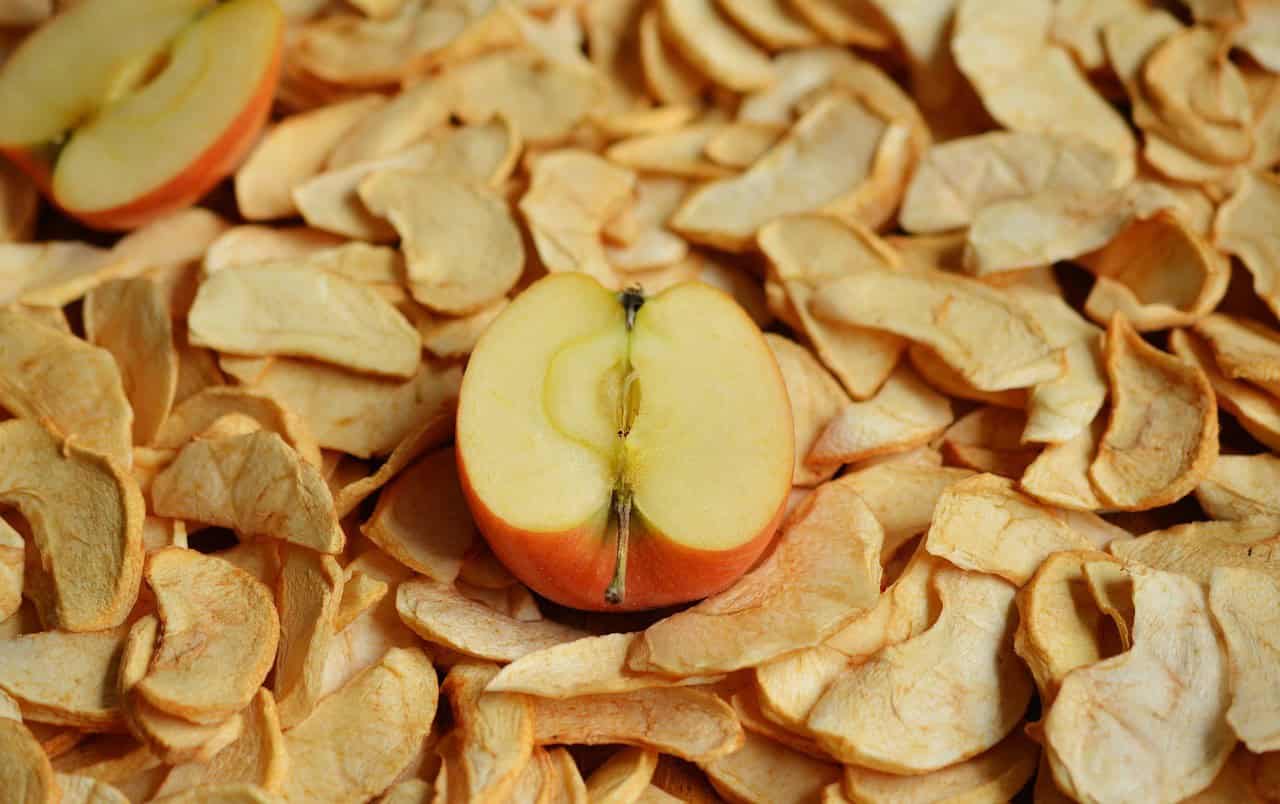
If the constant craving for crunchy snacks has you reaching for bags of chips, it’s time to mix things up. Dried apples make a surprisingly satisfying substitute, and with the added bonus of being incredibly nutritious. To give them an extra boost, simply sprinkle a pinch of cinnamon on top before indulging. This healthy snack requires minimal effort, making it the perfect solution for those looking to trade in their chip habit for a guilt-free treat.
Use Them as Christmas Ornaments
Every year, my sister-in-law creates a delightful tradition by drying apples and attaching them to ornament hooks, often using up any leftover fruit from Christmas celebrations. To add an extra touch of festivity, you can adorn the dried apple ornaments with colorful bows. Once complete, these unique decorations are perfect for adorning your tree, filling your home with a warm, inviting aroma and adding a charming vintage flair to your holiday decor.
Dried Apple Tea
Sipping on a warm beverage can be a cozy experience. If you’re an apple lover, try infusing your tea with dried apple slices! Simply place a few slices in a teacup, then boil some water and pour it over the apples. Allow them to steep for a few minutes before removing them and enjoying your unique blend.
Fried Apple Pies
It was my mother-in-law’s signature Thanksgiving dish – fried apple pies – that initially inspired me to start dehydrating apples. As a result, I found myself needing to preserve a steady supply of fresh apples for the pie filling. While I may not have had access to her exact recipe, I’m confident in this method’s ability to yield delicious results. In fact, it bears a strong resemblance to my mother-in-law’s traditional approach.
This dehydrated apple recipe is now an integral part of my Thanksgiving celebrations, and I’m excited to share it with you. Having already covered the where, when, and how of drying apples, as well as four creative ways to use them, I believe you’re now well-equipped to embark on this new adventure and enjoy a bounty of tasty rewards.
