As the warmer months arrive, my herb garden flourishes, and I delight in cultivating an array of flavors, from the sweetness of mint (chocolate mint being a personal favorite) to the pungency of cilantro. The versatility of these herbs is undeniable – they elevate everything from crepes to pizza with their unique tastes.
However, as the harvests grow more abundant than my personal consumption can accommodate, I find myself contemplating preservation methods to enjoy my bounty throughout the year. This summer, I’ve been exploring various techniques to ensure a steady supply of fresh flavors until the next growing season.
Ways to preserve your herbs:
Harvesting and Prepping
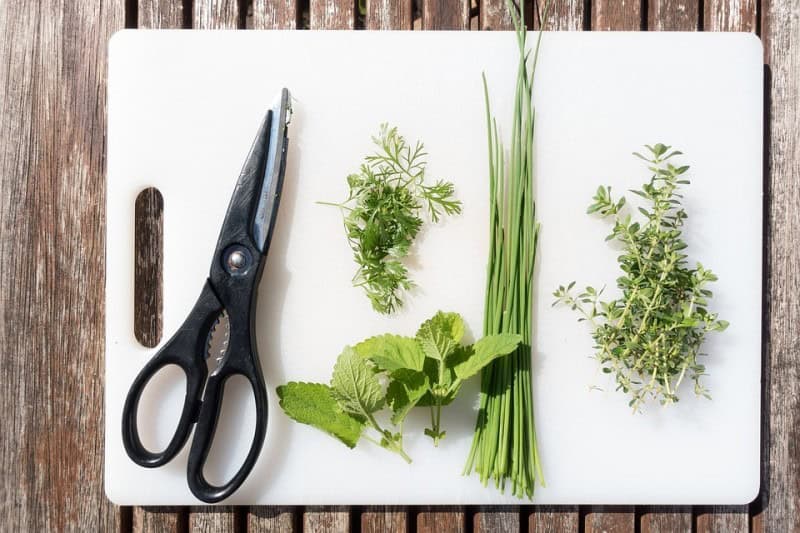
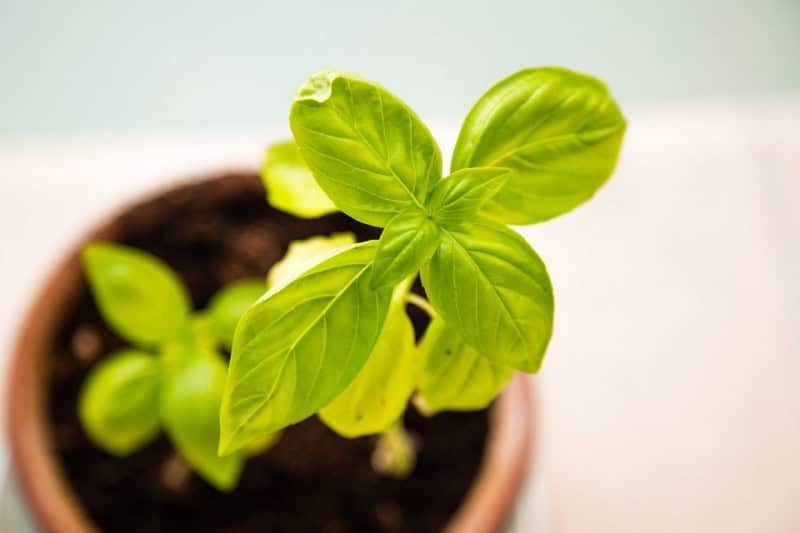
Before embarking on the process of saving your harvested herbs, it’s crucial to prepare them correctly. To achieve this, follow these straightforward steps. Firstly, ensure you trim your herb before its flowers form, as many plants require pruning to remain productive. Basil is a prime example – when you spot it flowering, snip off the blooms to redirect its energy towards leaf growth.
Notably, timing is everything, and it’s best to cut your herbs in the morning, prior to the sun sapping away their natural essential oils. Opt for the lower leaves, which were the first to grow, adhering to the ‘First in, First out’ principle commonly observed by restaurants. When cutting, make sure to leave a small buffer above where the leaf meets the stem, safeguarding your herb against potential diseases that can arise from cutting too close to the stem.
Once prepared, thoroughly wash your produce to eliminate any unwanted bugs, followed by a thorough drying process. I personally utilize a salad spinner for this purpose, while others prefer to air-dry their herbs on a paper towel – a method that requires the paper to be completely dry to confirm the herb’s dryness. With your herbs properly prepared, you can now focus on exploring various preservation methods.
Storing Fresh Herbs
While it may seem like a minor tweak, storing prepped fresh herbs in an airtight container and keeping them refrigerated can make a significant difference in their longevity. In my experience, this simple method helped my basil stay fresh for three weeks longer than expected! To replicate this success, simply prepare your herbs (as described earlier), transfer them to a mason jar, label the jar, and store it in the refrigerator.
As you need the herbs, retrieve what you require and return the rest to the fridge. This approach allows you to enjoy your fresh herbs for up to two weeks. When storing herbs in the refrigerator, it’s essential to use a sealed container to prevent them from absorbing unwanted flavors or odors from nearby items. By taking this precaution, you can ensure that your herbs remain flavorful and aromatic throughout their extended shelf life.
Air Dry – Bundle Method
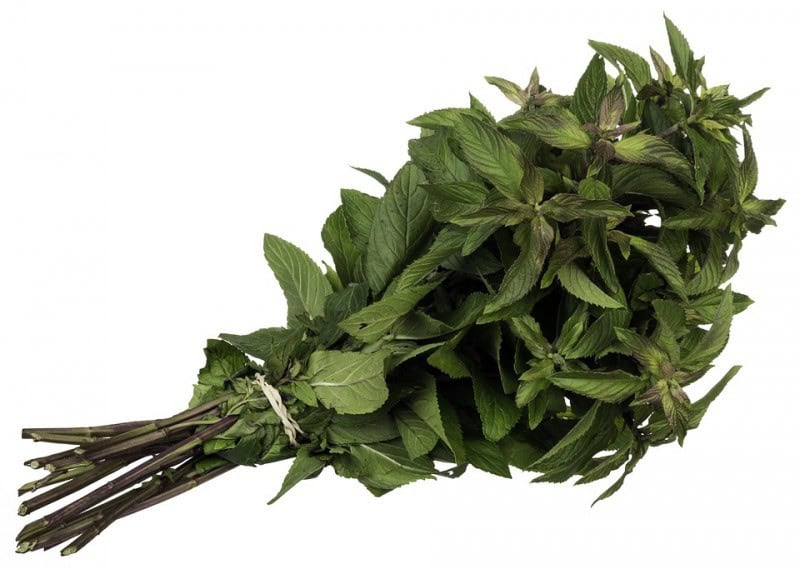
When drying herbs, it’s easy to get carried away and forget about your plants. But don’t worry, this method allows you to preserve a larger quantity of herbal goodness at once. Plus, there’s something charmingly rustic about seeing herbs suspended upside down, tied up in the house. Simply tear off the amount you’d like to preserve, bundle them together, and tie with kitchen twine – it’s a convenient and familiar material.
Allow your herbs to hang for at least two weeks, giving them ample time to dry thoroughly. If concerns about leaves falling off keep you up at night, consider placing them in a brown paper bag with holes before bundling. The holes allow for air circulation, preventing the buildup of moisture that can lead to mold or rot. This method ensures all leaves remain securely in place, minimizing waste and preserving your herbs’ potency.
Once the two weeks have passed, remove your herbs from their drying stations and store them as you see fit – a cute jar with a label or a mason jar are both excellent options. It’s essential to ensure your herbs are completely dry to prevent mold growth. Herbs like Rosemary, Lavender, Dill, Summer Savory, Sage, Thyme, Bay leaves, and Oregano are well-suited for this method.
If you’re looking to dry Basil, Oregano, Tarragon, or Lemon Balm, consider smaller bundles and extra attention to ensure they reach the desired level of dryness.
Dehydrator Method
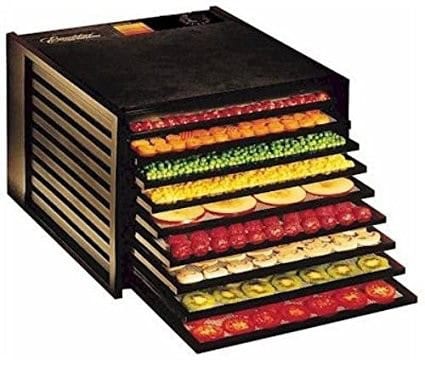
In my kitchen arsenal, the dehydrator is a trusted tool for creating a variety of tasty treats. From fruit roll-ups to dried fruits, it’s a versatile device that never fails to impress. And, let me tell you, my family is particularly fond of dehydrated kiwis!
As much as I appreciate its many uses, the dehydrator also plays a crucial role in preserving my herbs when they’re in peak season.
This year-round benefit is especially significant during the sweltering summer months, when the last thing you want to do is add extra heat to your home.
To preserve my herbs using this method, I follow a simple process:
Place the leaves or stems on the trays with sufficient space between each item to allow for proper airflow.
Turn it on (my dehydrator doesn’t have adjustable settings, but yours might).
Occasionally rotate the trays to ensure even drying.
Wait patiently for six to eight hours before transferring the dried herbs to airtight jars.
If your dehydrator has multiple settings, experiment with different options to find the perfect combination for your specific herbs and machine.
Some of my favorite herbs to preserve using this method include Mint, Rosemary, Lavender, Thyme, Sage, Dill, Oregano, Basil, Tarragon, and Lemon Balm.
Freezing Herbs
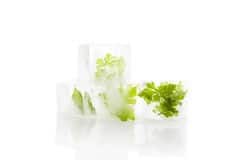
When it comes to preserving herbs, there are several methods to choose from. One straightforward approach is to freeze dry herbs by placing them on a baking sheet in a single layer and storing them in the freezer overnight. Once frozen, transfer them to an airtight container or ziplock bag for short-term use within a few months. For longer preservation, fill ice cube trays one-fourth full of herbs and the remaining three-fourths with fresh water.
This method is ideal for using herbs in dishes where the extra moisture won’t compromise the recipe’s integrity. Simply thaw the cubes as needed by allowing excess water to evaporate or adding them directly to your cooking pot. Alternatively, if you’re planning to use frozen herbs in stews, soups, or other recipes where oil would be a better choice than water, substitute the water with oil and let it thaw before using.
This method allows for more flexibility when incorporating frozen herbs into your culinary creations. Interestingly, pesto lovers can also freeze their favorite sauce by preparing it ahead of time and storing it in an airtight container in the freezer. Simply thaw it overnight and use as needed. In general, popular herbs suitable for freezing include Basil, Dill, Cilantro, Tarragon, and Oregano.
Herbal Butter
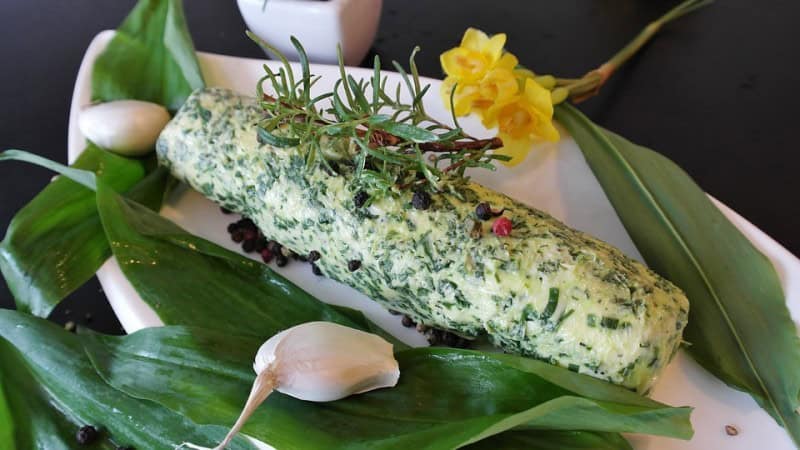
Creating flavored butters with herbs, vegetables, or fruit is an enjoyable process that allows for creativity and experimentation. A personal favorite of mine is strawberry mint butter. To make it, follow these simple steps:Start by combining your choice of ingredients (herbs, veggies, or fruit) with softened butter in a stand mixer. Mix the ingredients together until you achieve the desired consistency.
Once blended to your liking, shape the butter into your preferred form – I find that using a silicone mat helps me create neat and tidy sticks. For long-term preservation, cover the shaped butter well and store it in the freezer. If you plan to use it soon, you can keep it at room temperature. That’s it! The process is straightforward, and the end result is delicious. I personally love serving flavored butters on freshly baked hot rolls.
For a more comprehensive recipe, try searching for ‘compound butter’ – it’s another name for herb butter that yields great results.
Herb Infused Vinegar
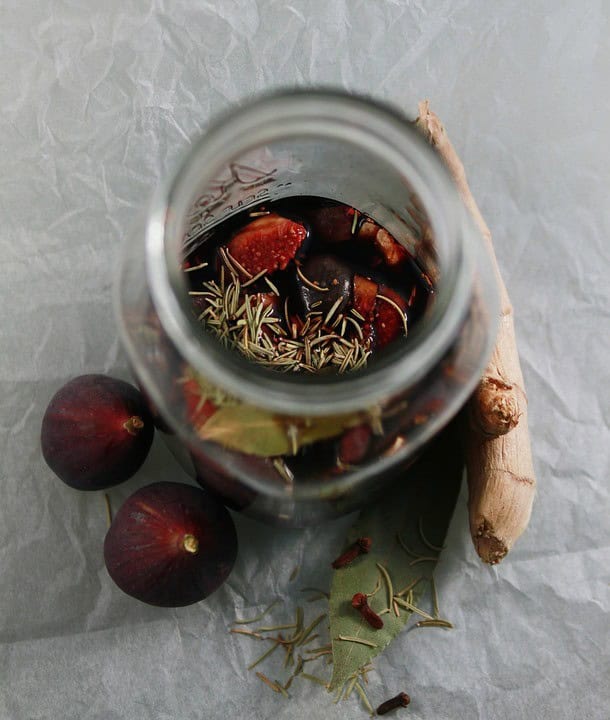
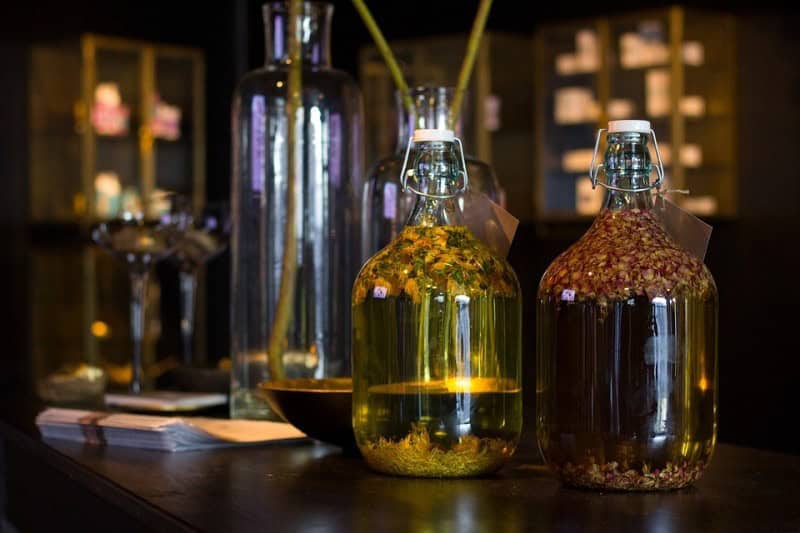
One of the most enjoyable aspects of preserving using this method is the ability to repurpose old bottles that hold sentimental value. However, it’s crucial to note that traditional metal lids won’t suffice due to the acidity of the vinegar, which can corrode them. Instead, opt for cork lids specifically designed for use with vinegar-based infusions.
I typically utilize white vinegar or apple cider as the base liquid, but this is another area where you can exercise creativity and experimentation. Some enthusiasts even employ white wine as a substitute, yielding intriguing flavor profiles.
Select your preferred herbs and combine approximately half a cup of them with two cups of the vinegar to achieve optimal flavor balance. Once you’ve assembled the infusion, seal the bottle with a cork lid and store it in a dark, dry environment.
The longer you allow the mixture to mature – up to six weeks – the more pronounced the herb flavors will become.
If you plan to store the infusions for an extended period, say upwards of six months, take additional measures to ensure their integrity. Coat your cork lid with beeswax and secure it firmly onto the bottle. Once the wax has hardened, apply additional coats until you’re satisfied that the seal is airtight.
These unique vinegar infusions make for thoughtful, personalized gifts for family and friends who appreciate cooking and entertaining.
Herb Oil
When it comes to preserving spices and using them creatively, I’ve found that making herb-flavored oils is a fantastic approach. One of my favorite ways to use these oils is as a salad dressing alternative. In fact, I have a bottle of homemade Italian dressing in the fridge right now, made using this very method. I also enjoy using it to flavor chicken dishes. The key to success lies in dehydrating the herbs until they’re completely dry before adding oil.
If you don’t, the water from the herbs can mix with the oils and cause them to go rancid. You can achieve this through air drying or oven dehydrating, which I’ll discuss in more detail later. Once your herbs are fully dried, simply combine them with oil using the same ratio as you would for vinegar (half cup dried herbs to two cups oil).
Another great aspect of making your own herbed oils is that you can reuse the beautiful bottles and corks you used for the vinegar, but feel free to skip the beeswax if you don’t want to. After finishing, I recommend storing your oils in the refrigerator to keep them fresh.
Dehydrating by Oven
When it comes time to dry herbs, some people prefer the warmth and aroma that an oven provides over a dedicated dehydrator. Perhaps you’re already familiar with using your oven for tasks like baking or roasting. Regardless of your motivation, here’s a step-by-step guide on how to achieve successful herb drying through the oven method:
Start by setting your oven to its lowest temperature setting (in my case, this is 170°F).
Next, spread out your herbs in a single layer on a cookie sheet.
Position the tray in the middle rack of the oven and let it sit for two to three hours.
After two, two-and-a-half, or three hours, check the herbs for doneness by gently touching them. They should be crispy to the touch when they’re fully dried.
Once dry, allow the herbs to cool before crumbling them if desired. Finally, transfer them to a container of your choice.
Make Different Extracts
I’m absolutely delighted by a particular process that involves many of my herbs, particularly mint. The spark for this endeavour was the realization that making your own vanilla extract is surprisingly straightforward and budget-friendly – simply combine vodka with vanilla beans in a jar, wait six weeks, and you’ll have a robust extract at your disposal. This epiphany led me to ponder: why not do the same with mint?
Last summer, I gave it a try by pouring vodka into a jar and adding fresh mint from my garden. Six weeks later, I was thrilled to discover that I had created a potent mint extract, which marked the beginning of this delightful journey. The added bonus of making these extracts is that you can combine them with simple sugar to create unique coffee syrups.
As an added touch, I like to present these as thoughtful gifts to my sisters during the holiday season – we’re all coffee aficionados, after all.
Conclusion
Herbs are a fantastic addition to any meal, offering a world of flavor with minimal upkeep required to get started and maintain their growth. Not only do they provide an abundance of culinary excitement, but I highly recommend them to anyone looking to elevate the taste of their dishes. By preserving your herb harvest, you’ll enjoy a constant supply of delicious flavors all year round, making it a worthwhile investment of time and effort.
With the added bonus of cost savings, it’s little wonder why herbs are a staple in many kitchens.
