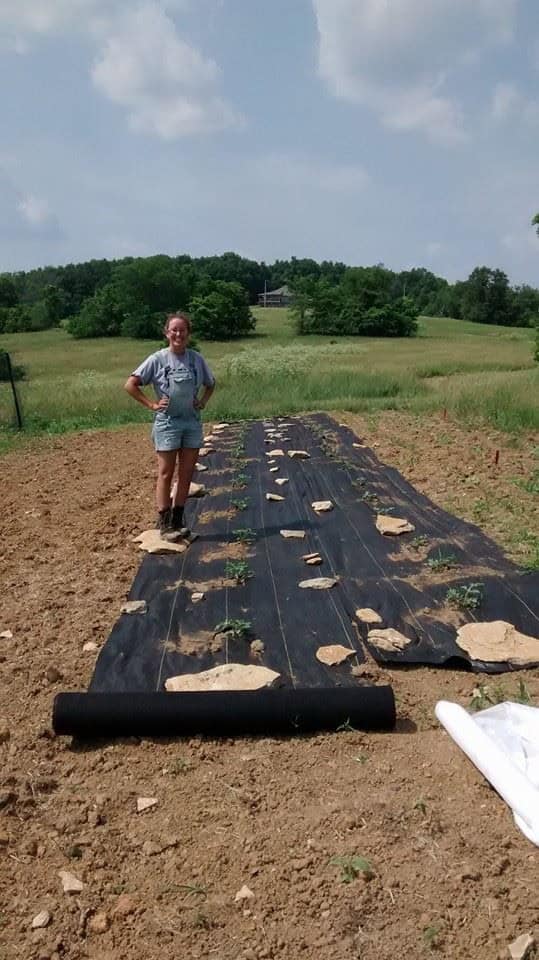
As you prepare to plant, it’s crucial to ensure your soil is ready for the task. A simple approach might be to just toss in some amendments and get planting, but the reality is that carefully preparing your garden soil is essential for a thriving garden. In fact, the quality of your soil has a direct impact on the health of your plants, which ultimately affects human well-being. The interconnectedness of it all is what makes gardening so captivating.
If your soil isn’t up to par, the entire ecosystem is compromised. Before you start digging, there are a few key steps to take to guarantee your soil is in top condition. By laying the groundwork, you’ll be able to focus on the fun part – planting! One of the primary goals for any garden is to build and maintain healthy topsoil, where plant roots thrive and nutrients abound. Below, we’ll outline 7 straightforward steps to transform your garden soil into a nutrient-rich haven.
Keep in mind that it’s essential to begin this process at least a month prior to planting, allowing time for adjustments and fine-tuning along the way.
Test the Soil
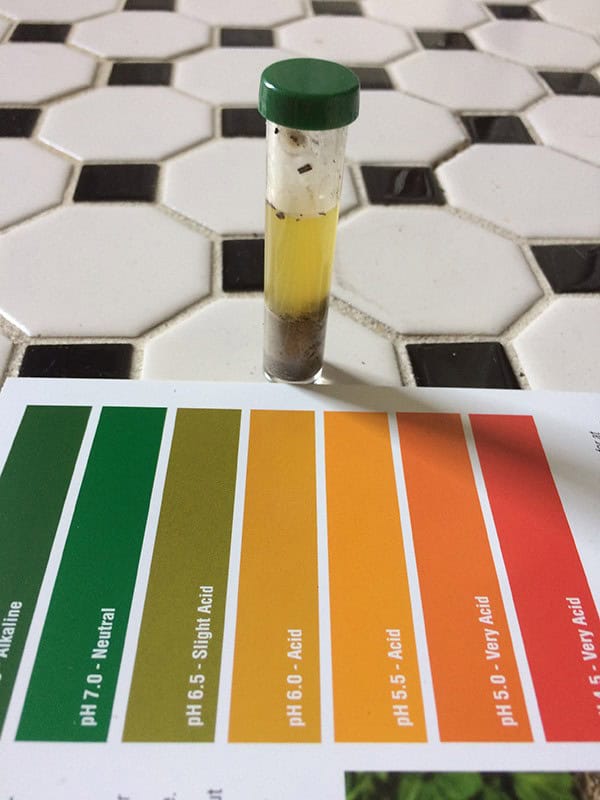
Before diving into any amendments, it’s essential to understand your soil’s composition. A simple yet effective way to do this is by conducting a soil test. This will provide valuable insights into what your soil lacks or has an excess of, allowing you to make informed adjustments. For a basic understanding, you can purchase an affordable soil testing kit from a local garden store.
However, keep in mind that these kits may not offer the same level of accuracy as laboratory tests or comprehensive reports provided by county extension offices. If you’re looking for more detailed information about your soil’s pH levels, nitrogen content, phosphorus levels, potash levels, and organic matter, consider reaching out to your local county extension office.
Many of them offer low-cost soil testing services that can provide you with a wealth of knowledge to guide your gardening decisions.
Add Compost
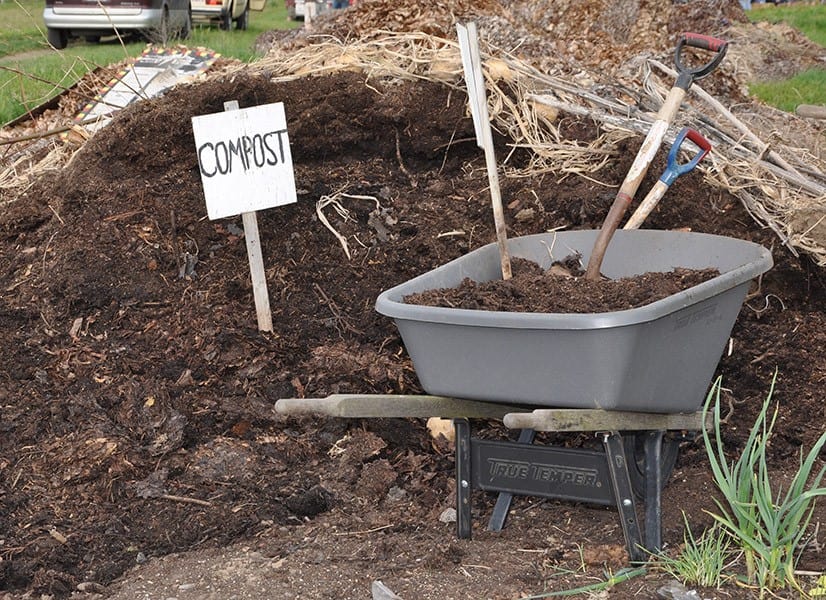
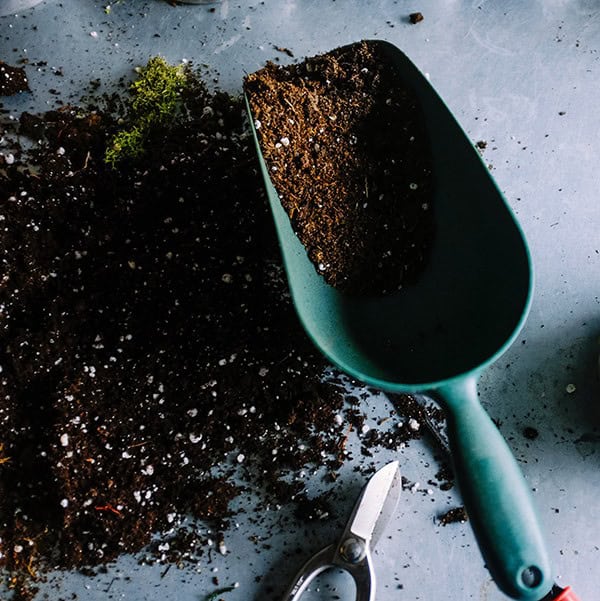
Composting is a long-term investment in your garden’s health, similar to saving money. To build this investment, add livestock manure, straw, grass clippings, and weeds to your compost pile. As your compost grows, it generates interest and yields dividends – that is, rich, dark soil that can condition your soil. Don’t worry if you’re just starting out; it’s never too late to start a composting area. If time or materials are constraints, consider purchasing compost from your local garden store.
For optimal results, I recommend combining the compost with peat moss for added texture. Once you have your compost, spread 2 inches of it evenly over the intended planting area.
Amend Problem Soils
When preparing your soil for planting, it’s essential to consider its texture and amend it if necessary. Different textures can affect the growth of roots and the overall health of your plants. For instance, clay soils tend to become waterlogged when wet, reducing airflow and making it difficult for roots to grow. To improve this type of soil, add a mix of coarse contractor’s sand, compost, and peat moss to create an airier, lighter texture.
On the other hand, sandy soils drain too quickly, causing nutrients to leech out. Here, adding several inches of compost and peat moss can help retain moisture and provide essential nutrients. If your soil is particularly sandy, you may also need to boost its nitrogen levels by adding sawdust. However, keep in mind that sawdust will absorb some existing nitrogen, so it’s crucial to balance this addition.
Silt soils, characterized by poor nutrient retention and drainage issues, can be improved with a combination of coarse contractor’s sand or pea gravel and plenty of compost. If you’re unsure what type of soil you have, simply collect a sample in a mason jar, shake it well, and observe the layers that form overnight. The sediment at the bottom will reveal your soil’s sandy nature, while the top layer will indicate clay content, and any silt-like middle layer will confirm its presence.
By identifying your soil type, you’ll be better equipped to make the necessary amendments for optimal plant growth.
Adjust pH
The time has come to utilize the insights from that soil test. The pH reading provides valuable information about the soil’s acidity and alkalinity levels, which is crucial for plant growth. Specifically, it indicates the availability of nutrients in the soil for your plants. Some vegetation is particularly finicky about the soil pH, making it essential to understand this factor.
For instance, if you’re planning to cultivate potatoes, you’ll want to ensure the soil has a slightly acidic pH range of 5.2-6.0. This is because potatoes thrive in these conditions and are more resistant to diseases like scab. If your soil tends towards higher pH levels, it’s essential to take corrective measures. You can do this by adding organic sulfur, which will help adjust the pH levels. Conversely, if your soil is naturally acidic, you may need to raise its pH level.
In this case, you can add limestone, wood ashes, or oyster shell lime to achieve the desired balance. When making these adjustments, it’s vital to consider the amount of amendment required and plan accordingly. A garden calculator can be a valuable resource in determining the optimal dosage for your specific needs.
Adjust Soil Nutrients
When your soil test results are analyzed, you’ll gain valuable insights into the levels of three crucial nutrients: nitrogen (N), phosphorus (P), and potassium (K). These numbers will often be listed as NPK on fertilizers and plant supplements. Nitrogen is vital for supporting plant growth and photosynthesis, while phosphorus plays a key role in promoting healthy flower and fruit production.
Potassium, meanwhile, helps plants develop robust root systems and boosts their natural defenses against diseases. To optimize your soil’s fertility, apply an appropriate fertilizer that addresses any identified nutrient deficiencies. For example, if your test reveals a lack of nitrogen, you’ll want to select a fertilizer with high nitrogen content to provide the necessary boost.
Till the Soil
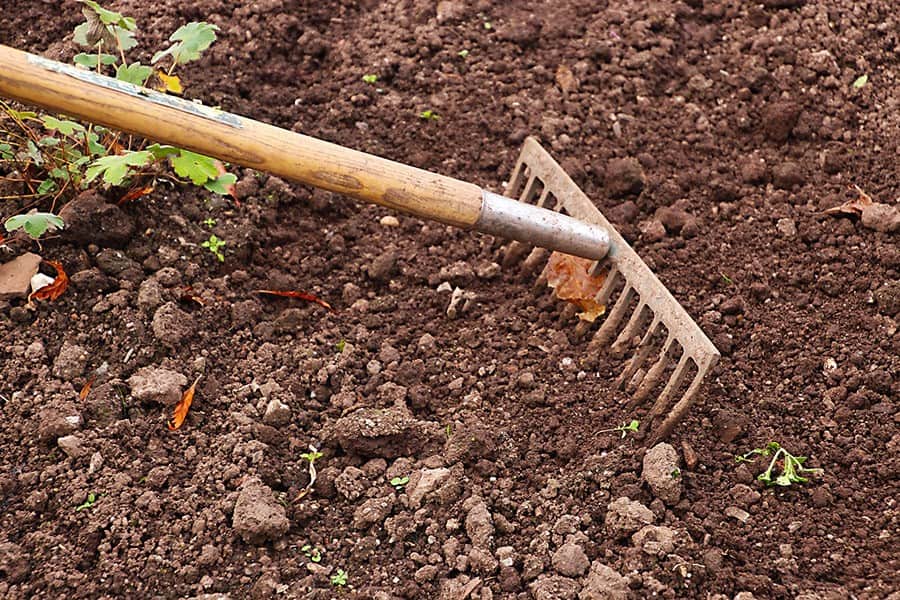
After a winter of rain, snow, and wind, your garden may appear worn out and compacted. The soil’s mushy state might be less than inviting. If you’re eager to start building up your garden soil, as I am, it’s crucial to wait for a dry day before turning the soil. This is because tilling when the soil is wet can actually make it more compact, making it challenging for seeds to germinate or transplants to establish themselves.
By waiting for the soil to thoroughly dry out, you’ll be able to break down any compacted areas and mix in compost, amendments, and fertilizer that you’ve applied on top. This process also increases soil aeration and facilitates better water drainage, ultimately promoting healthy plant growth.
When turning your soil, this is an excellent opportunity to remove larger rocks from the area. Use them to line pathways or create decorative accents in your gardens.
Rocks can be a valuable asset in the right placement.
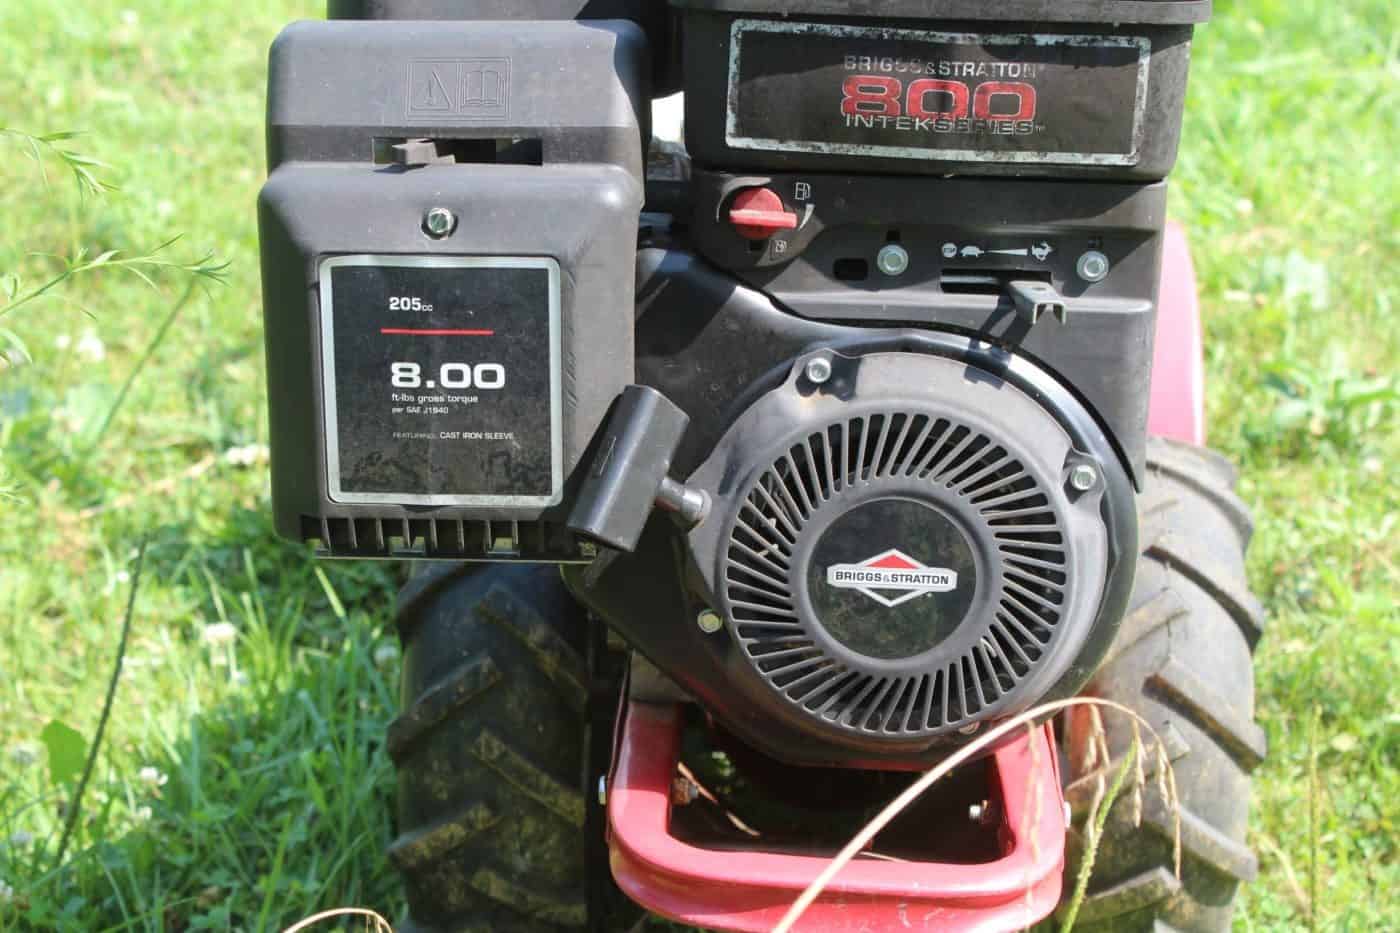
There are two primary methods for turning the soil: digging and forking, or using a tiller. Both approaches have their advantages and disadvantages.
Hand-tilled soil is less disruptive to the soil’s structure compared to machine-tilled soil. This manual approach not only saves on gas and oil but also allows you to develop a deeper connection with your garden, giving you a sense of accomplishment through physical labor.
However, if you have a large area, hand-tilling can be time-consuming and physically demanding. In such cases, using a tiller might be the more practical option.
Tillers come in various sizes and price points, offering flexibility in terms of purchase or rental options. When choosing a tiller, it’s essential to select one that is suitable for your garden size, as over-tilling can disrupt soil microorganisms.
Add Mulch
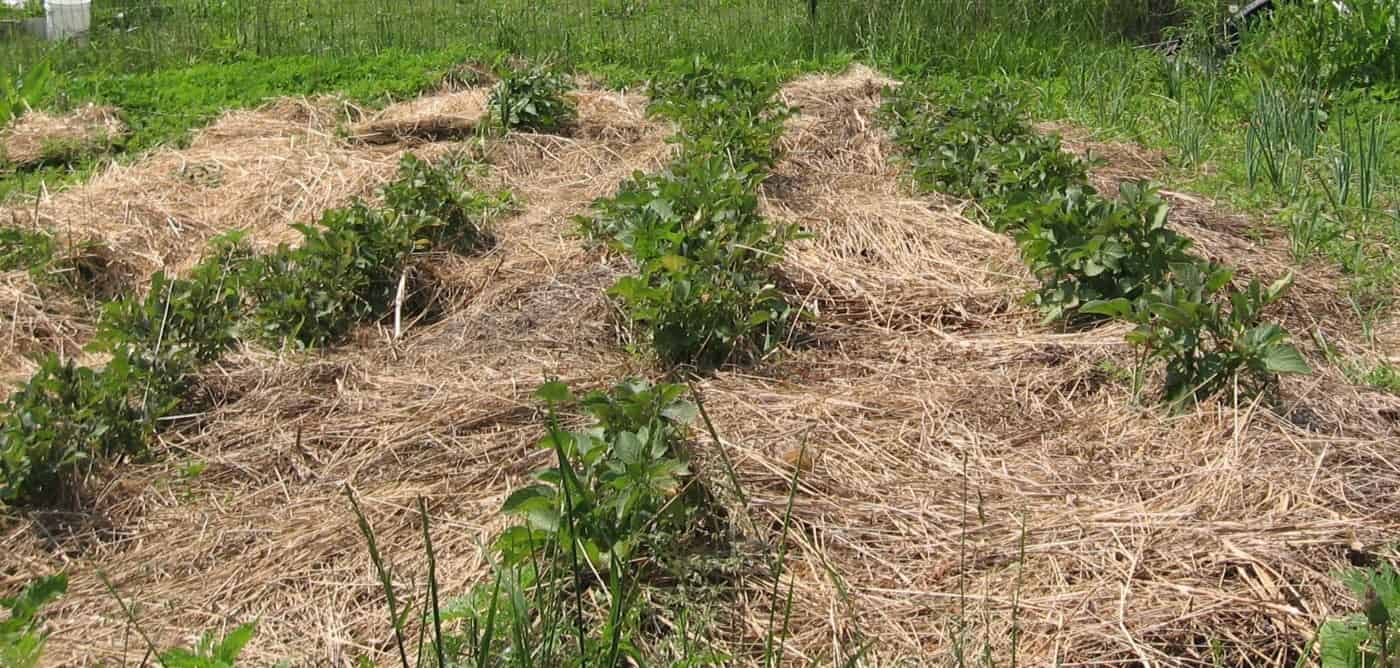
When preparing your garden bed, consider applying mulch beforehand to reap its benefits. Mulch acts as a barrier that prevents evaporation, shielding the soil’s nutrients and moisture. This also helps maintain optimal soil structure by preventing compaction and keeps weeds from germinating. To incorporate this layer of protection into your planting process, add a thin layer of your preferred mulch on top of the soil, ensuring it makes contact with the soil surface.
Planting for Garden Soil Health
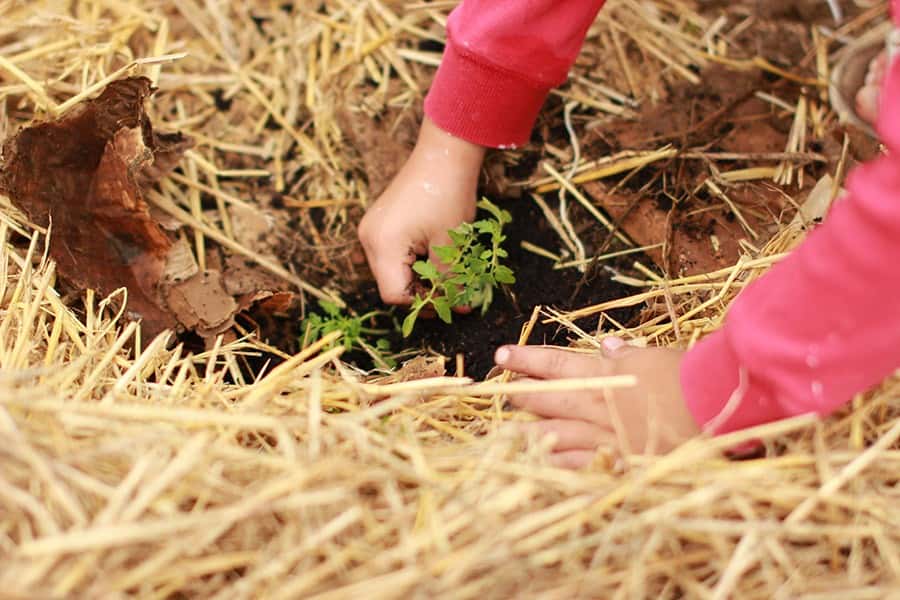
Now that you’ve invested time and effort into cultivating healthy, thriving soil, it’s essential to consider where you’ll place your plants to sustain their growth. A crucial step is crop rotation – avoid planting the same brassicas or tomatoes in the same spot year after year. This simple yet effective technique helps maintain soil health by preventing depletion of specific nutrients.
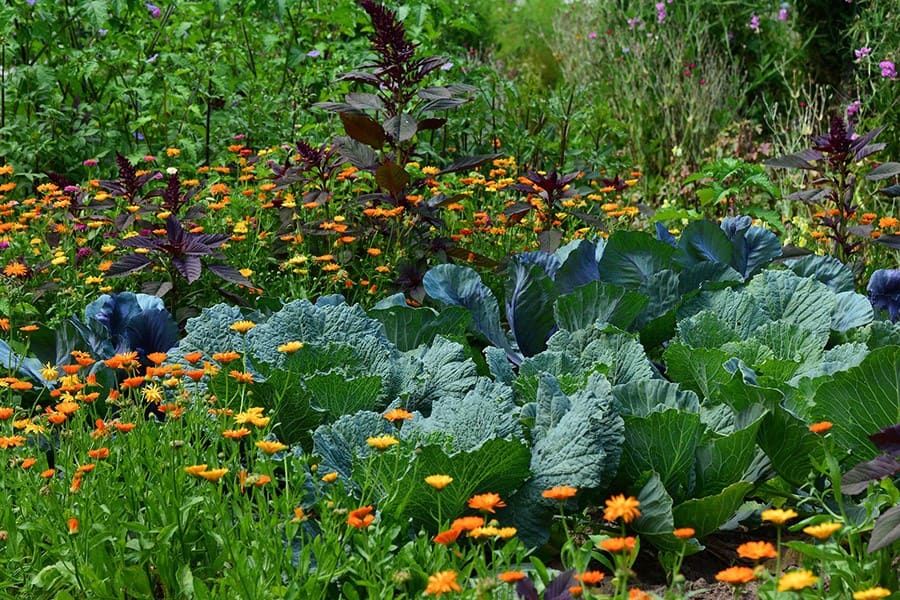
Another approach is to group plants that belong to the same family together, allowing you to tailor your soil amendments to meet their shared needs. For instance, pairing heavy-feeding crops like cabbages, broccoli, and kale enables you to provide the necessary nitrogen for these nutrient-hungry plants. By making these thoughtful decisions, you’ll be rewarded with a bounty of fresh produce and vibrant blooms.
