As a child, I was regaled with stories of my grandfather’s annual tradition of crafting elderberry wine. Although my dad was underage at the time, he vividly recalls his uncles and aunts boasting about its exceptional quality. The ritualistic opening of the first bottle each Thanksgiving was akin to uncorking champagne on New Year’s Eve – a moment that transformed the atmosphere from chaotic food preparation to a warm family celebration.
The adults would gather to fill their cups before even taking their first sip, and the room would be filled with laughter and camaraderie. My great-grandparents were pioneers of urban homesteading in the 1940s. They resided in a modest row house in Cincinnati, Ohio, and cultivated a small garden on their compact property. Despite having limited space, they made the most of it.
Today, as I embark on my own homesteading journey, I can appreciate why they would go to great lengths to grow elderberries – there’s much to cherish about these delectable, nutritious juice-making plants!
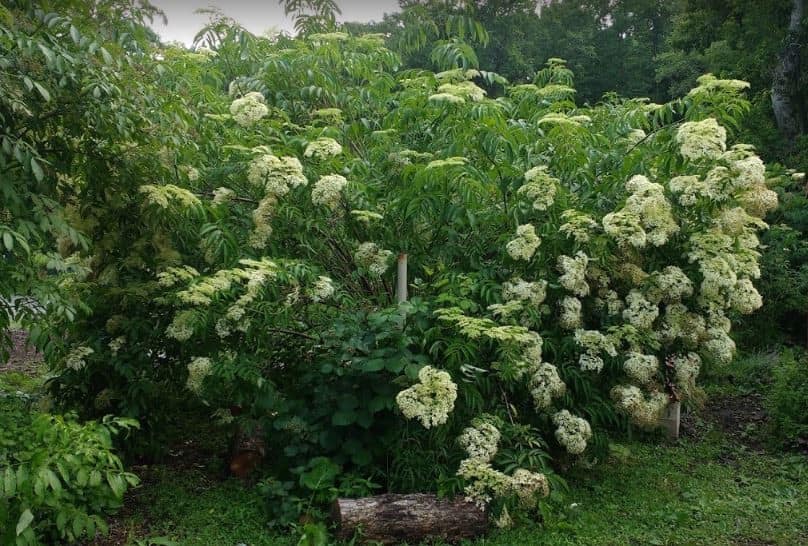
About the Elderberry Shrub
Elderberries exhibit remarkable adaptability, requiring only moderate moisture, decent drainage, and an organic boost to thrive. Their soil preferences are surprisingly broad, which explains why they often sprout up in unexpected places – think: country road ditches. As prolific self-seeders and side-sprouting propagators, elderberries can quickly become overgrown if not tended to.
While they’re capable of self-fertilization, their berry production truly flourishes when paired with a compatible pollenizer.
Elderberry Varieties
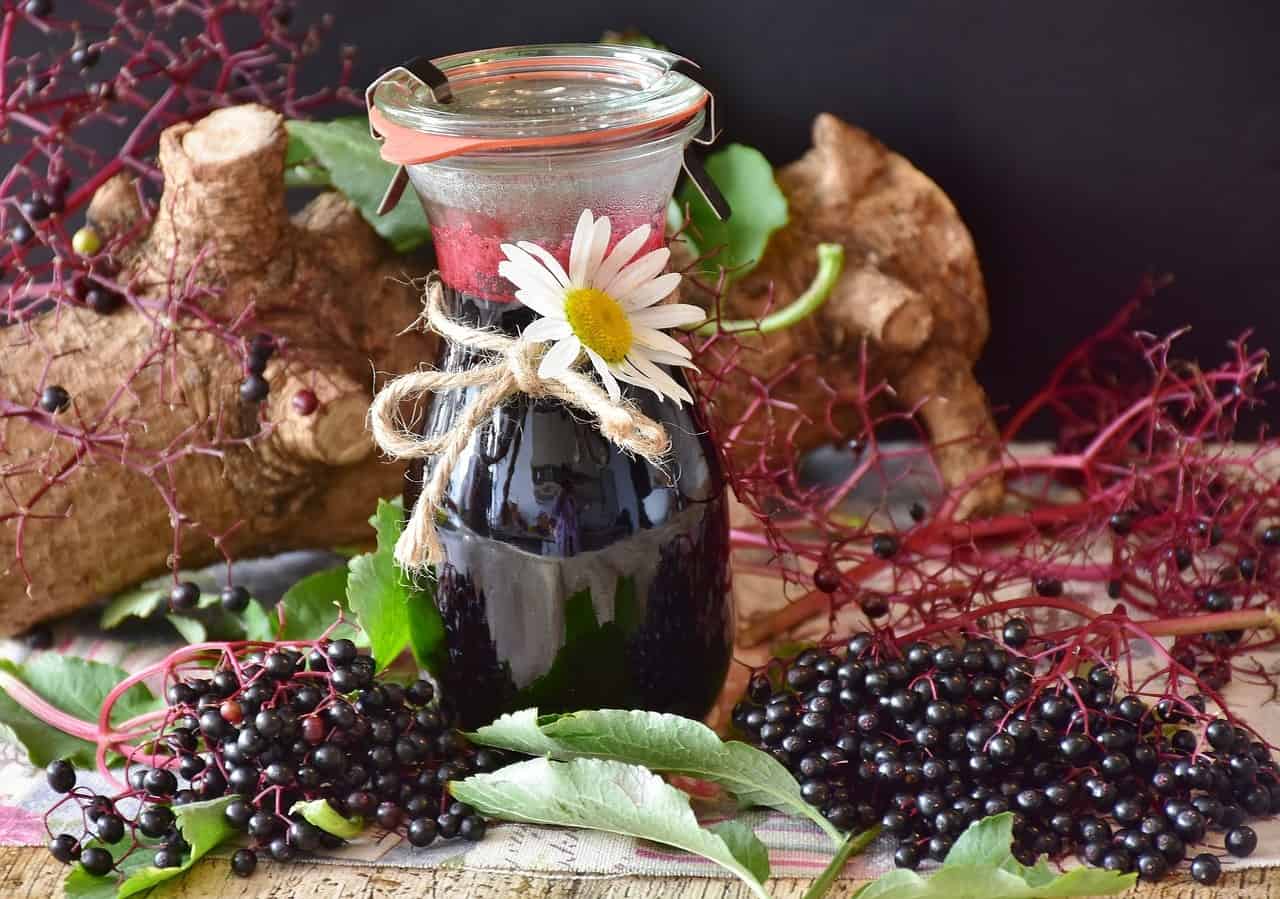
The edible varieties of elderberries, including the American elderberry (Sambucus canadensis) and European elderberry (Sambucus nigra), boast rich, dark purple berries and grow up to 20 feet in height. Notably, the red-berried variety (Sambucus racemosa) is not only a rare sight but also toxic, making it essential to identify the safe ones. The shrubs themselves have an almost tropical appearance, yet they thrive in USDA Zones 3 or 4, demonstrating remarkable hardiness and adaptability.
Elderberry Flowers
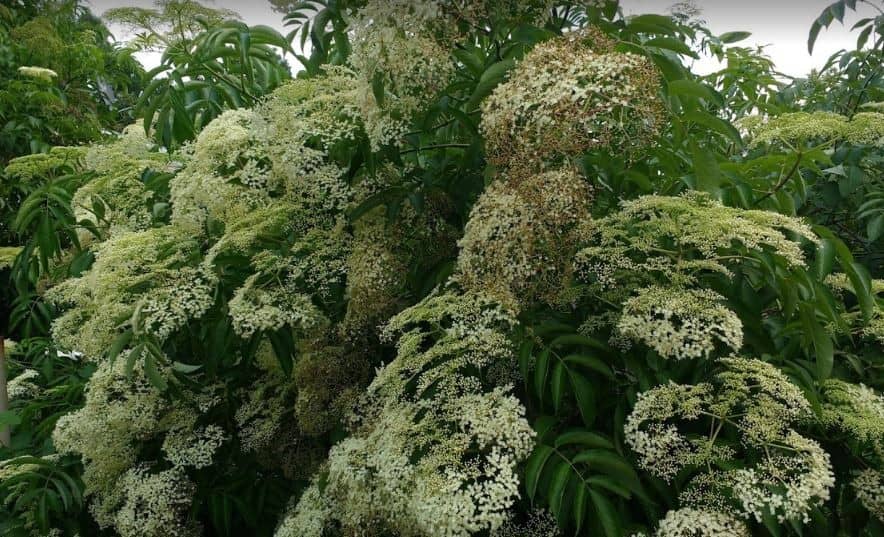
The spring season brings forth 8-10-inch umbel-like flower heads that resemble intricate laces with a subtle white to pink hue. Not only do these delicate blooms add visual charm, but they also possess a culinary appeal. The flowers are edible and have been utilized in the production of champagne and elderflower liquor. Additionally, some enthusiasts enjoy frying them up into crispy fritters or transforming them into sweet jam.
Elderberry Fruit
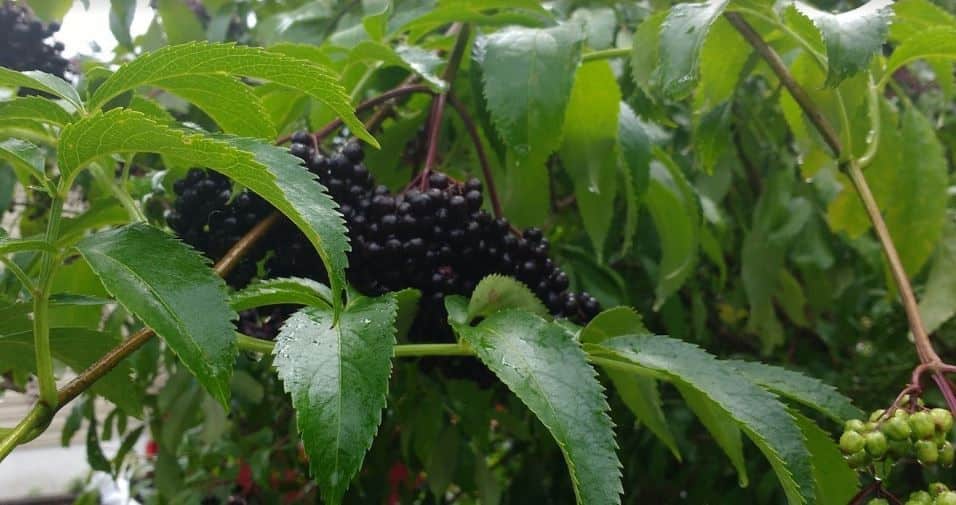
Elderberries, which ripen in summer, exhibit a remarkable range of sizes depending on the specific variety. While some fruits may be as small as coriander seeds, others can grow into plump blueberry-like clusters. When cultivated for optimal production, a healthy shrub can yield an impressive 12-15 pounds of fruit per plant. In my own experience, I’ve even harvested up to 20 pounds from certain elderberry plants, demonstrating the potential for bountiful yields with proper care.
Elderberry Wine
With our introduction to the elderberry shrub now out of the way, we can dive into the main event: making elderberry wine. In just a few simple steps, you’ll be able to harness the natural sweetness and flavor of these berries to create a unique and delicious drink.
Equipment
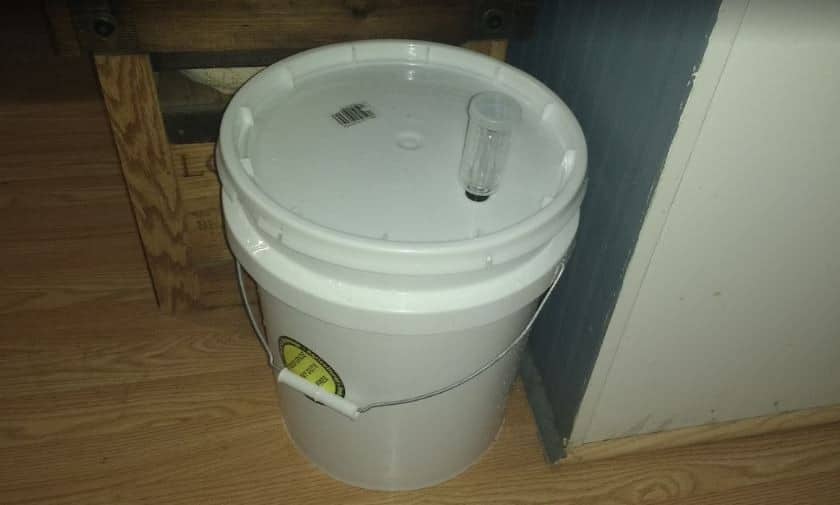
To get started with brewing beer, you’ll require some basic equipment. For harvesting and straining, you’ll need bowls or buckets, as well as a fine sieve or flour sack. A spoon is also necessary for mixing the ingredients together. Additionally, you’ll need a fermentation vessel – either a bucket or glass bottle – that’s paired with an airlock that fits properly to allow CO2 to escape while keeping contaminants out.
When it comes time to bottle your beer, you’ll need some recycled wine bottles and potentially a siphon or measuring cup to get the job done.
10 Steps to Making Elderberry Wine
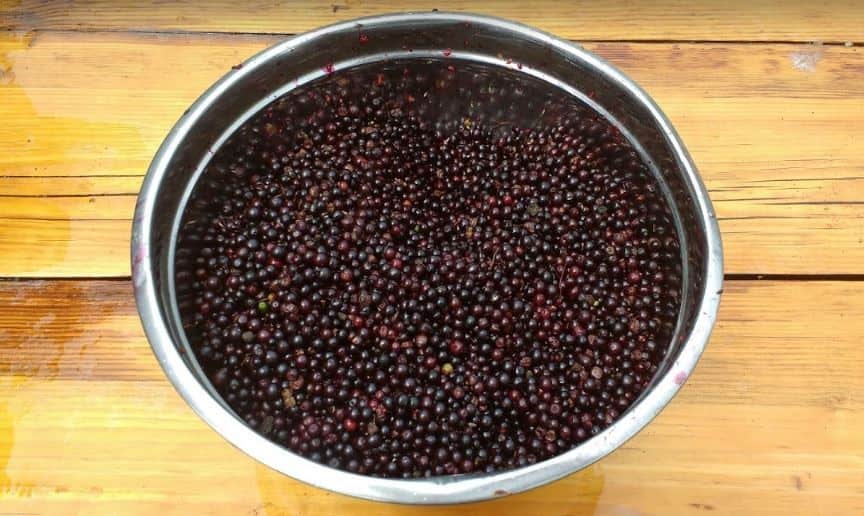
Step 1: Pick Fully Ripe Berry Clusters
As I’m merely a homesteader, not a food scientist or expert in safety protocols, my approach to harvesting elderberries is largely based on experience and common sense. While researching this topic, I stumbled upon some interesting facts about the potential risks associated with consuming unripe berries. It appears that immature elderberries may contain cyanidin glycoside, which can be problematic if ingested in large quantities.
To minimize any potential risks, I opt for harvesting clusters of berries that appear fully ripened and easily detachable from the stems with a gentle rub of my fingers. This approach seems to provide a reasonable balance between safety and accessibility.
Step 2: Remove Berries from Stems
To harvest ripe elderberries, gently grasp the stem and rub the berry head with your other hand. Ripe berries will effortlessly fall off into your collection vessel. Unripe berries tend to cling to the stem, so it’s best to leave them behind and move on to the next cluster. You can de-stem your berries as you pick or complete your harvest and then process the stems later. This method may lead to a minor mess, with berries flying off in unexpected directions.
When handling spent stems, be mindful that adding them to compost can result in accidental sprouting of new elderberry shrubs. To avoid this, consider leaving the stems on the ground beneath your shrub, where they’ll decompose naturally. This approach ensures a tidy disposal method for unripe berries and prevents any unwanted growth.
Step 3: Crush Berries
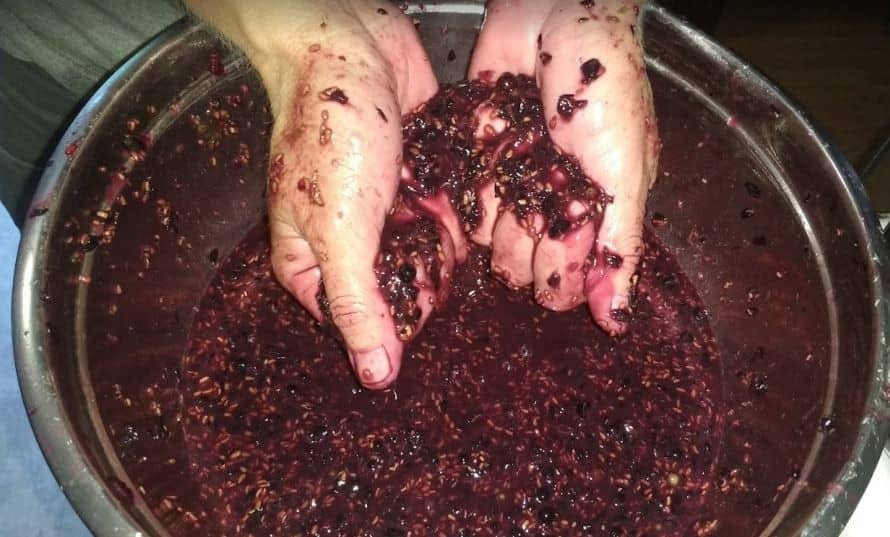
When dealing with these particular berries, skip the fruit press altogether! Instead, get up close and personal by crushing them manually. Take a handful and apply gentle yet firm pressure until the skins break down and the juice starts flowing. Continue this process until you’ve successfully extracted most of the berry’s essence.
I personally stick to using my bare hands just like my great-grandpa taught me, and it seems to have a beneficial effect on the berries’ texture for a few days afterwards. However, if you’re concerned about potential skin reactions due to sensitivity or other factors, consider donning gloves during this process to maintain your comfort level.
Step 4: Strain
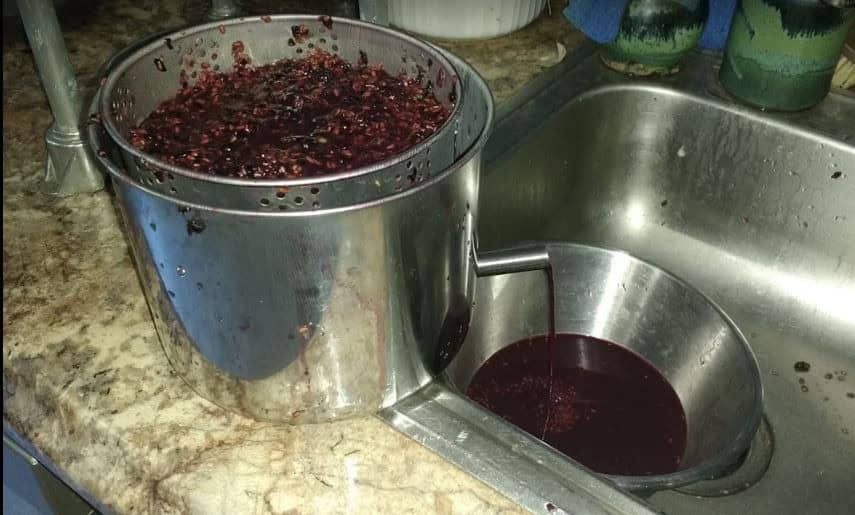
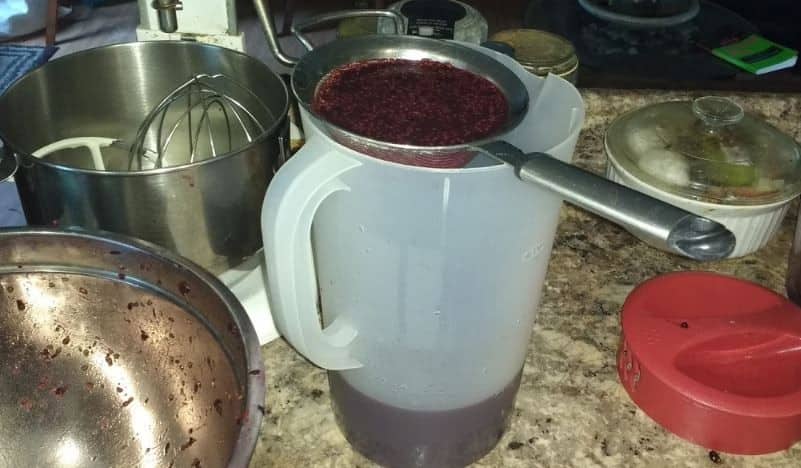
To achieve a clear final product, it’s essential to separate the skins and seeds from the juice using a fine-mesh sieve. I find that my fruit press is particularly effective at this stage, as it not only strains out many of the solids but also prevents any crushing or damage to the berries.
The resulting liquid can then be transferred to a fermentation bucket for further straining through a fine-mesh sieve, or alternatively, some individuals opt to utilize flour sacks for additional filtering purposes.
Step 5: Dilute
To achieve the perfect consistency for your elderberry wine, you’ll need to dilute the juice with water. A common approach is to use a ratio based on the original fruit weight, such as combining 4 pounds of fruit with 1 gallon of water. Alternatively, you can experiment with different dilution rates to find what works best for you. In my experience, a mix of 2 parts water to 1 part elderberry juice produces a smooth and balanced flavor.
For instance, if you start with 7 pounds of fruit, you’ll end up with about half a gallon of juice. Adding 2 gallons of water at this point will give you a total of 2.5 gallons of wine potential – a significant increase from the initial yield!
Step 6: Add Sugar
When it comes to making alcohol, a crucial factor is having sufficient Brix levels. In wine-making, Brix is a unit of measurement used to estimate the potential alcohol content in juices like elderberry. The resulting alcohol by volume (ABV) will generally be around half of the starting Brix. Elderberry, for instance, naturally has approximately 11 Brix, which translates to an ABV of about 5.5%. However, this can vary depending on fermentation processes and yeast types employed.
A baseline expectation is thus established. Most people prefer their wine to have a higher ABV, so aiming for a starting Brix of at least 20 is common practice. Furthermore, many elderberry recipes aim to create sweet wines rather than dry ones. To achieve this, significant quantities of ingredients that increase the Brix are typically included. Raising the Brix in juice is usually done by adding granulated sugar, although honey, sorghum, and tree syrups like maple or birch can also be used.
Sugar is often the most convenient and cost-effective option, as it doesn’t overpower the taste. To increase the Brix from 11 to a desired level of 25, for instance, you would need to add 14 times the original amount of sugar. Calculating this, adding 1.5-ounces of granulated sugar per gallon of juice will raise the Brix by one point. For a starting Brix of 11 and aiming for a target Brix of 25, you’d require 21-ounces of sugar per gallon. If you’re working with 2.
5-gallons of diluted juice, this would translate to approximately 3.3 pounds or 52.5-ounces of sugar.
Step 7: Choose Your Yeast
When crafting wine, a crucial aspect is determining the optimal amount of sugar to add, which is influenced by the type of yeast used. Yeast converts brix into alcohol as the juice transforms into wine, but eventually, the environment becomes toxic, killing the yeast. Distillers yeast can withstand higher levels of alcohol, tolerating up to 20% ABV before dying off, whereas wine yeast typically can handle up to 14-15% ABV.
Natural yeasts vary in tolerance levels, generally being lower than commercial varieties. To create natural yeast wine like my great-grandfather did, I aim for a brix of 25, which usually results in around 18-20 of that brix converting into 9-10% alcohol before the yeast dies off. The remaining brix, or sugar, will then contribute to the sweetness of the wine, known as residual sugar.
If you want to increase the alcohol content, consider using distillers or wine yeast instead, and adjust the amount of sugar accordingly. For instance, with distillers yeast, a starting brix of 43 could be used, with 40 brix converting to alcohol and 3 remaining as residual sugar. When working with commercial yeast, follow the manufacturer’s application instructions. In contrast, natural yeast requires no additional input, as it is already present on your fruit and in the air.
Step 8: Acidify (Optional)
While acidity is crucial in achieving a balanced wine, not all fruits inherently possess it (grapes being an exception). Elderberry, for instance, lacks this quality. To compensate, many home winemakers rely on external sources of acidity, such as citric acid, lemon juice, or more complex acids like malic and tartaric. These additives can elevate the flavor profile, adding depth and lightness to the wine.
However, it’s essential to note that over-acidification can lead to an increased risk of vinegar formation when using natural yeasts. Despite this potential drawback, many still opt for acidification. The ideal ratio typically ranges from about a lemon and a half, squeezed, or half a teaspoon of citric acid per gallon of water used to dilute the juice. For alternative acids, research is necessary to determine suitable quantities.
Step 9: Ferment
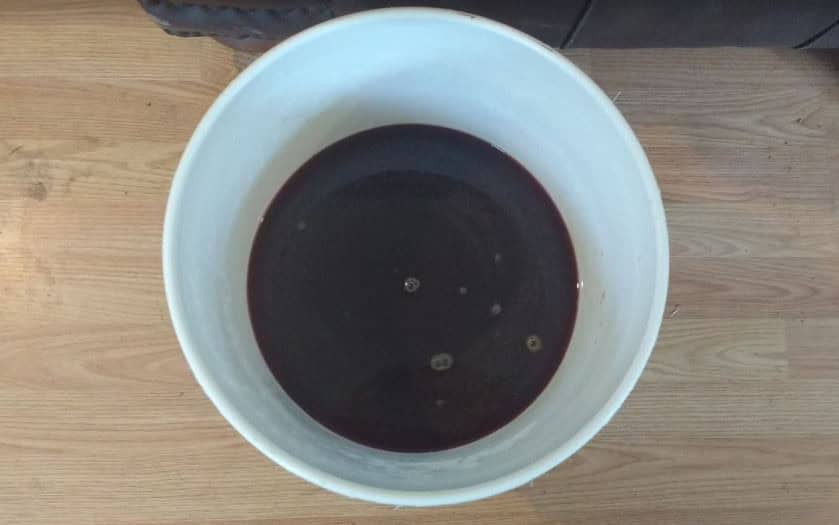
To craft a fine wine from fermented juice, establishing a hospitable environment for yeast is crucial. A simple and cost-effective approach involves utilizing a fermentation bucket or glass container with an airlock. Place the mixture in the vessel, secure the lid, and introduce water to the airlock. Position your setup in a warm location (around 21-27°C) shielded from direct sunlight.
Within a few hours, you should begin observing bubbles of carbon dioxide escaping through the airlock, indicating fermentation has commenced.
It’s essential to monitor recipes’ recommendations for specific yeast types and brix levels. Typically, natural yeast requires six months to complete fermentation. However, when utilizing wine or distiller’s yeast with high brix, the process may take up to 12 months.
Don’t forget to periodically inspect the water in your airlock to ensure it hasn’t evaporated.
Step 10: Bottle and Age
Once fermentation is complete, it’s time to bottle and age your wine. Start by sanitizing all equipment and bottles using a solution of one gallon of water to one tablespoon of bleach or a purchased sanitizing powder. This ensures a clean environment for your wine. Use new or disinfected plastic corks to seal the bottles. If you have a siphon, utilize it to transfer the liquid from the fermentation vessel to the wine bottles.
Alternatively, use a measuring cup to carefully pour the wine into the bottles, taking care not to disturb any sediment that has settled at the bottom of the fermentation vessel. To store your bottled wine, place them on their sides in a wine rack if you have one. Periodically turn the bottles to ensure even aging. The aging process typically takes around six months for natural yeast wines and 1-2 years for those using wine or distiller yeast.
While I haven’t personally aged my elderberry wine for an extended period, others report that this results in a port-like flavor.
Notes on Sampling and Sharing
As I guide the fermentation process, I take two crucial steps. First, I sample some of the wine roughly halfway through fermentation to gauge its progress. Second, I taste again when bottling is complete, ensuring everything meets my expectations. Additionally, I like to ‘pop the cork’ after just a few months of aging to monitor how well it’s evolving.
If you’re looking to create a treasured family tradition, similar to what my great-grandfather did, why not make this year’s batch and reserve your first bottle for next year’s festive gatherings, perhaps during Thanksgiving or Christmas celebrations?
Note on Cyanidin Glycoside
When crafting elderberry wine, some enthusiasts take an extra precautionary step: boiling their juice before fermentation. This process aims to reduce the risk of toxicity from cyanidin glycoside, which can occur when unripe berries are used or the ripeness is uncertain. If you’re new to this process, it’s a good idea to research and consider this step, especially if you’re unsure about the quality of your harvested berries.
To boil the juice, simply bring it to a rolling boil, then simmer for 10 minutes before allowing it to cool. After cooling, you can dilute the liquid with water and proceed with your recipe as usual. Keep in mind that boiling may inadvertently kill off any natural yeast present in the mixture, making it more practical to use purchased yeast instead.
This method is just one of many approaches to creating a successful elderberry wine, and understanding its nuances will help you make an informed decision about whether or not to incorporate it into your own process.
A World Of Wine Possibilities
While the Elderberry Wine recipe is what sparked our conversation, I’m confident that the information and methods shared will prove valuable for creating fruit wines with a wide range of fruits. The dilution rate may vary depending on the flavor intensity and texture of the juice you start with – as long as the initial taste is pleasant, there’s a good chance the finished wine will be too!
Once you’ve optimized your dilution, it’s time to move on to more specific considerations like determining the starting Brix, selecting the right yeast, and following through with the fermentation process. With practice, you may need to fine-tune your approach to create wines that meet your personal taste preferences. But don’t worry – this is a great excuse to indulge in some self-guided wine tastings on your own homestead!
