While many of us appreciate worms for their role in maintaining a healthy garden or serving as a fisherman’s trusted companion, there’s another aspect of these slimy creatures that deserves attention. Vermicomposting, the process of using worms to break down organic waste, is a highly effective and cost-efficient way to create nutrient-rich fertilizer. As worms continuously consume and excrete, they introduce oxygen into even the densest materials, speeding up the decomposition process.
In this article, we’ll delve into the world of vermicomposting and explore how you can tap into the power of worms to create a superior composting experience.
What Is Vermicomposting?
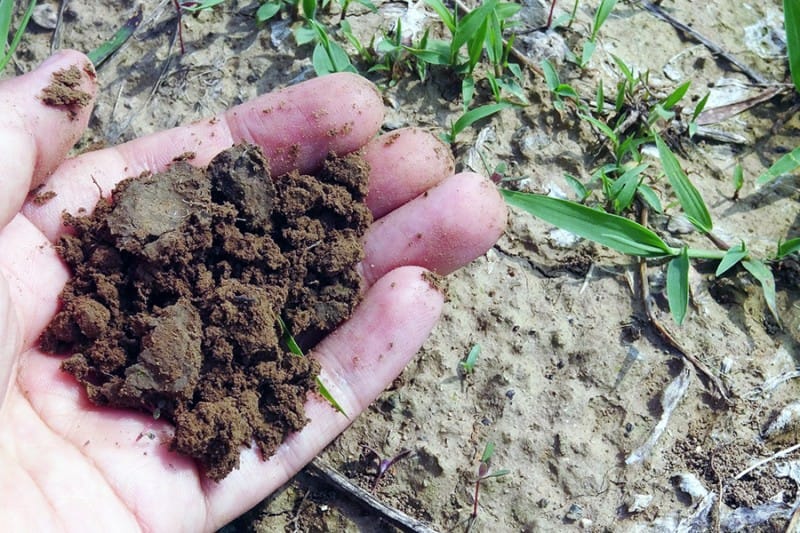
Worms have garnered attention beyond their traditional uses in fishing and soil aeration, with vermiculture – the art of raising worms – gaining popularity. Vermiculture is the practice of housing worms to produce dark, nutrient-rich castings, or worm castings. These valuable humus byproducts serve as an excellent source of nutrients for gardens. While composting often comes to mind when thinking about nutrient-rich soil, worm castings are a game-changer.
Raising worms for compost is an accessible process that yields impressive results at a fraction of the cost of commercial additives. Moreover, this method eliminates the need for chemicals, making it an attractive option for environmentally conscious gardeners.
Why Raise Worms?
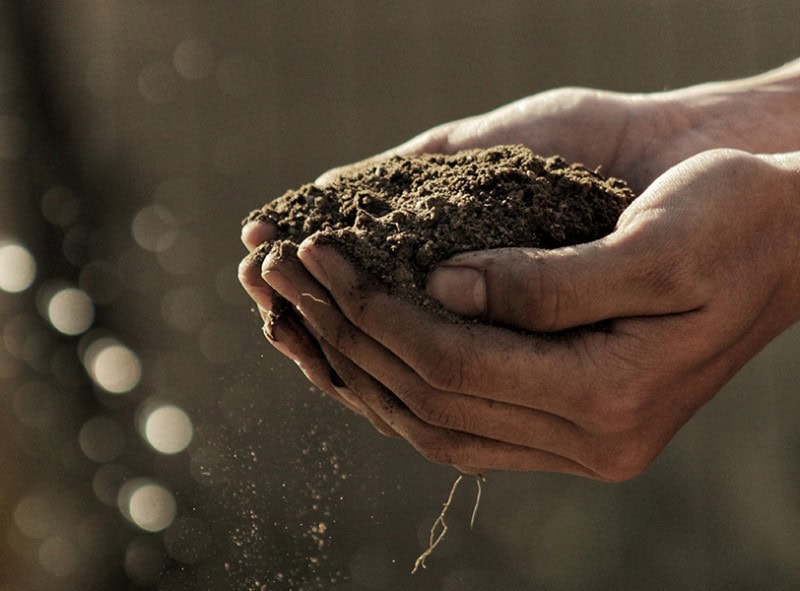
Raising worms is an uncomplicated process that yields a valuable byproduct: vermicompost. This natural blend of worm castings, humus, and decomposing organic matter is rich in nutrients and serves as an excellent organic fertilizer or soil amendment. When added to the earth, worm castings play a crucial role in retaining moisture while introducing beneficial microbes, ultimately enhancing the texture and composition of your soil.
How to Get Started
What Type of Housing Do Your Worms Need?
When it comes to housing your worm composting setup, you have the option to purchase a fancy vermicomposting bin or create your own solution. Regardless of which path you choose, it’s essential to consider the needs of your worms and the volume of food waste you plan to feed them. A good rule of thumb is to opt for a shallow container that provides ample space for your worms to roam and eat.
This is because red wiggler worms, in particular, tend to thrive in surface-level environments where they can easily access their food sources. In terms of air flow, it’s crucial to ensure that your worm housing allows for sufficient ventilation. A wider, shallow box is often a better choice than a tall, layered one, as this will help keep the environment well-ventilated and promote healthy worm activity. On the other hand, earthworms may prefer deeper environments where they can burrow and dig.
When selecting materials for your worm housing, it’s best to steer clear of metal containers that can become too hot or release harmful chemicals. Similarly, avoid using Styrofoam bins, which can leach chemicals into the environment. Some woods, such as cedarwood, may also contain oils that are toxic to worms, so be sure to choose a safe and worm-friendly option. It’s also important to ensure that your housing has not been treated with pesticides, as these can be deadly to your worms.
Once you’ve set up your worm composting system, you’ll need to consider how to keep your worms comfortable throughout the year. During the warmer months, it’s possible to keep them outdoors, but in cooler seasons, a heated area will be necessary to maintain optimal temperatures. In the winter, you can even raise your worms in a kitchen, garage, or basement, as they tend to thrive in temperatures between 60 and 80 degrees Fahrenheit.
Step One: Make A Simple Worm Bin
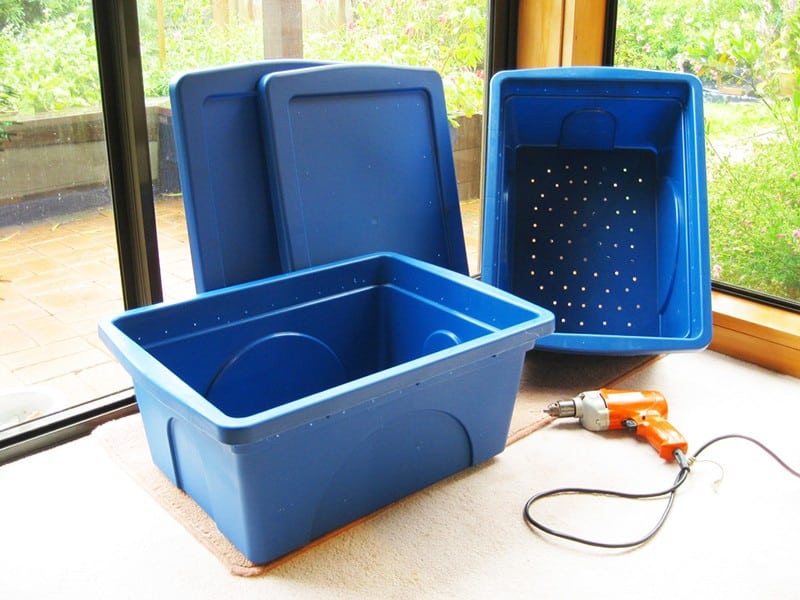
To establish a thriving vermiculture composting system, start by providing a suitable habitat for your worms. You can acquire a plastic bin measuring approximately 2-foot by 2-foot by 8-inch in diameter. Ensure that the bin has adequate ventilation by drilling numerous holes in the top and sides. If you opt for a deeper bin, be mindful to increase the number of side holes to facilitate air circulation. Additionally, don’t forget to create drainage holes at the bottom.
When setting up your worm bin, place it on a raised platform made of scrap wood or blocks, accompanied by a tray underneath. Position the bin in a warm, shaded area that’s away from direct sunlight. Suitable locations include a garden bed, beneath a kitchen sink, or on a shelf in a basement. Just be sure to keep it out of reach from your family cat, as you wouldn’t want any unwanted contaminants in your worm compost.
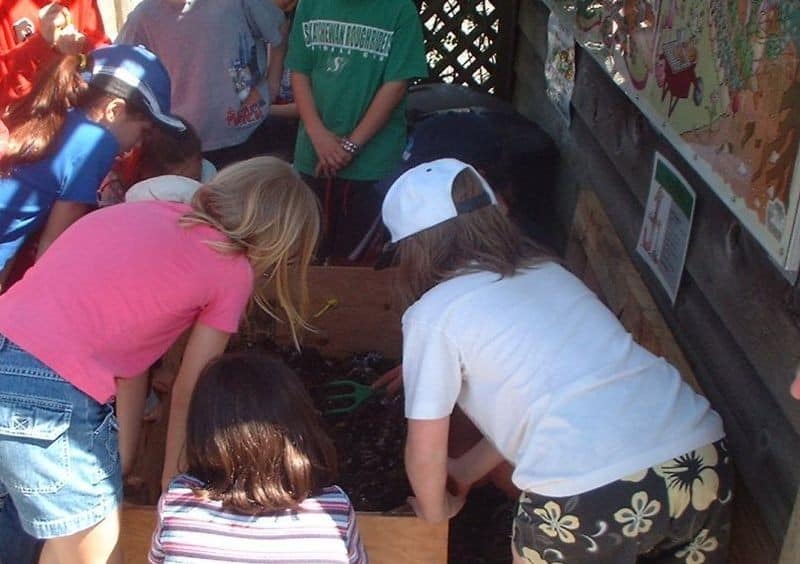
For families with young children, vermicomposting offers a fantastic learning experience. A clear plastic bin can be an excellent choice, allowing kids to observe their worms at work over time. The transparent bin enables them to visualize the layers of soil and witness how the worms break down food and castings into nutrient-rich fertilizer.
Step Two: Vermiculture Bedding
When it comes to creating a cozy home for your worms, you’re in luck – they’re not picky eaters! You can use a variety of bedding options, such as shredded newspapers, ripped cardboard, leaves, and compost. Worms naturally thrive in leaf mold, manure, and other compost-rich materials. The key is to maintain a moist but never wet environment, with light and fluffy bedding that allows the worms to move around freely.
A small amount of peat moss can help regulate moisture levels, though it’s slightly acidic. For added moisture control, consider using aged manure or dry goat or rabbit manure. Avoid fresh horse, cow, or chicken manure, as it can generate too much heat and harm your worms. Fresh straw or shavings from the stall should also be avoided, as they introduce excess moisture and ammonia. For a 2-foot square container, aim for two-thirds bedding coverage.
Use about 2-4 pounds of bedding material, depending on the depth of your bin. Add two inches of water to the bottom of your housing unit, allowing the bedding time to absorb it. Aim for a damp environment that’s neither too wet nor dry, adjusting as needed by pouring out excess water or adding more dry materials.
Step Three: What Type of Worms are Best for Vermiculture?
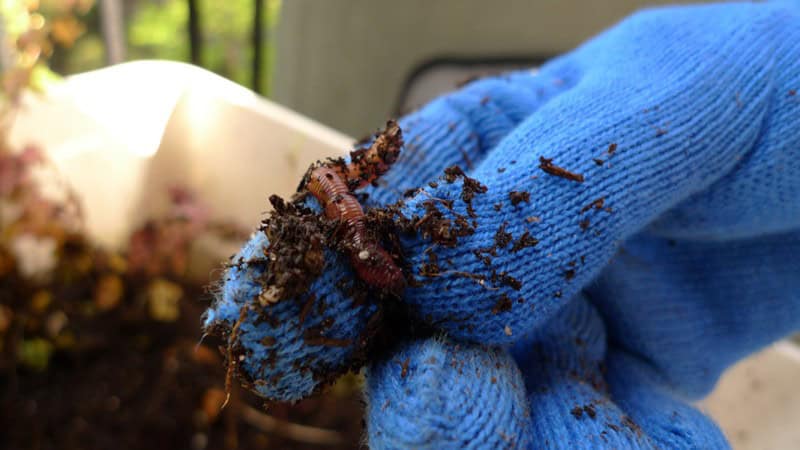
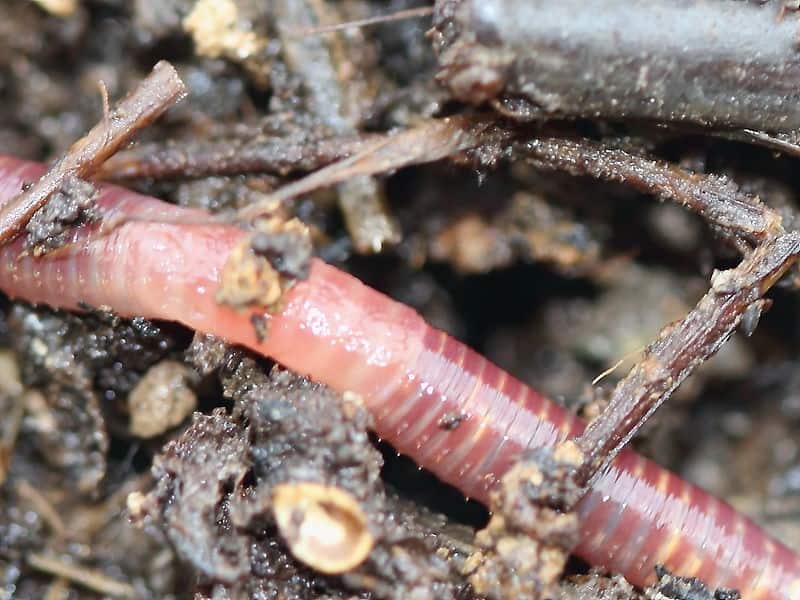
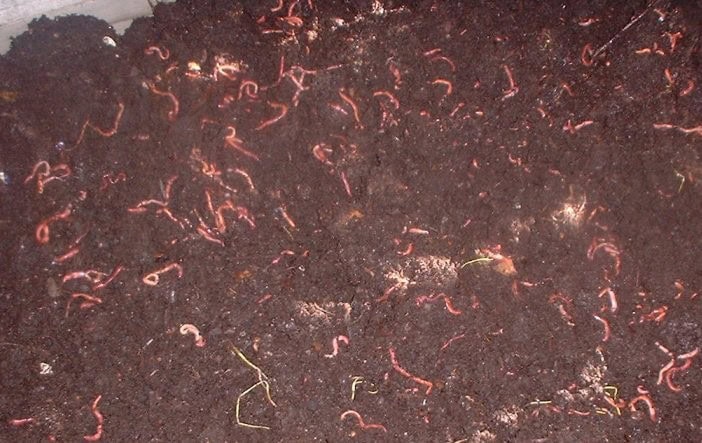
When selecting worms for your composting endeavors, red wigglers (Eisenia foetida or Eisenia andrei) are the most widely used and recommended varieties. These versatile worms are readily available online or at local bait shops, making it easy to get started. One of their key benefits is their ability to reproduce quickly in captivity, allowing you to establish a thriving colony from a single initial batch.
A thousand worms, equivalent to about one pound, provides an ideal starting point for your composting bin. Red wigglers are also known for their impressive work ethic, requiring a 2:1 worm-to-garbage ratio. For example, if you begin with a one-pound initial population, you can expect to feed them approximately half a pound of organic matter daily.
Step Four: What To Feed Your Worms
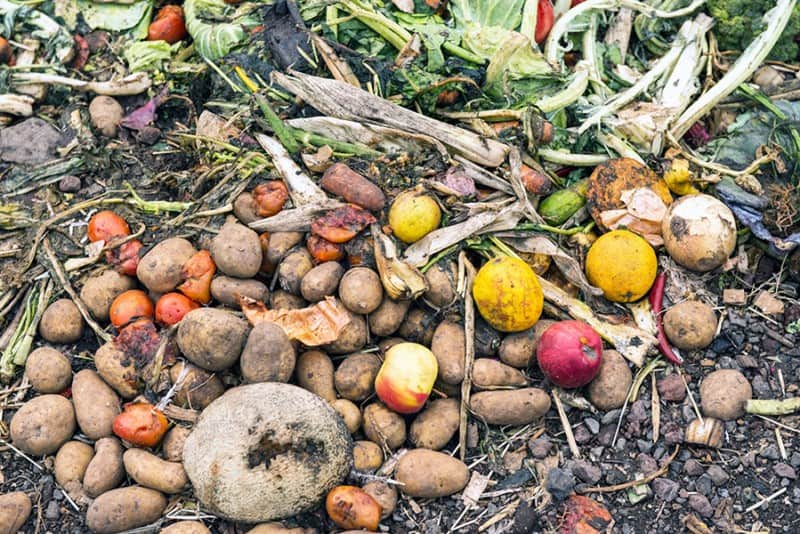
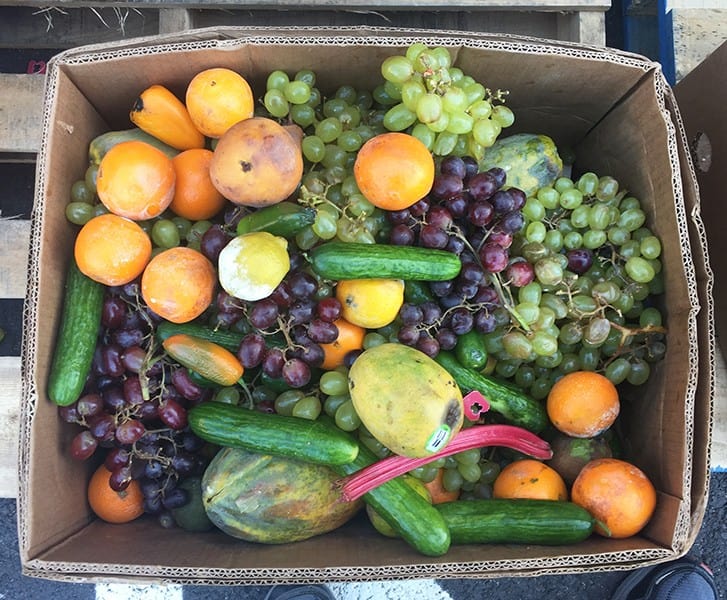
When it comes to feeding your vermicomposting worms, a diverse diet is key. Chopped fruits and vegetables are always a hit, along with coffee grounds, tea bags, and eggshells. Most grains and bread can also be incorporated into their meal plan. A simple way to provide for your worms’ nutritional needs is to utilize the trimmings from your family’s salad preparation. Worms will eagerly consume the outer leaves of lettuce, carrot peels, and apple cores, making them a great addition to their diet.
To add these foods, simply sprinkle them on top of the bedding material and then cover lightly with soil. Begin by offering small amounts and gradually increase the quantity as you notice it being consumed, ensuring your worms are always well-fed.
What Not To Feed Your Worms
When it comes to vermicomposting, it’s essential to remember that worms have a unique digestive system that makes them less than ideal consumers of meats and fats. These types of organic matter can start to break down and emit unpleasant odors, which can be detrimental if you’re composting in the comfort of your own home. As such, it’s crucial to avoid adding any non-biodegradable materials like plastic or Styrofoam to your compost pile.
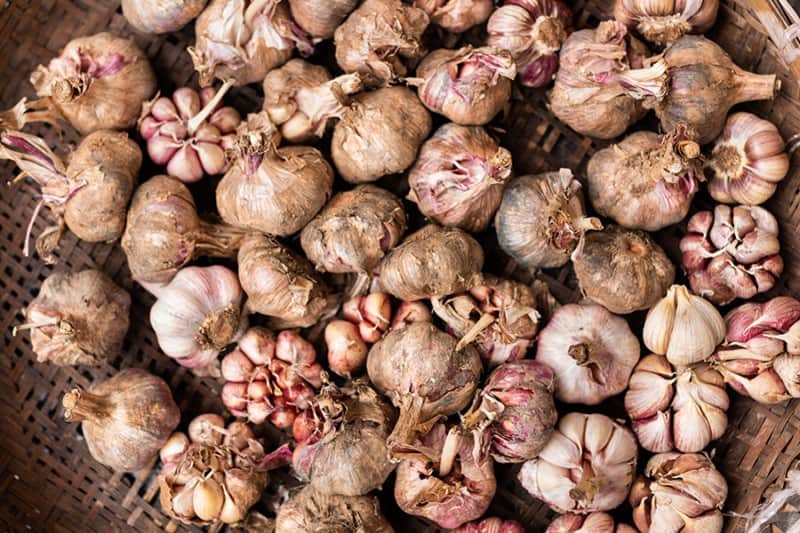
Similarly, garlic and onions are not easily digestible by worms, so it’s best to exclude them from your vermicomposting routine as well.
Step Five: Caring For Your Worms
Worms make for excellent pets due to their low-maintenance needs. To keep them happy, it’s crucial to provide an environment that strikes the right balance between air circulation and moisture levels. A well-balanced vermicomposting setup will typically be odor-free or have a minimal scent. However, if your worm bin starts to smell, it may be due to excessive dampness. In this case, introducing some dry bedding can help mitigate the issue.
Shredded newspaper and peat moss are both effective solutions. After making these adjustments, give the worms a few days to adjust before adding any new materials. This allows them to catch up with their available resources and maintain a healthy environment.
Step Six: Harvesting Your Vermicompost
Harvesting the rewards of your vermicomposting efforts is a crucial step in maintaining a healthy and thriving worm farm. Every four months, you can reap what you’ve sown by removing the worms from their bin and transferring the compost to a bucket or large plastic bag. To make this process more efficient, consider enlisting the help of your young children – they might find it an entertaining activity!
To streamline the separation process, cover a table with a large sheet of plastic or vinyl tablecloth. Gently tip the worm bin onto the plastic, allowing you to shape the worms and compost into a mountain-like formation. Next, shine a bright light with a 100-watt bulb onto the top of the mountain, taking a five-minute break while the worms naturally migrate down in search of darkness.
During your brief respite, the worms will have scurried away from the light, making it safe to scrape away the top layer of compost. As you do this, be sure to inspect for any stray worms that may have remained behind. Repeat this process until you’ve successfully separated the worms from their composted bounty. Once complete, you’ll be left with a bowl of worms and a bucket of vermicompost – a valuable byproduct that can be used in your garden or as fertilizer.
If you’re keen to measure your breeding success, consider weighing your worms to track any gains or losses over time. Finally, replenish the bedding in your worm farm, reintroduce the worms, and begin the cycle anew.
How to Use Your Vermicompost
When transplanting seedlings, I like to incorporate a small amount of vermicompost into the soil. This natural fertilizer is gentle on young plants and can also be used as a side dressing for rows of seedlings. Vermicomposting offers similar benefits when it comes to houseplants – simply top dress your plants or add a few handfuls when repotting them.
A well-established vermicomposting system provides an endless supply of nutrient-rich fertilizer, making it a reliable solution for maintaining the health of your plants. Additionally, this method is ideal for indoor composting, as worms thrive in warm environments and it’s convenient to dispose of kitchen scraps in one place.
