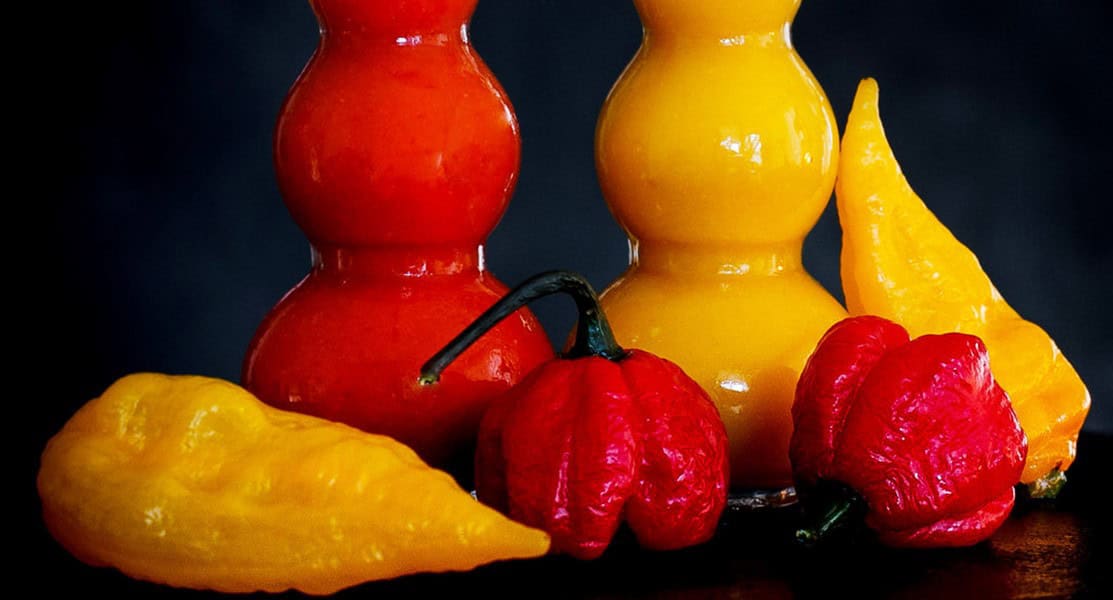
Growing chili peppers in my garden is a labor of love, yielding a bountiful harvest that’s both practical and flavorful. A few well-tended plants can supply me with an ample crop of fresh veggies, with plenty left over to preserve, freeze, share, or sell. The process is made easier by the fact that chilies thrive in similar conditions to their tomato cousins, requiring only a dash of sunlight and moderate watering.
Pepper Varieties
While it’s impossible to cover every single chili pepper variety in one go, we’ve curated a list of the most prevalent ones that deserve attention. One crucial aspect to consider is the Scoville heat unit rating, which measures the pungency level of each pepper. The higher the number, the more intense the burning sensation, so be prepared for a spicy adventure!
Bird’s Eye
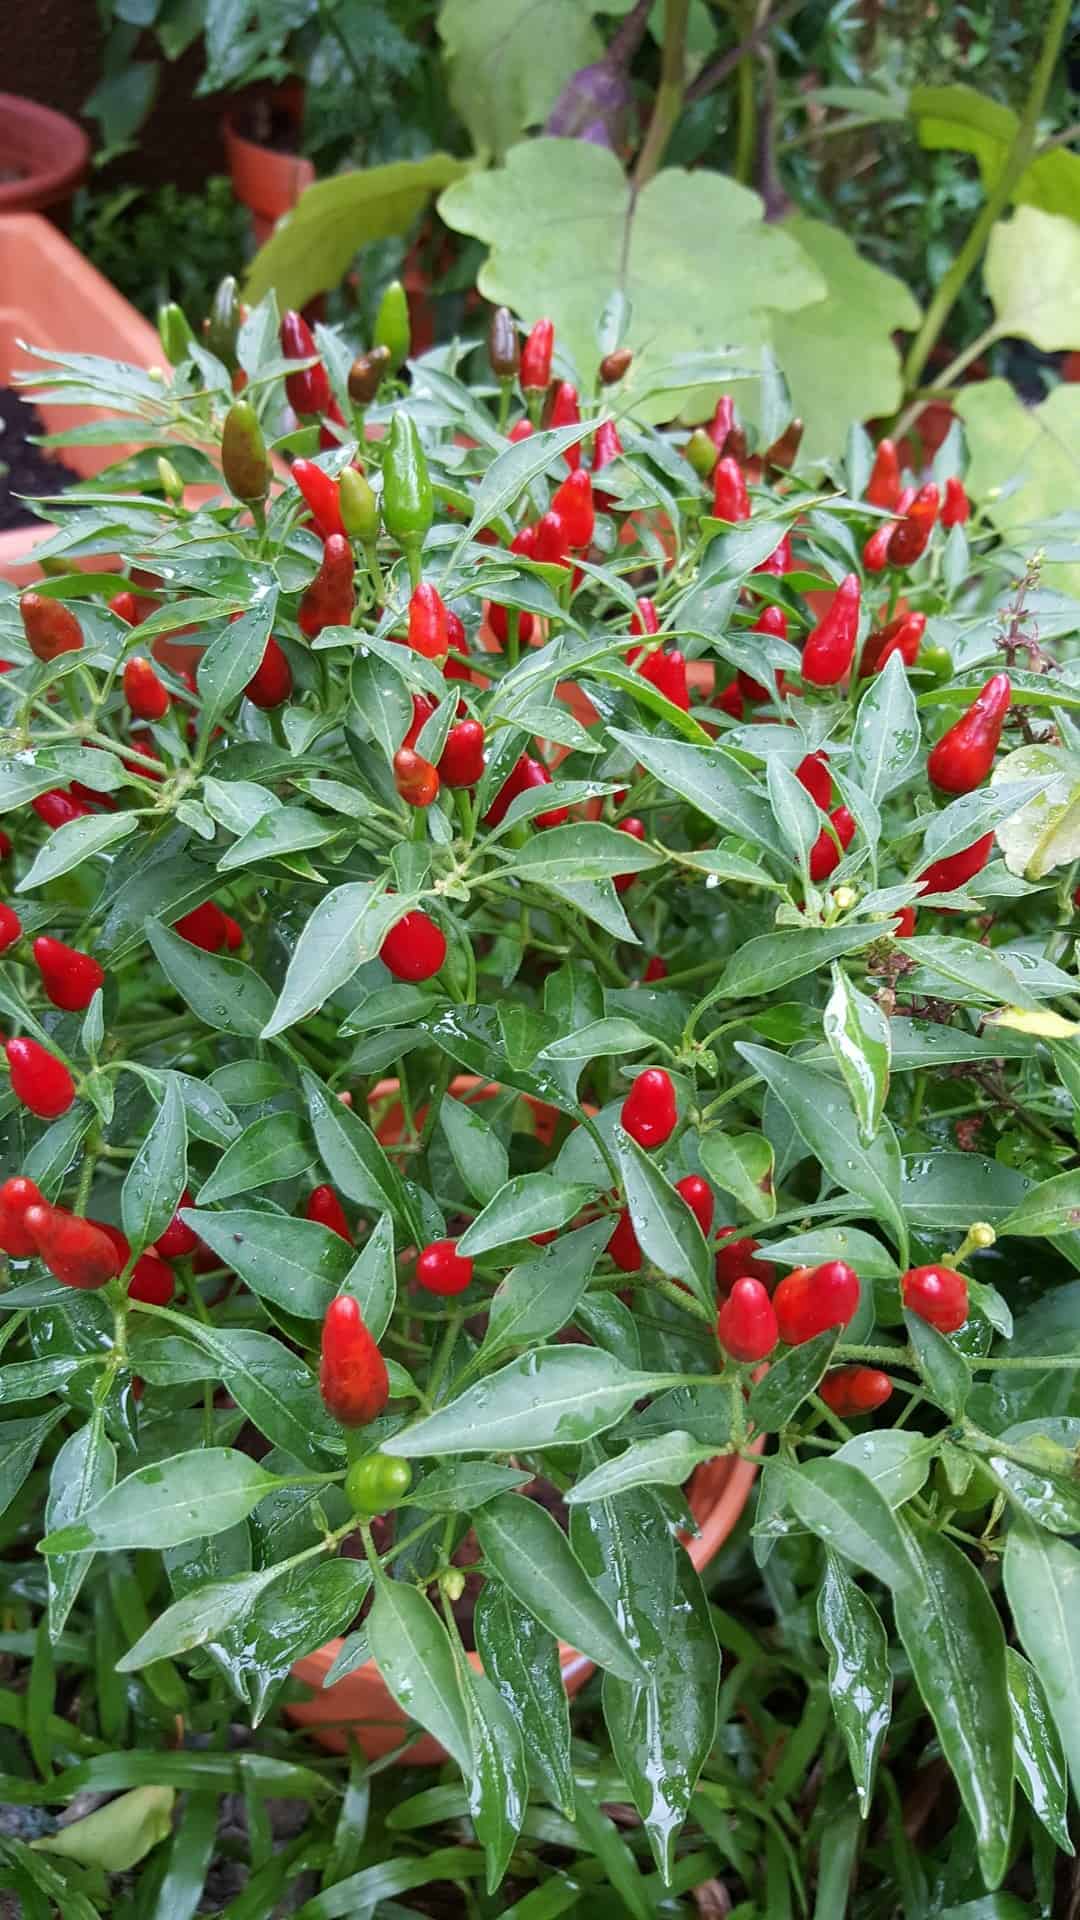
In the realm of Thai cuisine, this intensely flavorful chili pepper is an essential component. Interestingly, Bird’s Eye chilies come in various forms, with Chiltepin and Pequin being the most widely recognized in North America. What sets them apart is their impressive Scoville heat unit rating, ranging from 50,000 to a scorching 1000,000.
Habanero
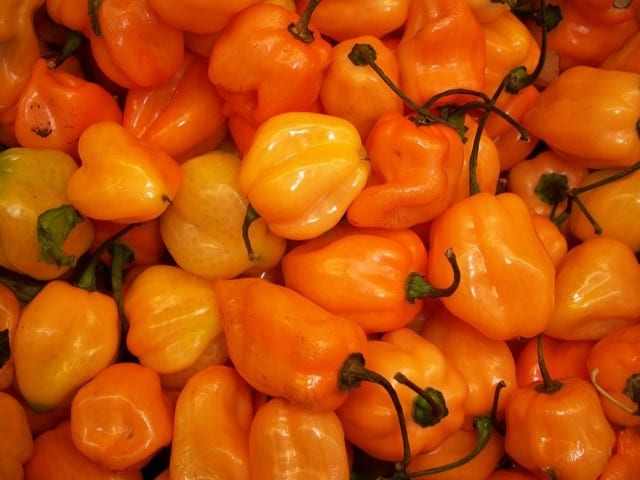
The vibrant hues of unripe habaneros belie their potential to transform into a kaleidoscope of colors as they ripen. Green is just the starting point, with various cultivars capable of maturing into shades of yellow, red, white, and even brown. Conversely, some habaneros may retain their green coloration. This remarkable adaptability is attributed to the pepper’s inherent characteristics, which are influenced by factors such as geographic origin.
For instance, Caribbean-grown habaneros tend to be spicier than those cultivated in Mexico, boasting a Scoville rating of 300,000 to 475,000. In terms of growth cycle, habaneros typically mature within approximately 90 days and possess the hardiness to thrive in northern climates.
Jalapeno
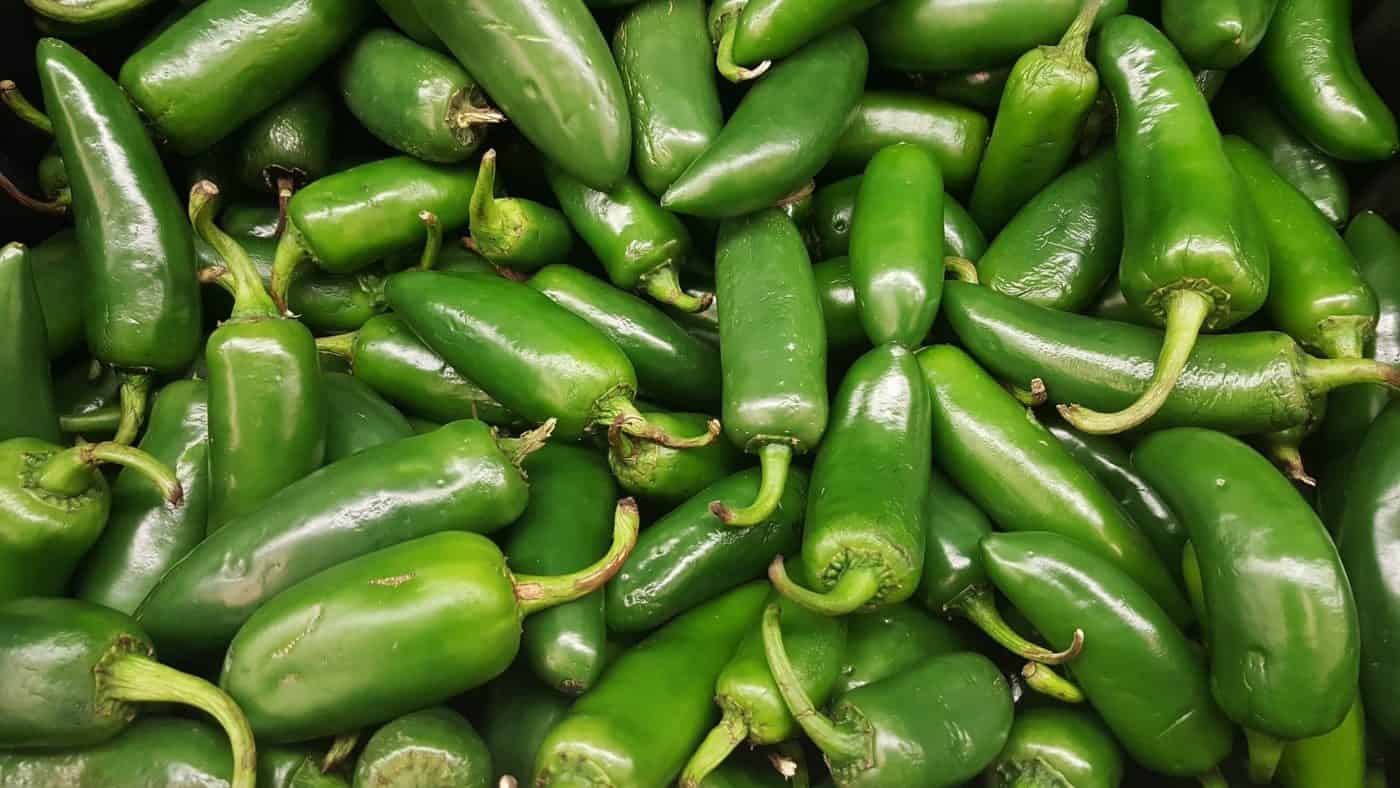
Jalapeno peppers, a staple in many cuisines, exhibit remarkable diversity, with the hybrid variants like Jaloro and Purple showcasing their versatility. A unique characteristic of these peppers is that their seeds possess a distinct flavor profile, making them a valuable addition to various dishes. Unlike some other chili pepper varieties, Jalapenos’ seeds are commonly used in cooking.
Interestingly, the Scoville heat units for Jalapenos range from 2,500 to 8,000, depending on the specific variety.
Cayenne Pepper
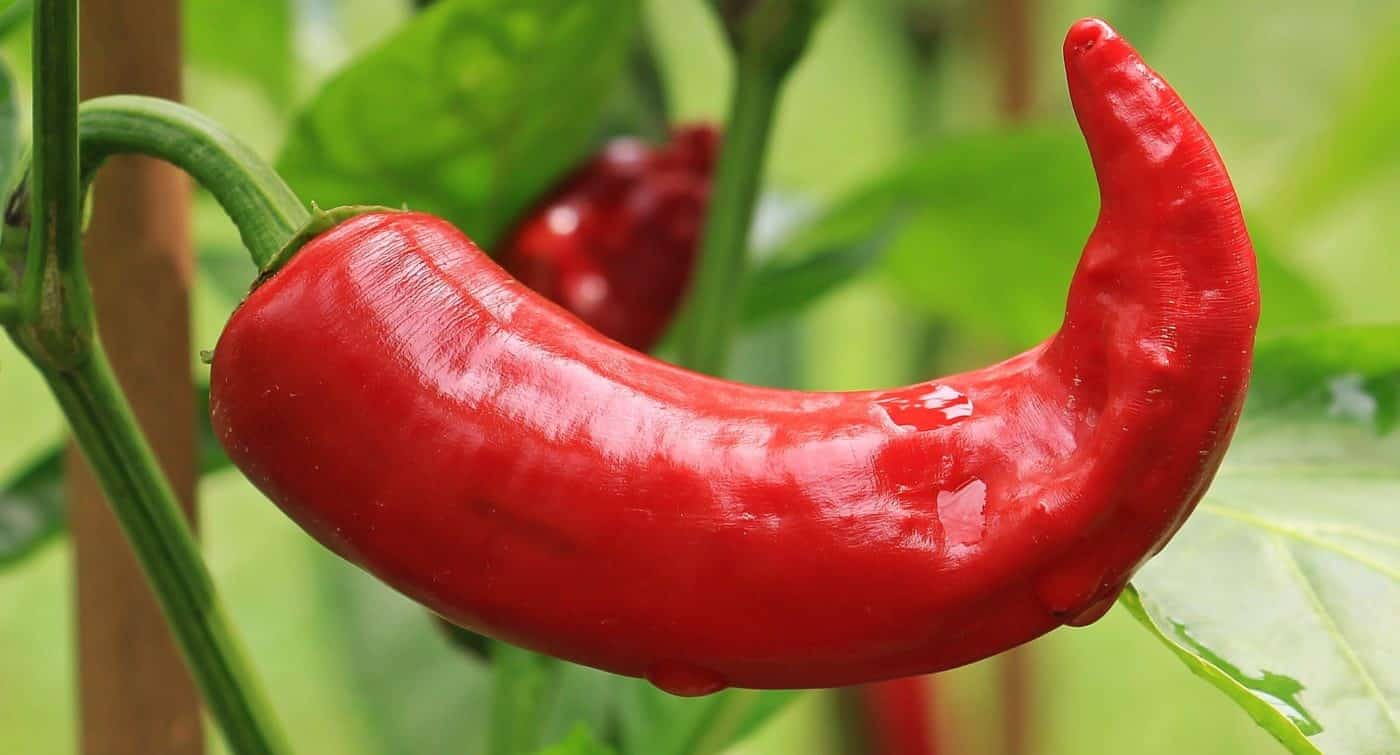
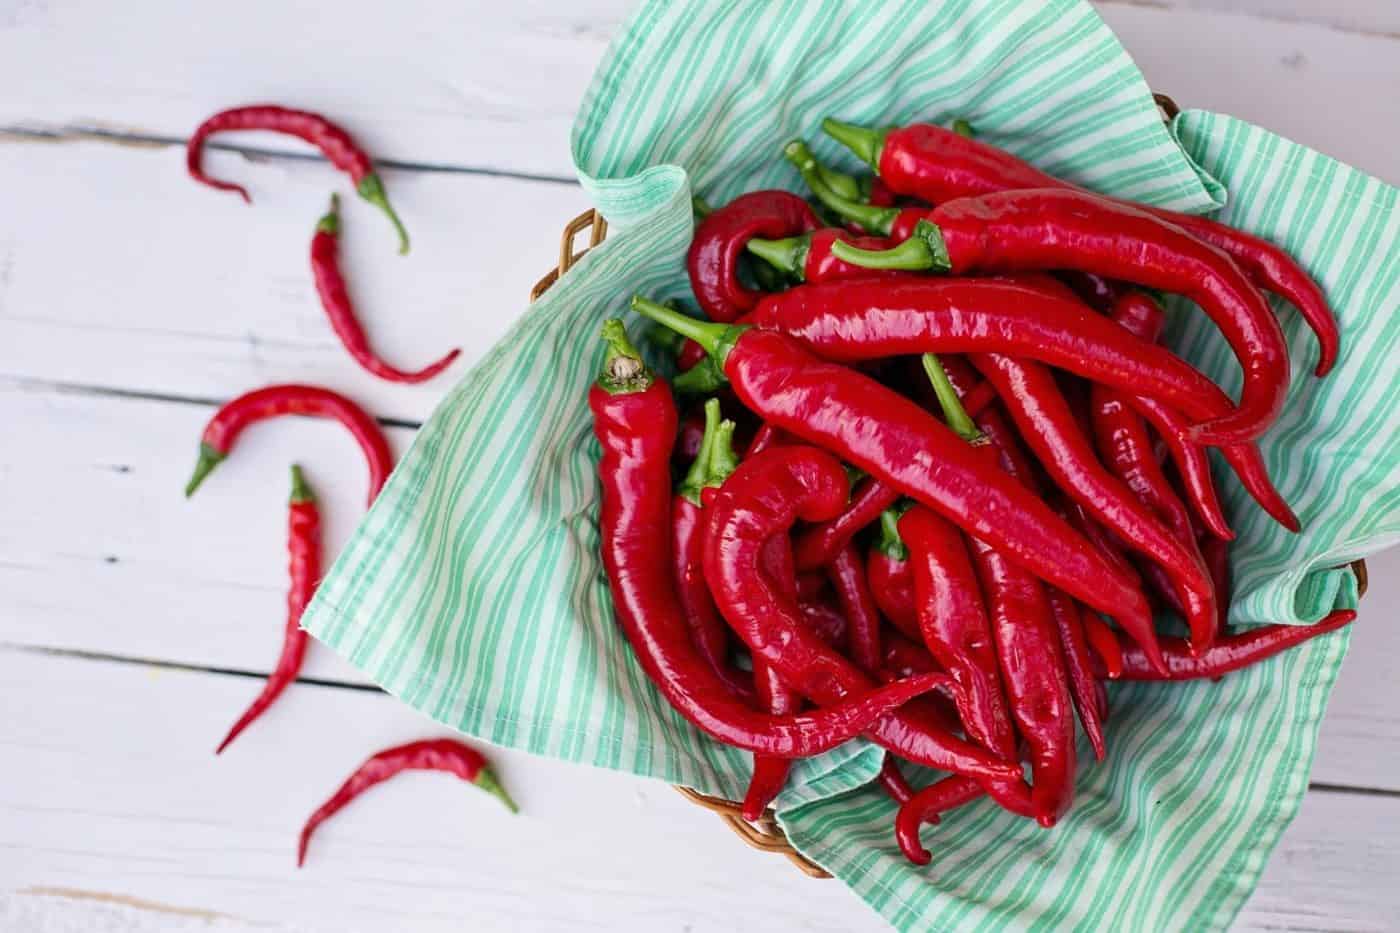
While many gardeners might argue that it’s impossible to have just one favorite chili pepper to grow, I’m a firm believer in the simplicity and reliability of Cayenne. This variety is ideal for those who don’t want to fuss over their plants too much, as they produce an abundance of peppers with minimal maintenance. What’s more, Cayenne peppers tend to be milder than some other varieties, making them accessible to even the most sensitive palates.
The various types of Cayenne include Aji Sivri, Diablo Grande, Dagger Pod, and Golden, each offering its own unique characteristics. When it comes to appearance, Cayenne peppers are characterized by their slender shape and green-to-red color palette. As for heat level, these peppers typically range from 30,000 to 50,000 on the Scoville scale – though some varieties, like Carolina Cayenne, can pack an extra punch, being nearly twice as hot.
In my kitchen, I love using Cayenne peppers to whip up a spicy Thai chili sauce or add a kick to homemade tomato sauces for pasta and pizza.
Anaheim
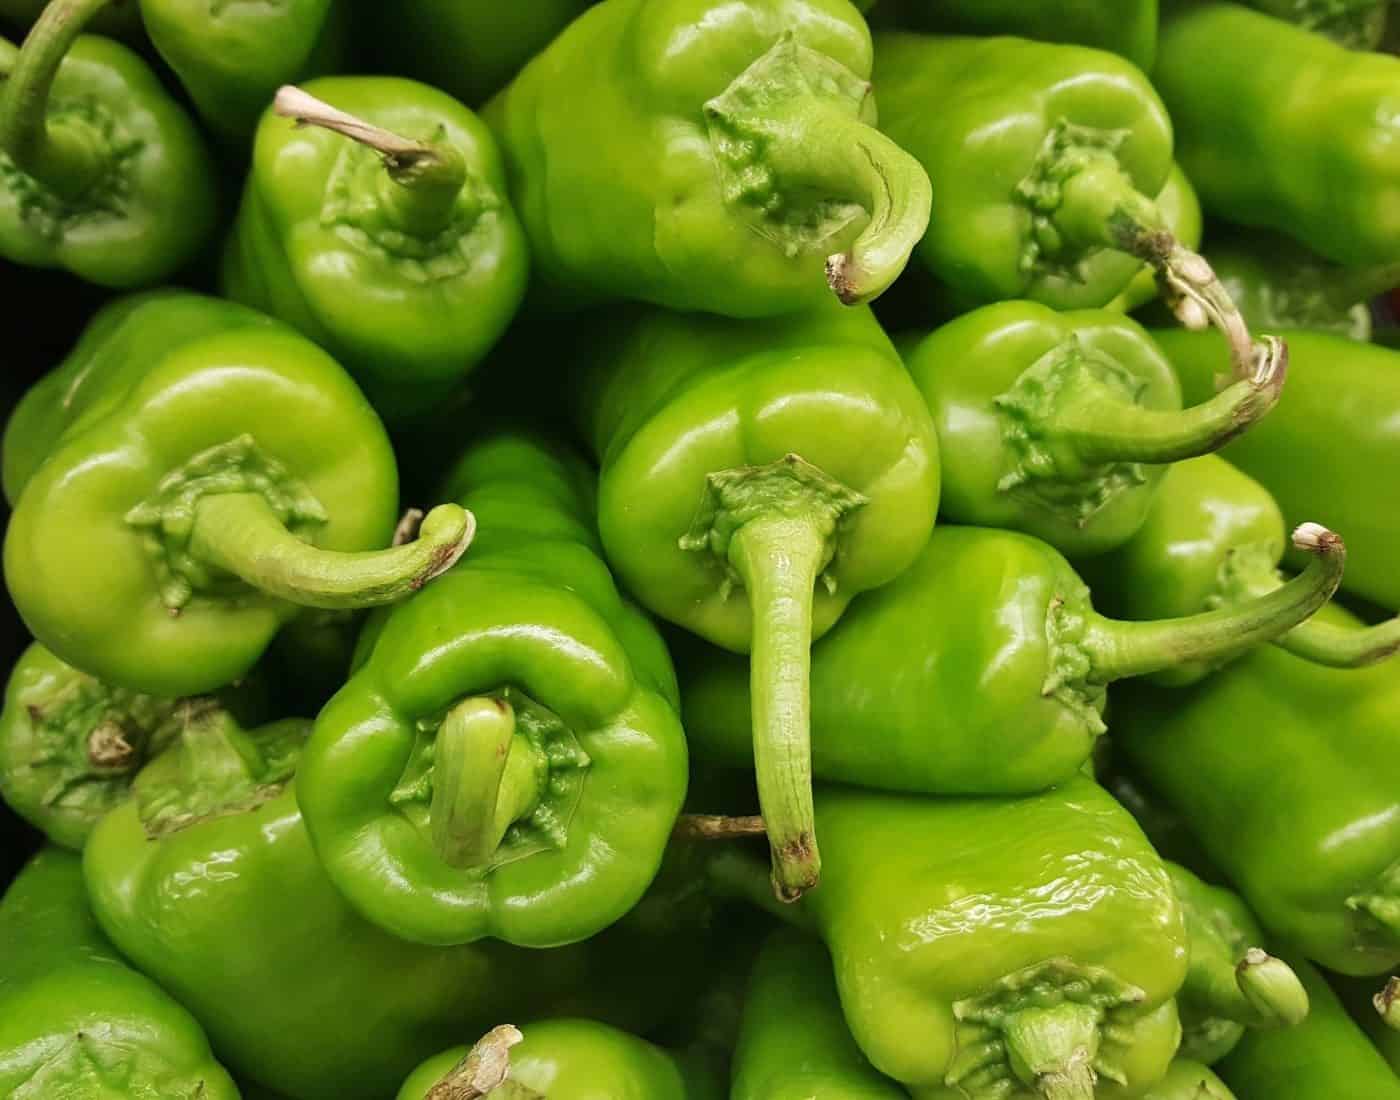
California green chili, also known as Anaheim pepper, is a mild and versatile variety that encompasses different types such as Sonora, Numex, and Baker’s Hot peppers. Its subtle flavor profile makes it a favored choice for many recipes. With a Scoville rating of 500 to 1,000, this pepper is characterized by its moderate heat level. Notably, it takes around 75-80 days to mature, making it an excellent option for home gardeners and cooks alike.
Scotch Bonnet
For those seeking a potent pepper experience, look no further than the Scotch Bonnet. This habanero cultivar is renowned for its exceptional heat and flavor profile, boasting a Scoville rating of 100,000 to 350,000. While typically presenting in hues of red or orange, some Scotch Bonnets can exhibit more exotic colors such as chocolate brown, peach, or yellow, adding an extra layer of visual appeal to their already impressive characteristics.
Paprika
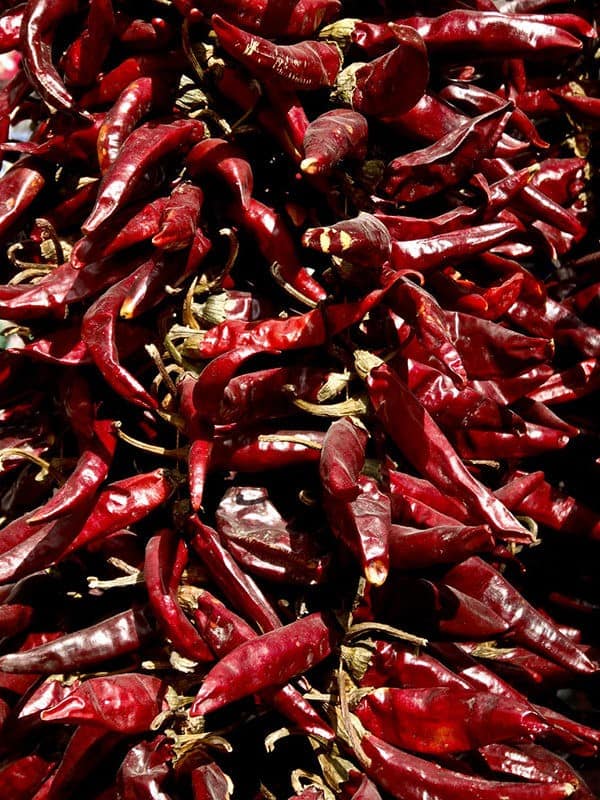
Paprika, a mild chili pepper, offers a wealth of culinary possibilities when dried and ground into a powder. Its subtle flavor makes it an excellent addition to a wide variety of dishes featuring meat or vegetables. Not only does paprika enhance the taste of these recipes, but it is also rich in vitamin C, providing an added layer of nutritional value. When seeking out high-quality paprika, look for Elephant’s Ear varieties, which are renowned for their exceptional flavor profile.
With Scoville ratings spanning 250 to 1,000, paprika provides a moderate level of heat that complements its numerous culinary applications.
Carolina Reaper
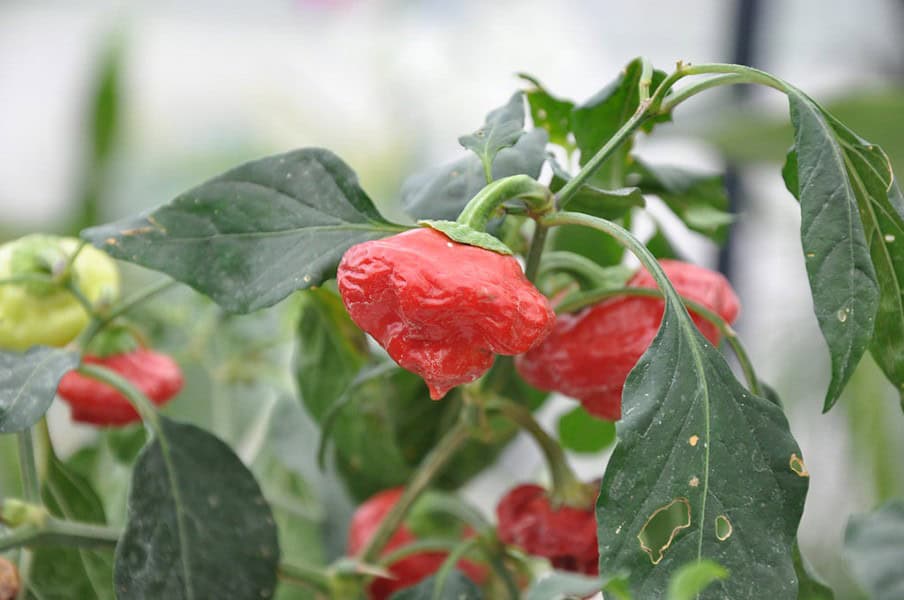
When it comes to scorching hot peppers, few can compare to the infamous Carolina Reaper. This record-breaking variety boasts an astonishing Scoville rating of 1,400,000 to 2,200,000, making it a true powerhouse of pungency. For those brave enough to take on its intense heat, the Reaper’s fruity and sweet flavor notes provide a tantalizing reward, if only you can muster the courage to confront its fiery might.
How to Grow Chilli Peppers
Zones
While peppers are typically classified as tropical perennials, most gardeners treat them as annuals due to the challenges of overwintering in cooler climates. I’ve had moderate success in growing peppers as perennials, managing to coax a second season out of them. To replicate this feat, be prepared to bring your pepper plants inside during the winter months and gradually acclimate them to outdoor conditions once spring arrives.
Keep in mind that the subsequent harvest may not be as bountiful as the initial one. For optimal results, peppers thrive in zones 5 through 10. If you’re fortunate enough to reside in zone 11 or 12, consider growing them as perennials instead.
Sun and Soil Requirements
When it comes to growing chili peppers, the first thing to consider is providing them with the right amount of sunlight. In fact, chili peppers thrive in conditions that mimic their native tropical climates – think at least 6-8 hours of direct sunshine per day. For optimal results, ensure your plants receive full sun, as this will help promote healthy growth and development.
In addition to sufficient sunlight, it’s crucial to get the soil just right for chili peppers.
They prefer a slightly acidic to neutral pH range of 6.0-7.0, which is perfect for promoting robust root growth. The ideal soil composition should be sandy, well-drained, and fertile, allowing roots to breathe and absorb essential nutrients.
To give your chili plants the best possible start in life, incorporate a generous amount of well-rotted manure or compost into the soil about a week before planting.
This will not only enrich the soil but also provide a nutrient-rich environment that allows chilies to develop their signature intense flavor.
When to Plant Chili Peppers
When it’s time to start growing chili peppers from scratch, begin by planting them indoors about 8-10 weeks before the predicted last frost date for your area. This allows the seedlings to develop strong roots and sturdy stems before being transferred outside. A crucial step in this process is hardening off the young plants over a period of 7-10 days prior to transplanting.
To ensure optimal growth, I always make use of a cloche to maintain a consistent temperature during their early stages of development. Once the danger of frost has passed and the soil has reached a comfortable 60°F, you can finally plant your chili pepper seedlings directly into the ground, approximately 2-3 weeks after the last frost date.
Container Planting
For a bountiful harvest, grow your chilies on a sunny and sheltered balcony in tubs. To get started, use high-quality loamy soil and a fertilizer specifically designed for containers. Consider providing support with stakes or cages, as some chili pepper varieties can reach up to 3 feet tall.
The benefits of growing chilies in pots are twofold: not only will you have a constant supply, but you’ll also be able to move the pot around to follow the sun’s movement towards the end of the season, ensuring your peppers receive optimal sunlight and warmth.
Germinating Seeds
When it comes to saving seeds from my chilies, I’ve found that germination has never been an issue. However, if you’re concerned about diseases, presoaking your seeds in a 15 percent bleach mixture can be a game-changer. To get started, plant the seeds in pots filled with a high-quality seed raising mix. I recommend planting two seeds per pot to allow for easy weeding out of the weaker one. The germination period typically takes between 14 and 21 days.
Once your seedlings have emerged, it’s essential to introduce them to sunlight gradually. A good approach is to place them in a warm spot during the day and bring them back inside at night when the temperature cools down.
Spacing
When it comes to spacing, plants require a specific amount of breathing room. Aim for 12-18 inches between each plant, ensuring they have enough space to grow without overcrowding. Additionally, maintain a distance of 24-30 inches between rows, allowing for good air circulation and sunlight penetration. To get started, sow seeds at a depth of 1/2 inch, providing them with the optimal conditions to germinate and thrive.
Cross Pollination
When growing peppers, it’s essential to consider the possibility of cross-pollination between different varieties. This natural process can result in unexpected changes to the peppers’ heat level, where spicy ones may become milder and mild ones could potentially develop a spicier flavor profile. To ensure your pepper plants retain their unique characteristics, maintain a reasonable distance between them to prevent unwanted pollination.
Caring for Chilli Peppers
Fertilizer
Before planting your chilies, prepare the soil by incorporating well-rotted manure into it about a week in advance. As the plants start flowering, switch to a tomato-specific fertilizer, but apply it more moderately than you would for tomatoes. When the peppers begin to swell, incorporate potassium-rich fertilizers into each watering. To achieve the desired level of spiciness, use nitrogen-containing fertilizers judiciously.
If you’re aiming for an extra kick, consider adding a touch of sulfur-based nutrients to the mix.
Watering
When it comes to watering your young tropical plants, it’s crucial to avoid using cold tap water. Instead, opt for regular watering that avoids saturating the soil. In fact, if you want your plants to thrive in hot conditions, consider reducing their water intake slightly. This approach will help them grow stronger and more resilient.
Mulching
When cultivating chili peppers, it’s essential to take advantage of the warmer months by mulching during this period. The added heat from the mulch can stimulate growth and enhance overall plant health.
Common Problems and Solutions for Growing Chili Peppers
Aphids
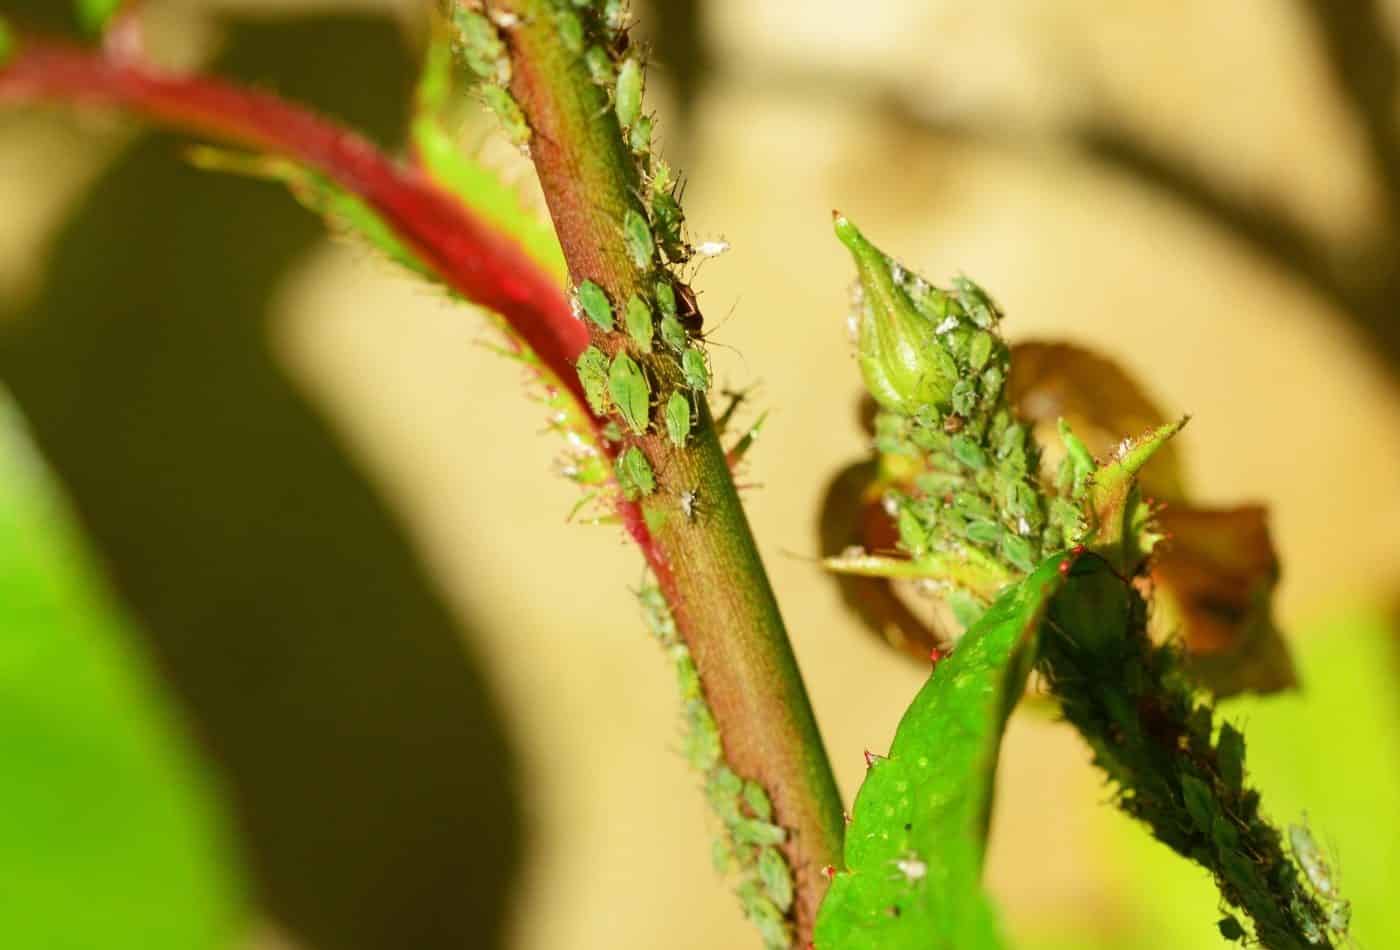
Aphids are notorious sap-sucking insects that can wreak havoc on your plant’s health. Their presence weakens the plant, leading to reduced yields. If left unchecked, aphid populations tend to escalate exponentially until they become a major problem. Moreover, these pests leave behind a sticky residue called honeydew, which fosters an ideal environment for mold growth. To tackle this issue, start by blasting the plants with a strong jet of water to dislodge the aphids.
Once the initial infestation is under control, follow up with a neem oil application to provide a lasting solution.
Snails and Slugs
When it comes to protecting your plants from these slimy pests, it’s essential to address the issue promptly. Snails will not only devour leaves but also fruit and other tender parts of the plant, ultimately leading to its demise. To combat this problem, consider using snail pellets or exploring alternative methods for controlling snail populations that you find effective.
Whitefly
The notorious whitefly, a pesky insect known for its affinity towards siphoning sap from your prized chili pepper crops, is a small yet troublesome pest. To effectively manage these unwanted visitors, consider employing pyrethrum or neem oil-based solutions in your gardening arsenal.
Beet Armyworm
Beet armyworms are a pervasive pest in warmer climates, where they wreak havoc on tomato and pepper crops by nibbling on leaves and fruit alike. Their feeding habits can lead to decay and leave behind unsightly feces that can ruin your harvest. A proactive approach is crucial to manage these pesky critters. One effective strategy involves cultivating predators like parasitic wasps, which prey on beet armyworms.
Alternatively, using spinosad spray as a control measure can help minimize their impact.
Tomato Fruit Worm
The tomato fruit worm is a sneaky pest that doesn’t just target tomatoes – it also attacks peppers, corn, and cotton. In cooler climates, the larvae’s life cycle comes to an end with the onset of winter, but in warmer regions, multiple generations can emerge within a single season. One telltale sign of infestation is the presence of a black hole at the base of a pepper plant.
To tackle this problem, it’s essential to dispose of any affected produce and encourage the presence of beneficial parasitic wasps. Additionally, applying diatomaceous earth around plants or using insecticides like Sevin or pyrethrin can help alleviate the issue.
Spider Mites
The minute arachnids, often hiding on the underside of leaves, can wreak havoc on your chili pepper plants by draining their vital nutrients. This can lead to yellowing and leaf drop. To combat this issue, remove any infested leaves through pruning and give the remaining foliage a thorough soaking with a strong jet of water. For added protection, consider applying neem oil to deter these pesky mites from returning.
Thrips
When thrips infest a plant, they extract vital juices, leaving leaves pale and eventually lifeless. This feeding frenzy often occurs in massive groups, further compromising the plant’s health by spreading disease. To mitigate this issue, maintain a weed-free garden environment and deploy blue sticky traps to capture these pests. Additionally, cultivate beneficial predators that prey on thrips and consider using an insecticidal soap as a targeted solution if necessary.
Powdery Mildew
Powdery mildew is a common affliction that targets chilies during their flowering and fruiting periods, manifesting as a white mold that coats leaves and stems. The initial signs of infection can be subtle, but a keen eye will detect the telltale symptoms. To prevent the spread of this fungal disease, it’s crucial to modify your watering habits. Steer clear of overhead watering or humid conditions, which only facilitate the growth of the powdery mildew.
Instead, direct water directly onto the soil surrounding the plant, promoting healthy root development and minimizing the risk of further infection. Additionally, ensure that your chilies have ample space to breathe and thrive, as overcrowding can exacerbate the problem.
Blossom End Rot
The onset of this disease occurs when the chili pepper is still green. It’s a result of an imbalance in the plant’s nutrient intake, typically stemming from either a calcium deficiency or excessive nitrogen levels that hinder calcium uptake. Unfavorable watering conditions, such as under- or overwatering, can also impede the plant’s ability to absorb sufficient calcium.
To prevent the disease, ensure consistent soil moisture by regular watering, while avoiding excess water that may exacerbate the issue. Additionally, consider applying a calcium-enriched solution specifically designed to address blossom end rot.
Bacterial Spot
The notorious bacteria behind leaf spot and chili diseases wreaks havoc on plants by causing unsightly spots, defoliation, and reduced harvest yields. To prevent this pesky pathogen from taking hold, it’s essential to source certified clean seed and thoroughly sanitize all tools and seeds in a diluted bleach solution. For added protection, be sure to rotate your crops regularly and maintain a weed-free garden environment.
Damping Off
The pesky fungus responsible for damping off thrives in moist environments, where it can stifle seed emergence or, worse still, cause newly sprouted seedlings to wither and perish just above the soil line. To mitigate this issue, it’s crucial to be mindful of your watering habits and avoid over-saturation. Additionally, make sure to sterilize any tools and containers before planting to prevent the spread of fungal spores.
Fusarium Wilt
Fusarium wilt is a devastating soil-borne pathogen that can ravage pepper plant roots, drastically reducing water uptake and ultimately leading to the plant’s demise. This insidious disease spreads through tools, water, and insects, and its spores can linger in the soil for years. To effectively combat fusarium wilt, prevention is key.
Maintain meticulous tool hygiene, deter insects like aphids and cucumber beetles from entering your garden, and avoid over-fertilizing with nitrogen-rich nutrients. Additionally, keep weeds at bay by regular removal or mulching. If all else fails, consider a radical approach: remove all plants, solarize the soil to kill any remaining spores, and start anew the following year.
Mosaic Virus
Mosaic virus is a notorious culprit that can target an array of plant species, including chili peppers. Its telltale signs include leaves that appear wrinkled and stunted, with yellow stripes running along their length. The impact on fruit is equally striking, often taking the form of wart-like growths. Unfortunately, once your plants contract the virus, there’s no cure in sight. Prevention is therefore key.
A proactive approach involves selecting mosaic-resistant plant varieties, keeping a close eye out for insect pests and ensuring tools are thoroughly cleaned between uses. Additionally, it’s crucial to avoid working in the garden on wet days, as this can facilitate the spread of the virus. If you do discover infected plants, be sure to dispose of them entirely to prevent further contagion.
Transplant Shock
To mitigate transplant shock, which can hinder pepper growth and cause wilting, it’s essential to minimize root disturbance and provide ample hydration. Start by ensuring a smooth transition for your seedlings by gradually acclimating them to outdoor conditions through hardening off. This crucial step will help your peppers thrive in their new environment.
Companion Plants for Chilli Pepper
When it comes to companion planting, chili peppers are surprisingly versatile and can thrive alongside a diverse range of plants. In fact, they have been known to form harmonious relationships with many popular vegetables and herbs. Some of the best partners for chili peppers include basil, carrot, cucumber, eggplant, asparagus, chives, parsley, spinach, onion, leek, garlic, shallots, and scallions. Marjoram and oregano are also excellent companions.
On the other hand, it’s worth noting that chili peppers don’t fare so well when grown alongside beans or kohlrabi.
How to Harvest and use Chilli
When harvesting your chilies, look for plump, glossy fruits that have reached their optimal color. Before picking, give your garden a thorough soaking to ensure the soil is well-moistened. As green chilies mature, they typically change color within three weeks of reaching full size. To encourage continuous fruiting, it’s essential to pick chilies regularly. However, if you prefer spicier peppers, consider allowing them to stay on the vine for a bit longer as this can enhance their flavor.
Storage
When preserving freshly picked chilies, it’s best to store them in an airtight polythene bag in the refrigerator for up to two weeks. Alternatively, I find it more convenient to freeze chilies in separate bags according to their intended recipe use. For instance, my Thai chili sauce recipe requires 36 chilis, so I prepare and label individual bags accordingly.
When saving seeds for future planting, select a healthy chili pepper and carefully extract the seeds before freezing them dry.
Store the dried seeds in a paper envelope for next year’s crop.
If you’re new to growing chili peppers, I highly recommend giving it a try. Just remember that they thrive in well-nourished soil with warm, humid conditions. By following our expert tips, you’ll be rewarded with an abundant harvest. We’d love to hear about your success stories and offer any guidance you may need.
