I’ve had a tumultuous relationship with topiary in my gardening journey. Initially, I adored how strategically placed topiary plants could add a touch of elegance to an informal garden, transforming it into a charming cottage setting or permaculture haven. However, my enthusiasm was tempered by the hefty price tag that came with purchasing pre-made topiaries.
But as I’ve taken on more responsibility for cultivating my own homestead, I’ve discovered the joys of creating my own topiary plants at a fraction of the cost. This evolution has transformed my love-hate relationship into an all-out passion for growing a multitude of topiaries. To replicate this artistic endeavor at home, you’ll need to select the ideal plant species, provide proper care and pruning techniques, and be willing to take calculated risks with your shears.
Additionally, be prepared to learn from any initial mistakes and refine your skills as you progress.
The History of Topiary
The art of topiary has its roots in ancient Greece and Rome, where ornamental gardeners would shape plants like yews into hunting scenes. The term ‘topiary’ itself comes from the Greek word ‘topos’, meaning place, and the Latin title for an ornamental gardener, ‘topiarius’. This centuries-old practice has evolved over time, with topiaries becoming a staple of formal European gardens in the 1700s.
Today, you can find topiaried hedges and plants in home gardens worldwide, from simple rosemary Christmas trees at grocery stores to decorative faux topiary at home supply stores. Despite its widespread appeal, many people still hesitate to create their own topiaries at home. If that’s you, don’t worry – I’ll show you a simple way to get started.
How To Create a Rosemary Tree Topiary
For those looking to hone their topiary techniques without feeling overwhelmed, rosemary is an excellent choice. This herbaceous beauty is incredibly accommodating and will forgive even the most novice attempts at shaping. To get started, you can either take cuttings from your own existing rosemary plant or visit a local nursery or garden center to acquire one. With its pliable stems and forgiving nature, rosemary makes for an ideal candidate to practice your topiary skills.
Step 1: Find the Form
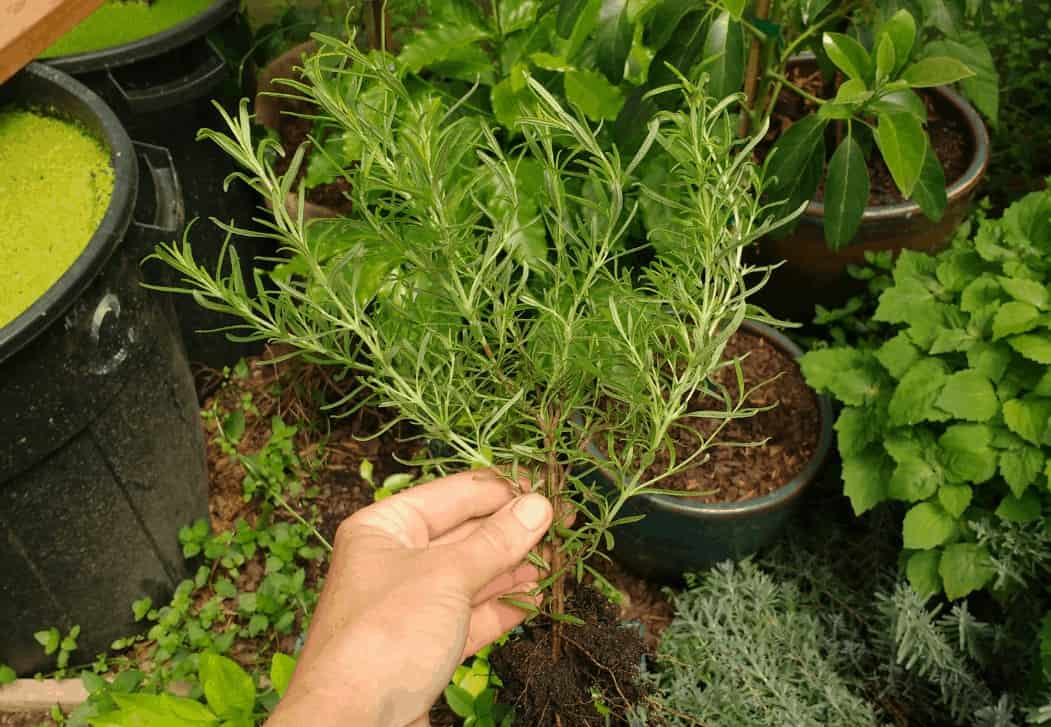
To begin, carefully extract your rosemary plant from its present pot and inspect its overall structure. This will give you insight into the plant’s natural shape, which is essential for creating a well-formed topiary. Additionally, take note of the root mass size to ensure you choose a suitable container that can accommodate the roots’ spread, allowing for healthy growth once repotted.
Step 2: Choose a Trunk
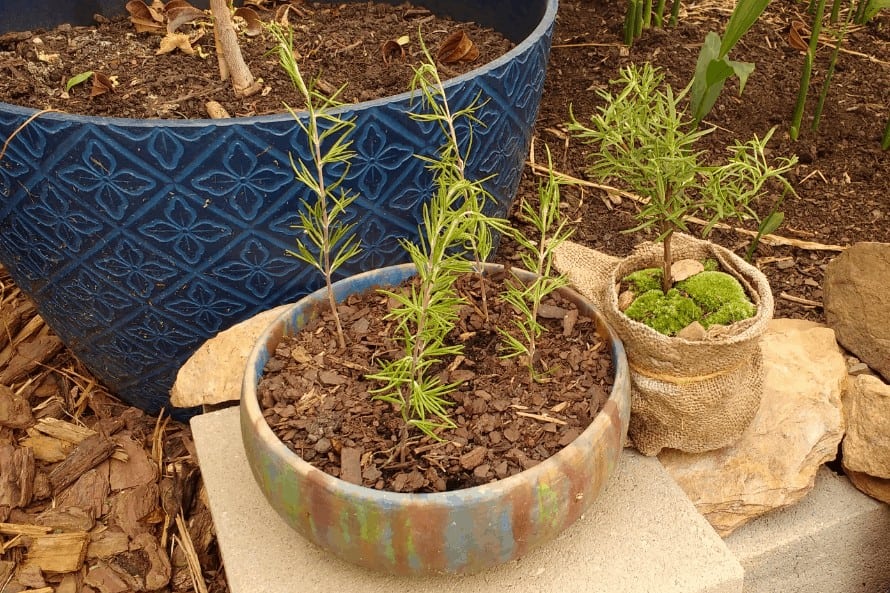
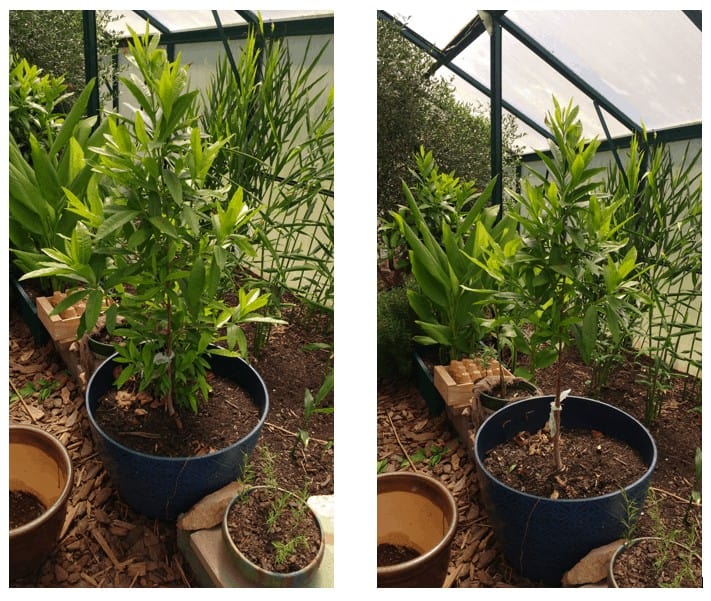
Starting with straight cuttings, like those pictured above, makes it easy to envision your topiary form. However, when working with established rosemary plants, you may encounter multiple trunk options. In this case, select a stem near the center of the root mass that is predominantly straight. If necessary, stake the trunk to ensure it remains upright. A stem with existing branches growing towards the top is also beneficial, as it will give your topiary an instant tree-like appearance.
For optimal results, consider using a straight spear tip from your rosemary plant when starting new cuttings, allowing them to develop in a natural, topiary-friendly shape.
Step 3: Create the Shape
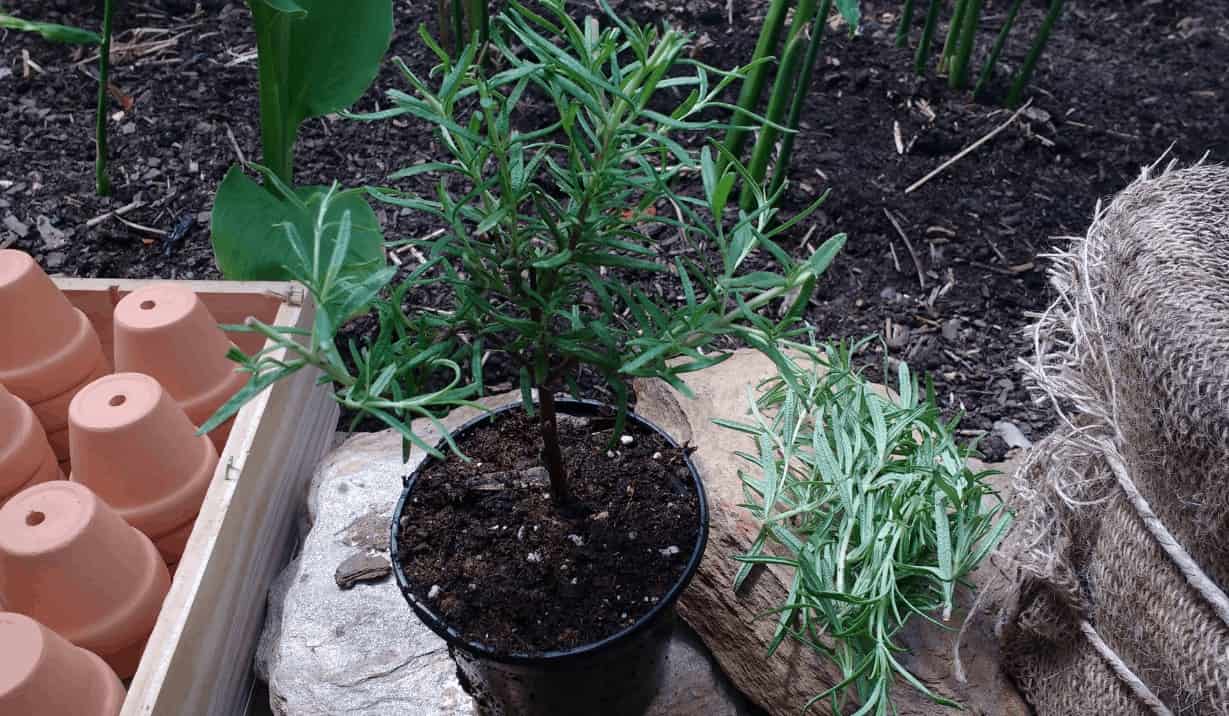
To refine the shape of your rosemary topiary, carefully remove any extraneous stems, leaving only one central trunk. Next, eliminate lower branches and leaves from this new trunk, typically up to about halfway. This process may seem disheartening at first, as your plant appears to dwindle in size. However, with patience, your rosemary will rebound and thrive within a few weeks.
Step 4: Pot Properly
When transplanting your rosemary into a new pot, it’s essential to create a nurturing environment that fosters its recovery from any past trauma. Start by placing the plant in a decorative container with enough room for its root mass, but no larger than necessary to avoid dwarfing the top growth. A well-proportioned pot will allow the rosemary to thrive and maintain its tree-like appearance.
As you pot up your rosemary, be sure to use high-quality potting soil that incorporates compost, which will aid in its speedy recovery. Regular watering and a consistent care routine will help your rosemary get back on track.
Step 5: Decorate (optional)
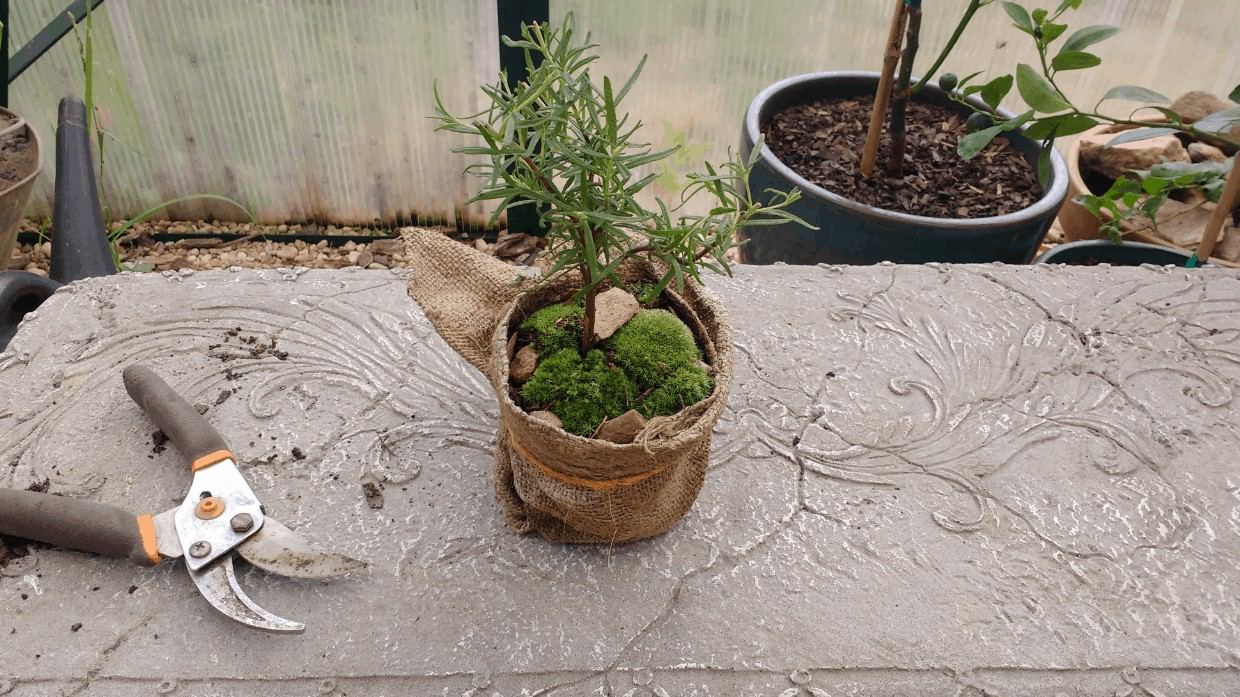
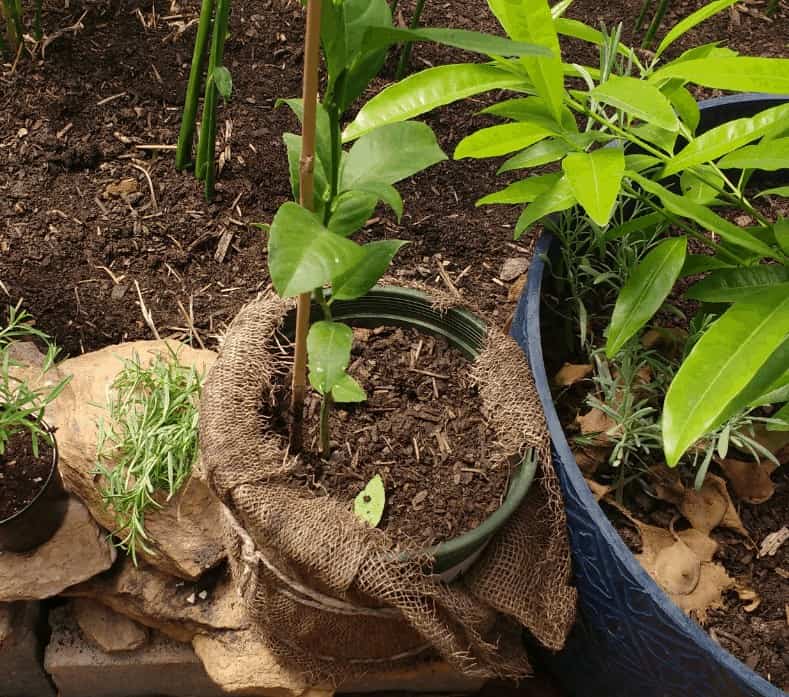
While topiaries can stand alone, many people choose to add an extra layer of aesthetic appeal. This can be achieved through the use of materials such as pea gravel or granite dust for mulching, or by incorporating moss into the design. In my experience, I prefer to repurpose items already at hand. For instance, I wrapped a cheap plastic pot with a small piece of burlap and secured it with straw bale twine before adding some moss from my overgrown moss scapes.
Step 6: Apply Routine Care
To promote a bushy rosemary tree, it’s essential to continue pruning the upper branches and removing any new growth that appears in the cleared trunk areas. As the trunk grows taller, gradually clear away more of the lower branches, ensuring you maintain sufficient leaf mass at the top to support the root system below. A general rule of thumb is to keep the leaf mass roughly equal in size to the pot, which will help maintain a healthy balance.
As your rosemary tree matures, it may require a larger pot. However, for now, focus on watering regularly and providing essential nutrients through compost tea applications – ideally once a week while the plant is actively growing. Alternatively, you can use an organic liquid plant fertilizer according to the product’s instructions.
Advanced Topiary Skills
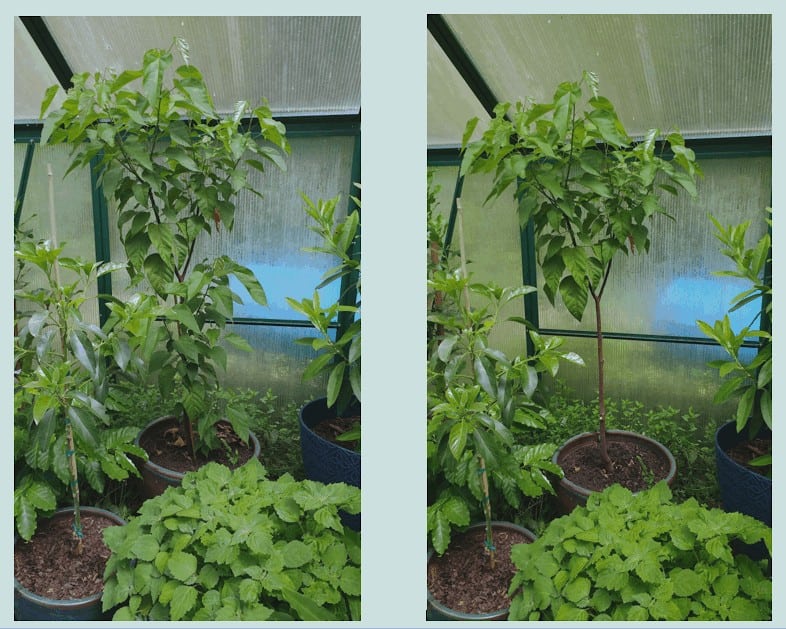
Transforming a potted Annatto tree into an instant topiary can be achieved by clearing the trunk area, as illustrated by Tasha Greer’s image. This straightforward example sets the tone for all topiary creations, regardless of their size. While there are some minor considerations to keep in mind when working with larger plants, the fundamental process remains surprisingly simple. It’s merely a matter of building upon this basic principle to create intricate and visually striking topiary designs.
Plant Selection
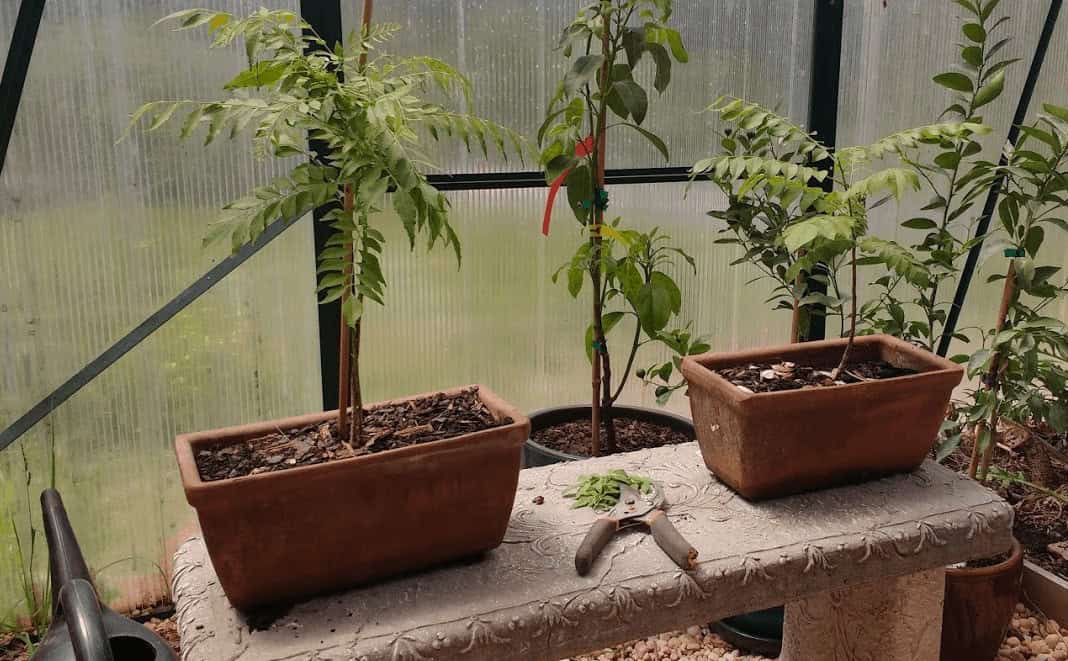
When it comes to topiary pruning, it’s essential to consider the natural characteristics of your plant. For instance, if you’re working with curry leaf trees, training them young will yield impressive results. However, most gardeners won’t be able to achieve the same level of precision as professional landscape artists. A more practical approach is to decide on a shape for your topiary by observing the natural form of your plant and envisioning which shapes it can safely be used to create.
This means avoiding extreme or unrealistic forms, like an animal hedge inspired by Edward Scissorhands’ iconic character. In terms of evergreen species, plants like boxwoods and cypress have tight, small leaves that lend themselves well to creating spiral shapes, intricate animals, or formal hedges in a structured landscape. Arborvitaes and privet are also suitable for crafting windows or sculpting entryways into garden rooms.
On the other hand, Mediterranean or tropical plants such as annatto, allspice, bay leaf, olive, curry, and citrus species can be shaped into single-trunk trees with heavy tops, which can be used to punctuate a landscape like exclamation points. These plants will often require phased pruning, starting by clearing the lower trunk area before moving on to shape the top. With patience and attention to detail, you can achieve impressive results.
To Pot or Not
When it comes to cultivating topiaries, you’re presented with two main options: growing them in pots or directly in the ground. While both methods have their pros and cons, each ultimately depends on the specific needs of your garden. Growing topiaries in pots offers the advantage of being able to bring plants indoors during harsh weather conditions, allowing for protection from extreme temperatures, violent storms, and other unforeseen circumstances.
Smaller potted plants are also more easily moved or shielded if necessary. However, pot-grown topiaries require more frequent watering and fertilizing compared to their in-ground counterparts. Furthermore, they may be more susceptible to pests and diseases due to shallower roots and potential stress from temperature fluctuations. On the other hand, ground-grown topiaries tend to exhibit greater resilience to pests and diseases when suitable for your climate and soil type.
They are also more forgiving if you forget to water or fertilize, boasting longer lifespans compared to potted plants in general. However, they may require more frequent pruning due to their extensive root systems, making it more challenging to maintain a compact appearance. Moreover, if ground-grown topiaries do suffer from pests or diseases, it can be more difficult to move them out of sight until recovery.
Ultimately, I recommend starting with potted topiaries to gain experience and build confidence in your cultivation skills. Once you’ve gained proficiency, you can experiment with small in-ground planted topiaries to further expand your knowledge.
Using Forms
When tackling more intricate or larger-scale topiary creations, it’s often helpful to employ visual aids to guide your pruning efforts. For instance, when crafting a spiral cypress shape, consider wrapping a rope, streamers, or caution tape around the tree in a continuous spiral pattern. This serves as a tangible reference point, allowing you to accurately determine where to prune and maintain the desired form.
Similarly, for animal-shaped topiaries, you may want to construct or procure a chicken wire template, which can serve as a framework for your plant’s growth. As your plant outgrows the guide, simply prune any overhanging leaves and branches that extend beyond the shape’s boundaries. Keep in mind that it may take some time for your plant to reach its full potential, but even in the interim, the form itself can function as a decorative addition to your garden.
Patient Planning
The journey to creating a majestic lemon tree topiary begins with patience, as it can take several years for the plant to mature and bear fruit. For instance, when working with citrus cuttings, several months are required for root development before pottting and training can begin. Subsequent pruning of the top growth is necessary to achieve the desired bushy appearance, ultimately taking around two years to resemble a citrus tree.
In contrast, slower-rooting species like bay laurel or olive may require even longer gestation periods. To circumvent this lengthy process, consider starting with an already established 4-inch potted tree that boasts good basic form and train it into a topiary. While this approach will incur additional costs compared to growing your own, it remains more cost-effective than purchasing a pre-trained topiary in a pot.
Practical Pruning
When transforming mature plants into topiaries, it’s crucial to consider that the process may not happen overnight. Healthy plants can typically withstand pruning by around 30% per year without risk of harm. However, more resilient species might tolerate greater pruning depending on your local climate and the plant’s age and type. To avoid stressing your plants, prune and shape them over an extended period.
Prune once, then assess how the plant recovers before pruning again.
Additionally, refrain from pruning in late summer to prevent encouraging new growth that may struggle during the cold season. Pruning for shape in winter or spring is generally safer for your plants.
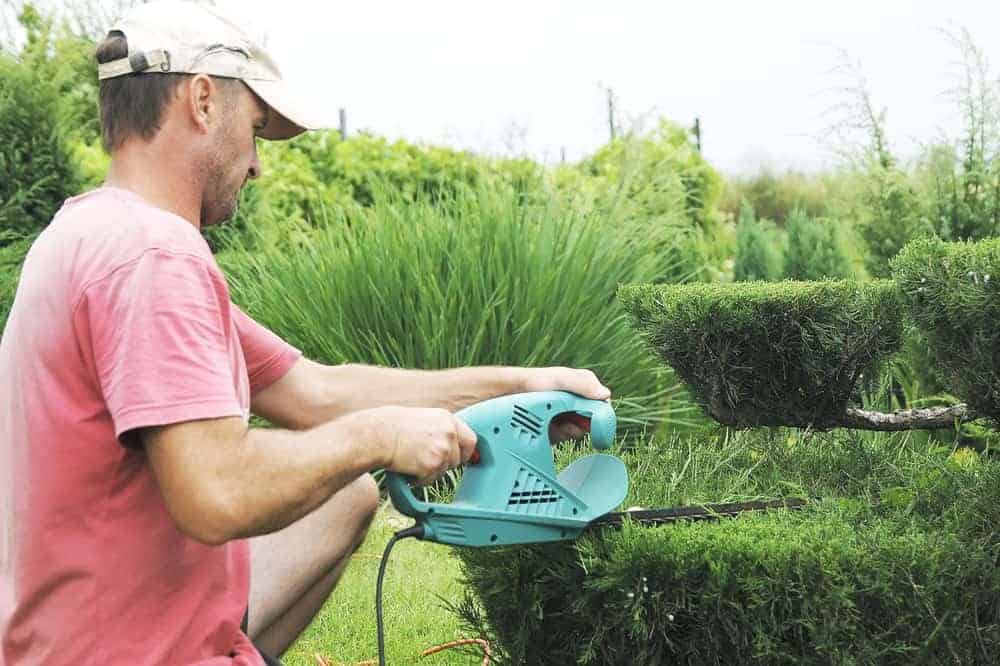
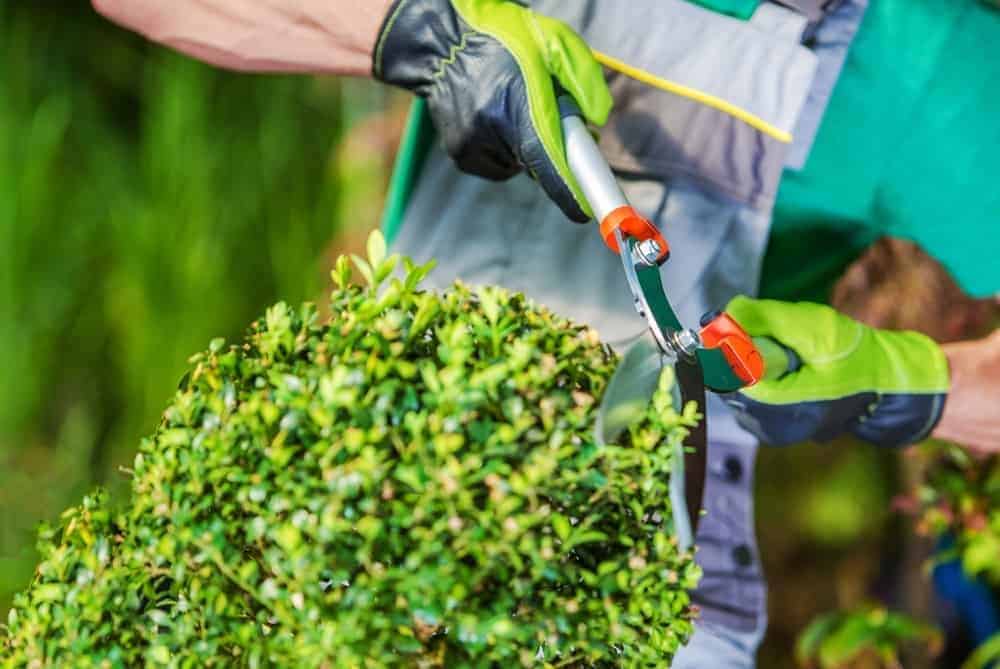
Using the right equipment can significantly simplify the pruning process, making it more efficient and enjoyable, especially when managing a large number of topiary plants. Hand pruners, for instance, can be effective, but may not be the most practical choice for extensive pruning tasks.
Long-Term Care
When cultivating larger and more complex topiaries, it’s crucial to ensure they thrive in their environment. To achieve this, start by selecting plants that are naturally adapted to your local climate conditions. Additionally, guarantee the soil or potting mix is tailored to the specific needs of each plant, taking into account factors like pH levels.
For in-ground plants, create a hospitable atmosphere by incorporating aged compost into the soil and mulching around the area with a radius at least four times larger than the root mass. This will provide the necessary nutrients for establishment and long-term growth. Regular watering and fertilization are also essential, with frequent checks for pests and diseases.
Moreover, ensure good air circulation and implement annual applications of compost and mulch to prevent fungal pathogens from taking hold. In some cases, preventative measures like foliar-applied compost tea or region-specific products may be necessary to mitigate the risk of infection.
Becoming a Topiarius
As you become proficient in crafting your own topiaries at home, you’ll earn the esteemed title of ‘toparius,’ which literally translates to ‘ornamental gardener’ in Latin. This newfound expertise may also inspire you to take your passion to the next level by transforming your homestead into a ferme ornee – an ornamental farm where your creative topiary skills can truly flourish.
